
In this article:
- Where is it?
- Information in the Deletion Log
- Updating cancellation details
- Filtering the Deletion Log
- Exporting reports
Where is it?
Once you’ve canceled an Attendee or Company registration, you’ll see the Deletion Log in these tabs:


| We’ll show the Attendee Deletion Log here, but these details are the same for the Company Deletion Log. |
Information in the Deletion Log
The Deletion Log always displays the same columns:
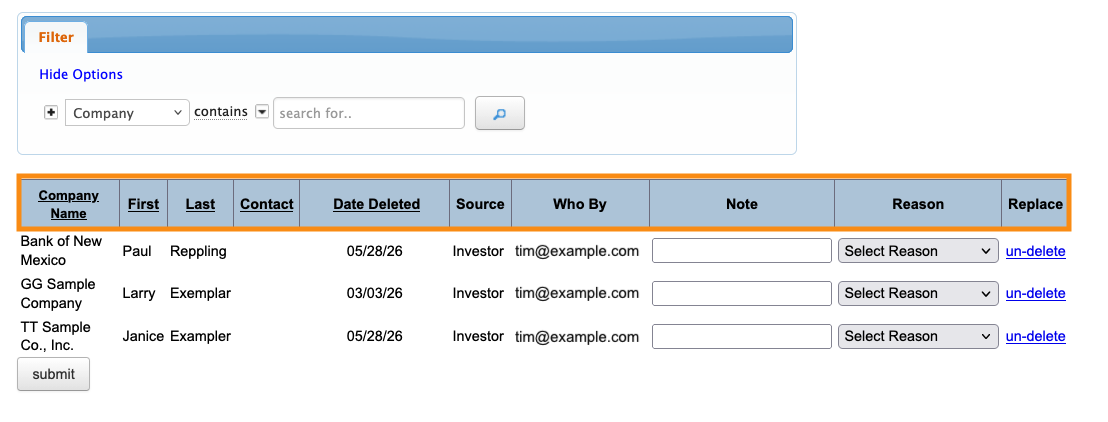
In addition to the name and Company of each canceled registration, you’ll see:
- Contact: The assigned Client Rep from your team.
- Date Deleted: When this cancellation happened.
- Who By: The member of your Admin team who made the cancellation.
- Note: Internal notes on the cancellation. (See below for details.)
- Reason: Choose a cancellation reason.
- Replace: Click the link to re-instate this participant.
Updating cancellation details
By default, MeetMax doesn’t capture any extra information at the time of a cancellation.
Your team can add those details any time, here in the Deletion Log.
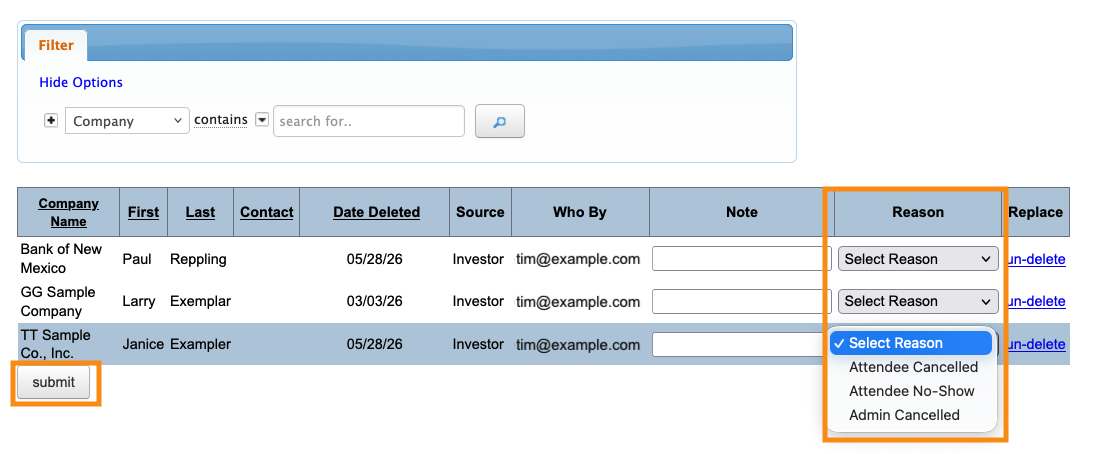
Choosing a cancellation reason
You might want to organize cancellations by reason, so your team can generate reports.
If so, choose a reason from the menu. Click Submit to save:
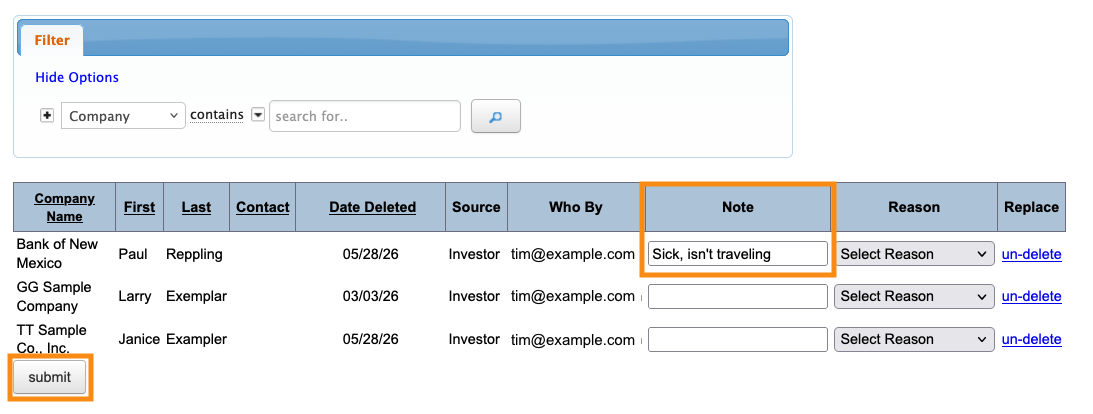
Adding internal notes
Your Admin team can also add internal information to the Note field. Click Submit to save:
Filtering the Deletion Log
This page offers a limited number of filters, to help you locate specific cancellations:
Exporting reports
You can export either Deletion Log in spreadsheet form any time. Head to the top right corner of the page and click Excel:
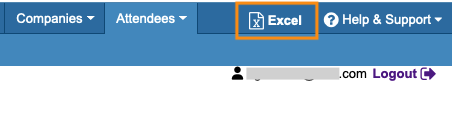
You can open the downloaded file in any spreadsheet software.

