
In this article:
- Where is it?
- Adding a new section
- Moving fields between sections
- Displaying sections on separate pages
- Previewing the form
Where is it?
You'll create sections for any type of form using the Form Editor, which is in the Configure tab:

| We’ll show the Attendee form editor here, but this works the same way in all forms. |
The Form Editor has a Section column for creating and managing sections. Right now, everything is blank. As you add sections, you’ll see their titles in the boxes:

Adding a new section
You can add as many sections to a form as you need.
- Step 1. Locate (or add) a field you'd like to place in a new section.
- Step 2. In the Section column for that field, click the drop down menu. Choose Add:

- Step 3. In the pop-up, enter the public name of the section. If needed, you can also add a hint for your participants - it displays below the form field:

-
Step 4. Click Save.
MeetMax then creates the new section, and places it at the bottom of the form. The field you started with also moves to the new section automatically:

- Step 5. Be sure to save your changes! They'll save to both the Attendee and Admin versions of the form by default.
If you only want to save to the version you’re currently working in, uncheck the box:

Moving fields between sections
To move any field to another section, use the drop down menu to choose (or add) a different section:

If you choose the blank option in this menu, the field will move back to the top (main) section of the form:

Displaying sections on separate pages
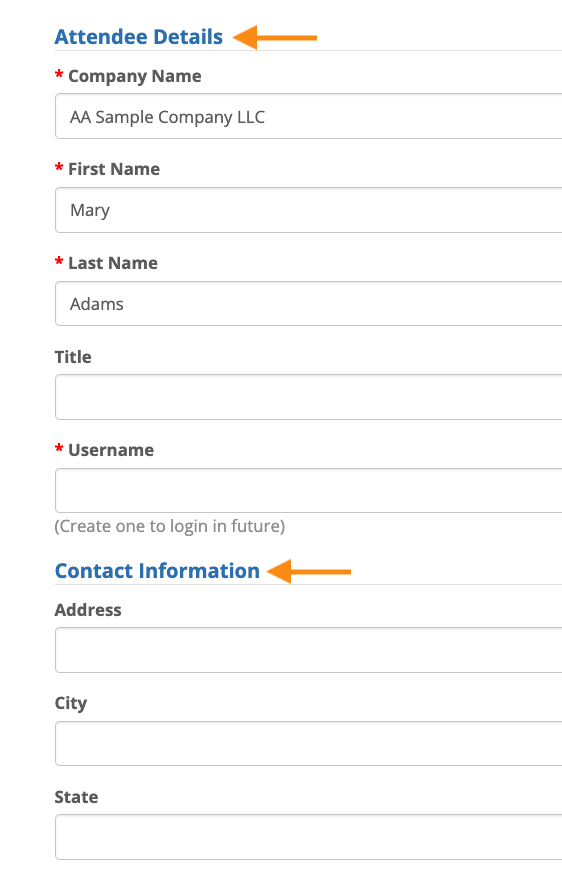
By default, the whole form displays on one page. If you add sections, MeetMax separates them with headings, as shown here:
It can be helpful to break a long and complex form up into separate pages. Use the Multi-page sections settings:
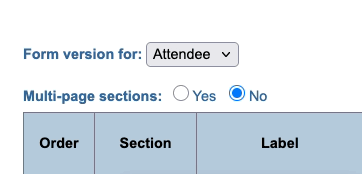
If you set Multi-page sections to Yes, MeetMax breaks the form into pages.
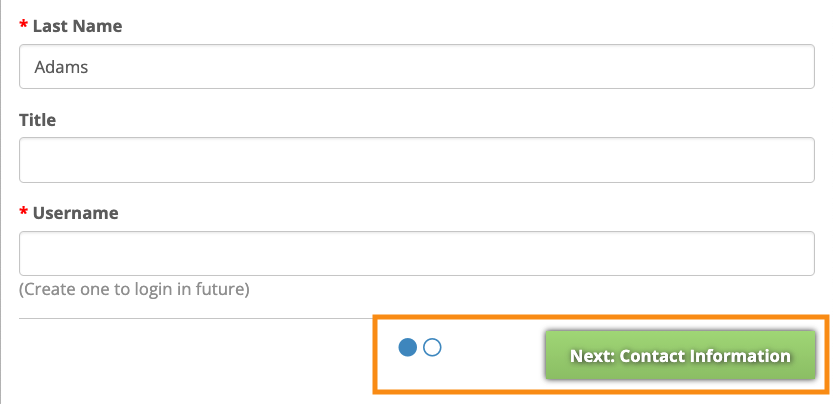
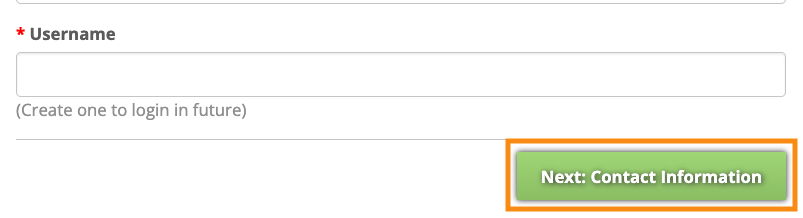
At the bottom of each page, participants will see a button to take them to the next. There’s also an icon showing how many pages there are:
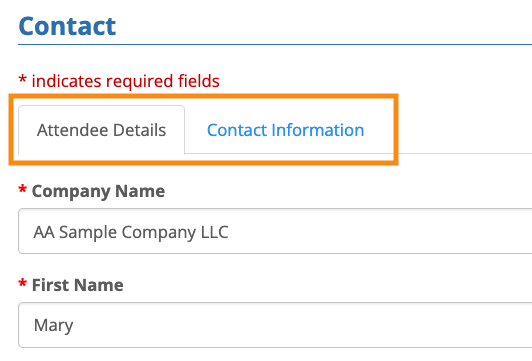
If you also set Show multi-page tabs to Yes, MeetMax adds navigation tabs at the top of the form.
Participants also see a button at the bottom of each page:
| Your forms are always branded for your event. |
Previewing the form
Want to see how your form is looking? First, click the Save button. Then click the View Sample link:


