Managing failed login attempts

As an optional security measure, you can lock an account if there are too many failed logins in a row. You can also control the length of that lockout.
In this article:
Enabling automatic lockout
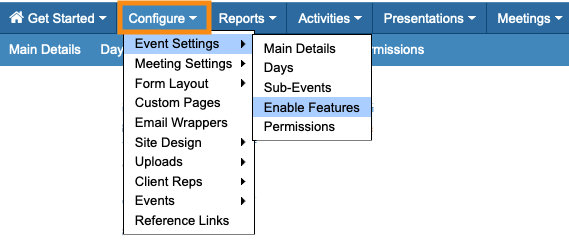
- Step 1. Head to the Configure tab. Choose Event Settings, then Enable Features:
- Step 2. Scroll to the Logins section.
- Under Enable lockout on multiple unsuccessful login attempts, choose Yes.
- • Set your preferred number of failed logins before the lockout happens.
- • Enter the number of minutes you want the account to be locked out:
-
If you set the automatic unlock time to zero, the account locks out permanently. - Step 3. Scroll to the bottom of the page and click Save:
What the account owner sees
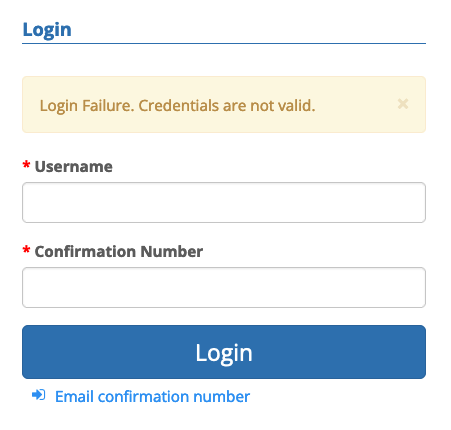
If an Attendee or Company account tries to log in with the wrong credentials, they’ll see this error message initially:
If the account owner reaches the number of failed login attempts that you’ve set, they’ll then see this message:

How do you help them log in?
If you need to unlock an account before the lockout time expires, Follow these steps.
Step 1. Head to the Attendee List. (You can also take these steps from the Company List.)

Step 2. Filter the list to locate the Attendee who’s locked out.
Step 3. Next, head to the Columns tab. Add the Account Locked column:
You'll now see a Yes indicating the account is currently locked.
Step 4. Click on the Yes to unlock the account:

Once the account is unlocked, you can help the account owner check their login credentials.
- If your participants are logging in with confirmation numbers, use these steps.
- If your participants are using passwords, use these steps.

