
In this article:
- Where is it?
- Enabling Invitees
- Customizing the registration form
- Adding Invitees to MeetMax
- Sending the invitation
- What the Invitee sees
- Monitoring registrations
Where is it?
Once you’ve enabled this feature, you’ll work from the Invitees tab:

Enabling Invitees
- Step 1. Head to the Configure tab. Choose Event Settings, then Enable Features:

- Step 2. Scroll to the Attendees section.
- Under Will invitees be used with this event, choose Yes:

- Step 3. Scroll to the bottom of the page and click Save:

Customizing the registration form
Your Invitees can have either the Company or Attendee user roles. We’ll show the Attendee process here, but inviting Companies works the same way.
Both registration forms are fully customizable, You can add, remove, and reorder fields, or create your own custom fields.
Adding Invitees to MeetMax
MeetMax offers two ways to add your Invitees:
Sending the invitation
Once you’ve added or imported your Invitees, you’ll have two ways to send out email invitations.
Option 1: After adding the Invitee
- Step 1. Once you finish adding an individual Invitee, head to the Invitee List page:

- Step 2. Locate the person you need to send an invite to. Click the Email Invite link:

- Step 3. An email editor will pop up. Here, you can add a message. MeetMax will add Accept and Decline buttons for the Invitee to click:

- Step 4. Click Send Message.
Option 2: Send a batch email
If you’ve imported a list of Invitees, here’s how to email them all at once.
- Step 1. Head to the Messaging tab. Choose Send Batch Email, then Invitees:

- Step 2. By default, MeetMax will include all of the Invitees you’ve imported. If you need to send to a smaller group, you can filter the Invitee List to narrow it down.
- In this example, we have 7 Invitees, but 2 of them have already registered. So we’ll filter the list to those who haven’t responded yet:
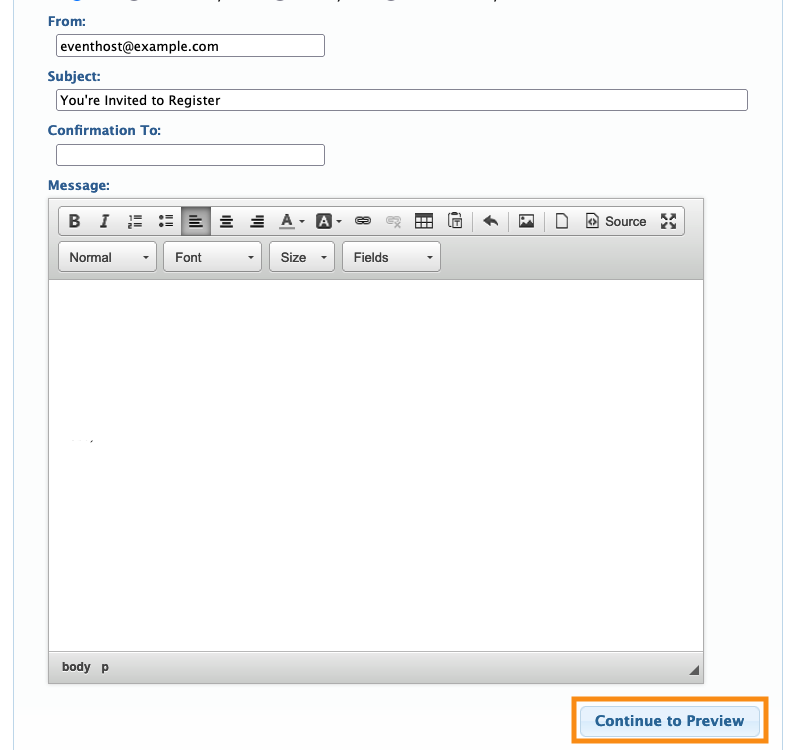
- Step 3. Head back to the Compose tab now. In the Attachment menu, choose Invitation. This attachment generates the personalized registration path for each Invitee:

- Step 4. The Attachment is a complete, personalized email, so you won't need the Message field. Click Continue to Preview:
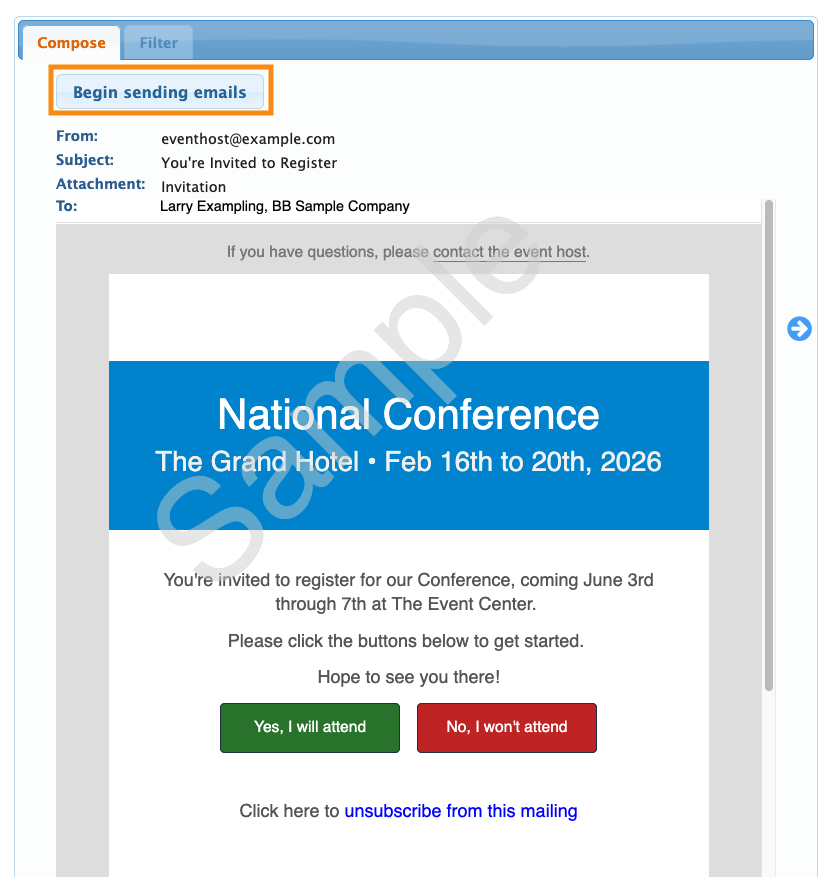
- Step 5. If all looks good, click Begin sending emails:
What the Invitee sees
Whichever method you choose, your Invitee will receive an email that looks something like this:

If the Invitee clicks Yes
Invitees who click the Yes, I will attend button will then see the event registration form, with some of their details already filled in. They’ll complete the form and click Submit:

At that point, they’ll be logged into their Attendee account and can start taking next steps.
MeetMax will also email them their login details for future use.
If the Invitee clicks No
If the Invitee chooses No, I won’t attend, they’re taken to a page where they can enter a decline reason:

Monitoring registrations
In the Invitee List, you can keep track of who’s responded to your invitation:

Learn more about working with the Invitee List here.
You’ll see each person’s current status in the Respond column. If you see the Choose menu there, the Invitee has not accepted or declined yet:

You can click the Email Invite link to re-send anyone’s invitation.
If you need to manually accept or decline on behalf of an Invitee, you can do that from the Choose menu:

Once an Invitee has accepted your invitation and registered, you’ll see them in the Attendee List:


