
In this article:
- Where is it?
- General or personalized emails
- Settings for a batch email
- Batch emailing from the Attendee or Company List
- Batch emailing from the Messaging tab
- Verifying the send and receipt
Where is it?
You’ll often want to send a batch email to a specific group of your Attendees or Companies.
In those cases, it’s best to start from from the Attendee List or Company List:


If you want to send a batch email to all Attendees at once (or all Companies at once), you can start from the Messaging tab instead:

The batch emailing tools work exactly the same in all these locations. Feel free to choose the one that’s most convenient for you, and use them interchangeably.
| If you need to email a single Attendee, use this method instead. |
General or personalized emails
MeetMax can produce a batch of emails where each person gets a personalized message.
For example, you might send personalized batches for:
- Registration confirmations
- Meeting requests lists
- Meeting, presentation, and activity schedules
You can also use the batch emailer when you need to send the same message to a group of people. For example:
- Reminders to set up meeting availability
- Requests to log into MeetMax and add a profile picture
- Notices about last-minute event changes
Settings for a batch email
The batch email form has many settings. You likely won’t use them all for every email. These settings are designed to give you flexibility in when and how you send a batch.
- Delay sending: As a starting point, you can schedule this email to send up to 24 hours in the future. (Or leave this blank to send immediately.)
- Re-use previous email: To save you time, you can also choose one of your recently-sent emails, and MeetMax will copy all of its content, format, and settings:

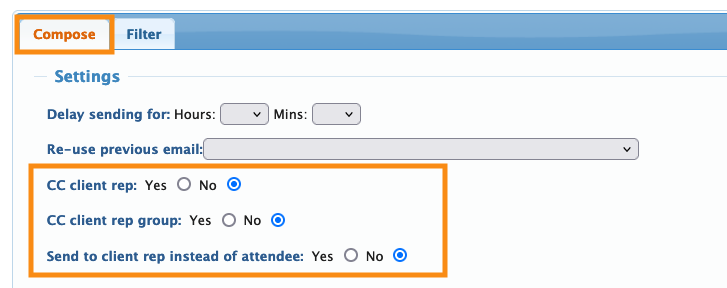
- Client Rep Group: These settings are useful for copying your internal team on emails.
- • CC Client Rep: Sends a copy of this email to the main event organizer.
- • CC Client Rep Group: If you have your participants organized into groups with assigned Client Reps, MeetMax will automatically copy the right Client Reps for the current mailing list.
- • Send to Client Rep instead of Attendee: The email will be created for each Attendee, but sent to their assigned Client Reps instead.
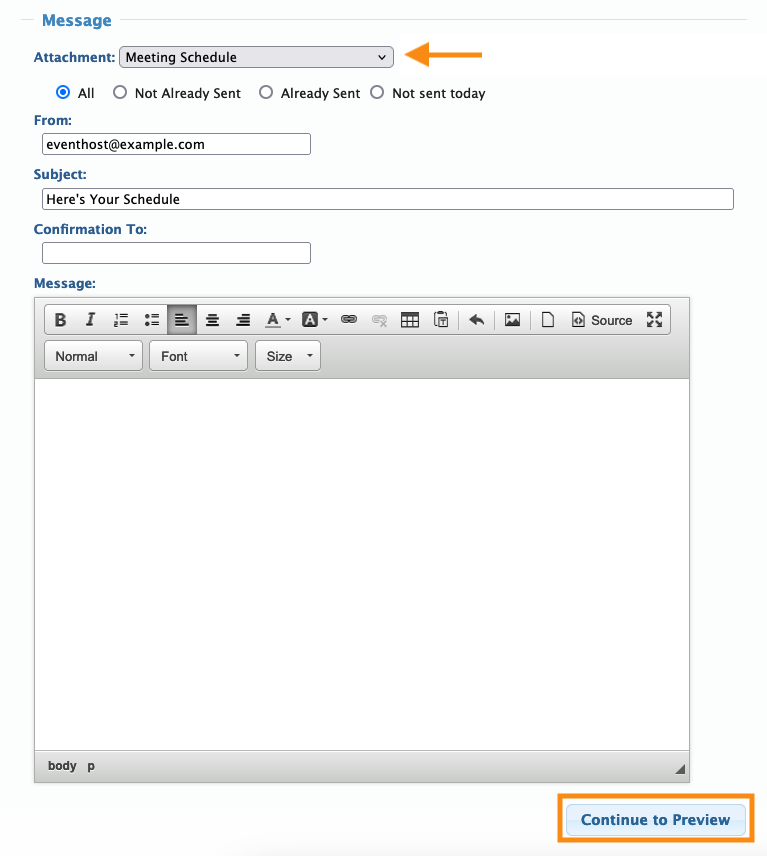
- Attachment: This menu is a list of personalized content inserts, like schedules, confirmations, or invitations.
- • See a sample of each Attachment here.
- • You can also customize each Attachment!
- • If you've created a Custom Page to use as an email, you'll see it in this menu too.
- The buttons below the Attachment menu are useful if you’re sending a supplemental batch email, and want to customize who receives it.
- • All (default): Send to everyone in your current list.
- • Not Already Sent: Send to those who haven't ever received this Attachment.
- • Already Sent: Send to those who've received this Attachment before.
- • Not Sent Today: Send to those who haven't received this Attachment today.
- Next, you'll address the email, and choose its visual presentation.
- • Email Wrapper (shown above): This menu is for choosing which graphical email wrapper to attach to this email:
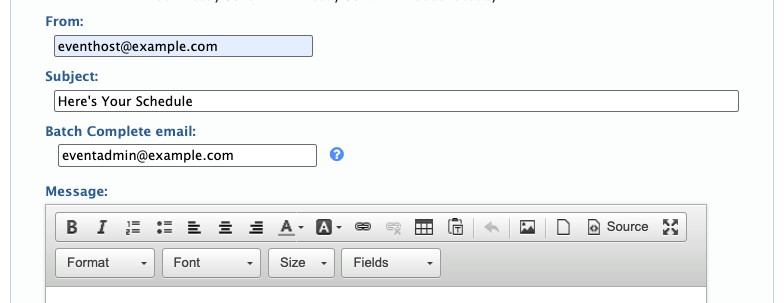
- • From: This is the From address recipients will see.
- • Subject: This is the subject line recipients will see.
- • Batch Complete email: If you like, MeetMax can send an email notification when the batch has finished sending:
Batch emailing from the Attendee or Company List
The great thing about emailing from the Attendee List and Company List is that you can use filters to create the exact group you need to email.
- Learn how to send a batch email from the Attendee List.
- Learn how to send a batch email from the Company List.
Batch emailing from the Messaging tab
This method is great for when you need to send a batch to everyone on your Attendee or Company List.
You can add an Attachment, or just use the Message editor to compose a message.
- Step 1. Head to the Messaging tab. Choose Send Batch Email, then choose the recipient:

- Step 2. You’ll then be in the batch emailer. Configure any settings you need:

- Step 3. Add an Attachment and/or a Message.
- When your email is ready, click Continue to Preview:
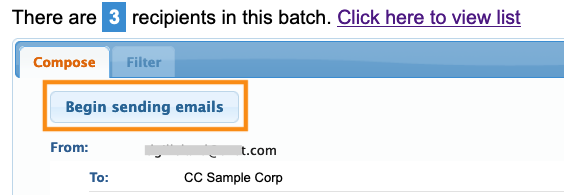
- Step 4. If all looks well, click Begin Sending Emails:
- By default, MeetMax sends emails in batches of 50. At the end of each batch, you’ll be prompted to send the next one:
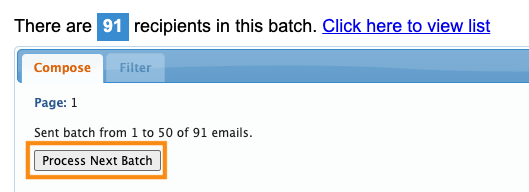
- If you’ve added an address to receive the Batch Complete email, MeetMax will email a notification for each batch of 50.
-
Our Premium email service skips this process, and sends email batches of any size in one operation. Learn more about Premium email here.
Verifying the send and receipt
Once you’ve sent emails, you can check on them using the Email Logs:

- The Emails log shows you stats on individual emails you’ve sent, including emails that were part of a batch.
- The Batches log shows you overall stats on batches you’ve sent.

