Conducting a post-event survey

You can build a custom survey, reveal it to participants when you choose, email them, and collect the responses - all within MeetMax.
In this article:
- Where is it?
- Building a Custom Form
- Revealing the survey to participants
- Emailing to request feedback
- Collecting the responses
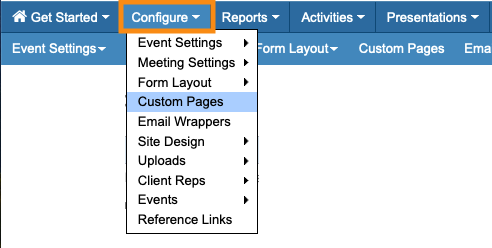
Where is it?
You’ll build your survey and custom email from the Configure tab:
You’ll show or hide the survey to participants from the Menu Editor:

You’ll email participants from the batch emailer:

You’ll collect responses from the Attendee List (or Company List):


| MeetMax can also collect feedback about individual presentations and 1x1 meetings. |
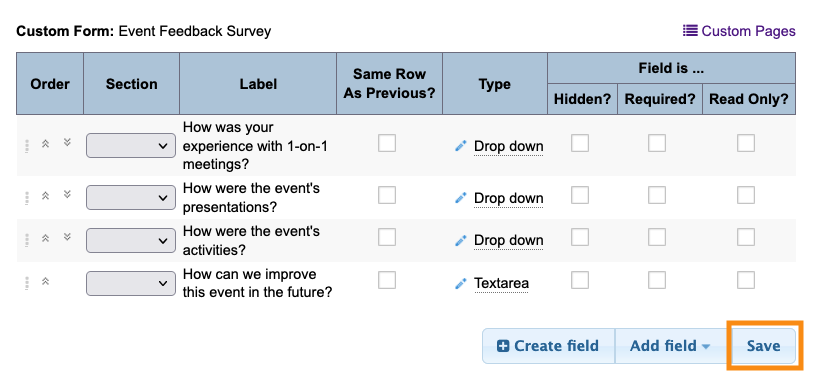
Building a Custom Form
With the Custom Form editor, you can create your survey from the ground up.
Learn how to create a Custom Form here.
As with any MeetMax form:
- You can create custom form fields that collect data in any way you need: text input, multiple choice, radio buttons, etc.
- Need more structure? Break your form into sections.
- Want different participants to see different fields? Add some Form Rules.
Revealing the survey to participants
You can make the form visible to your participants at whatever point you choose.
You’ll use the Menu Editor to show or hide it:
Emailing to request feedback
This is an optional step. You might just reveal the survey to participants and not notify them.
If you do want to send an email to announce the survey:
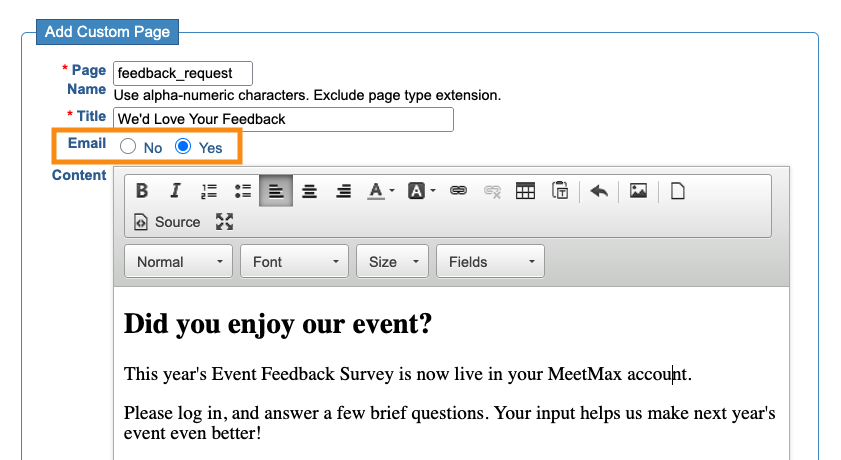
- Step 1. Create a Custom Page email:
- Step 2. When it’s ready, head to the Attendee List:

- If you’re emailing Companies about the survey, start in the Company List instead:

- Step 3. You can either use the full list, or filter it to email a specific group of participants.
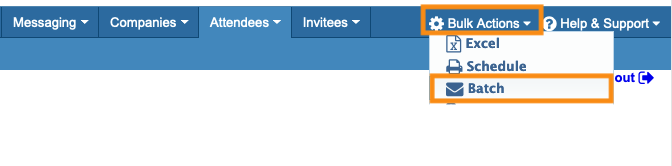
- Head to the top right corner of the page. Use the Bulk Actions menu to choose Batch:
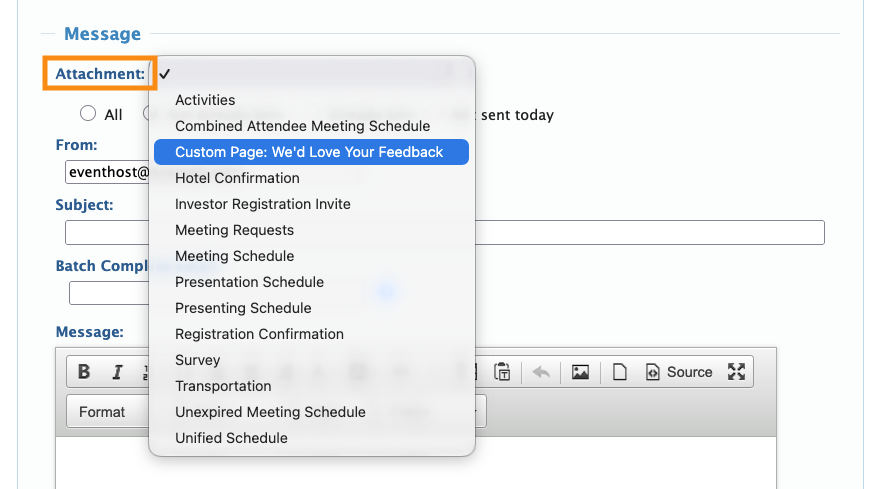
- Step 4. Create the batch email. In the Attachment menu, choose your Custom Page email.
- Learn more about batch emailing here.
Collecting the responses
- Step 1. If you’ve asked Attendees to complete the survey, their responses are in the Attendee List:

- If you’ve asked Companies to complete the survey, those responses are in the Company List:

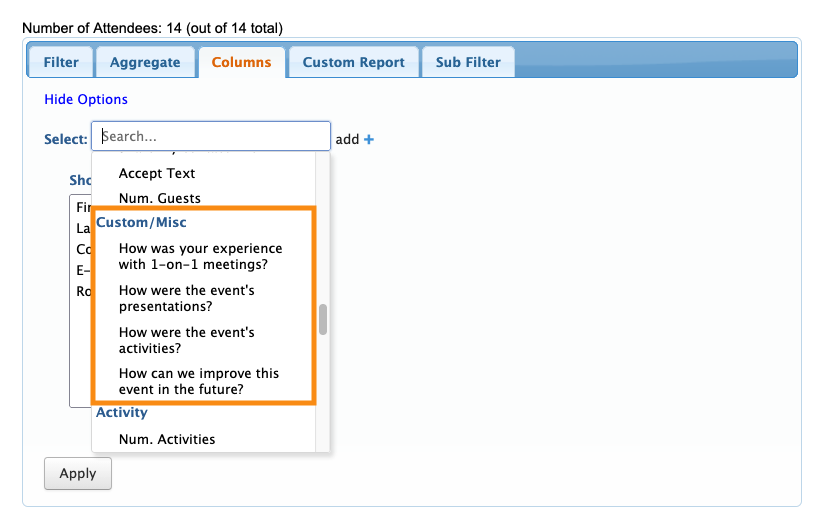
- Step 2. In either list, head to the Columns tab. All of your custom form fields are now available. Add them as columns.
- Click Apply to save:
- Step 3. The list now displays all of the collected form responses:
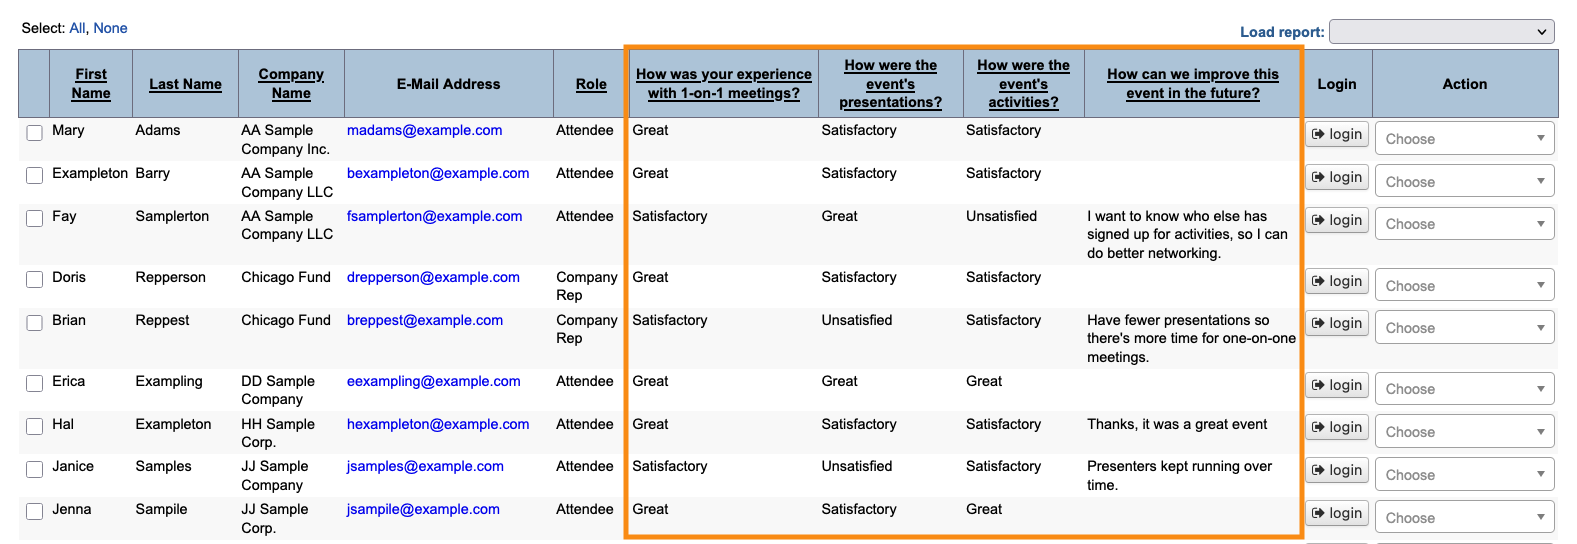
- You can then:
- • Export the list in spreadsheet form.
- • Save it as a custom report.

