
In this article:
Where is it?
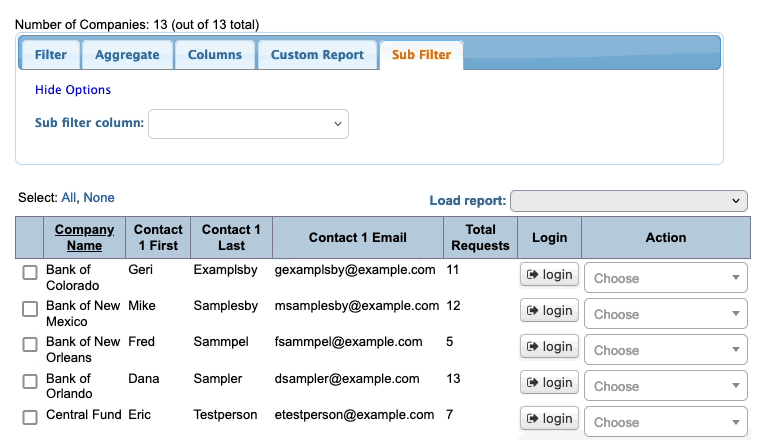
You’ll find the Sub Filter tab on both the Attendee List and Company List:


What does it do?
The Sub Filter tab lets you look at your Attendee or Company list in unique ways, by creating pairs of filters:
- The primary filter is related to meeting requests and meetings.
- The secondary filter is related to your participants. It also incorporates any custom fields you’re using in your registration forms.
When you choose your primary filter criteria, MeetMax opens a list of secondary filters:
When you create a pair of filters, MeetMax reveals the option to add another pair. You can create as many pairs as needed to get the report you want:

Sub Filters are especially helpful when you’re managing a complex meeting program.
| If you need help to set up a complex Sub Filter, reach out to our Support team. |
Creating a Sub Filter
- Step 1. The Sub Filter tool works from the current filters you have set in the Filter tab:
- • If you want to start with a filtered version of your Attendee or Company list, apply any filters you need.
- • If you’d rather create a Sub Filter from your entire Attendee/Company list, remove all current filters.
- Step 2. Decide which Sub Filter options you plan to use. Then head to the Columns tab, and add these columns to your list.
- Be sure to click Apply!

- Step 3. Next, head to the Sub Filter tab. Use the menu to choose your first filter:

- Step 4. When you’ve made your choice, you’ll see a secondary filter menu. Choose from that menu, and then add the text to filter on. Click the magnifying glass button to complete the filter:

- You can also combine filters. Use the + button to add more criteria. Then click the magnifying glass to use these filters together:

- Step 5. Each time you create a pair of filters, you’ll see the option to add a new Sub Filter, or edit your existing ones:

Removing filters
You can clear your Sub-Filters at any time by clicking Clear All:

Saving a custom report
If you’ll want to return to this filtered view later, head to the Custom Report tab.
Use the menu to choose New. Then give your report a title, decide whether to share it with your team, and click Save:

Whenever you need to revisit this report, head to the top right corner of the Attendee/Company list. It’s in the Load report menu:


