How it’s used:
• Once registration is complete for your event, you might want a list of all the Reps your participating Companies have added.
• This report can be updated throughout your event. You can add details about each Rep’s 1x1 meetings, see who’s giving presentations, or who’s signed up for activities.
In this article:
Running the report
- Step 1. Head to the Attendees tab. Choose Attendee List:

- Step 2. Next, go to the Columns tab. Here, you can add and remove columns. Click Apply to save the changes.
- This is a good set of columns to use for an initial list of Company Reps:

-
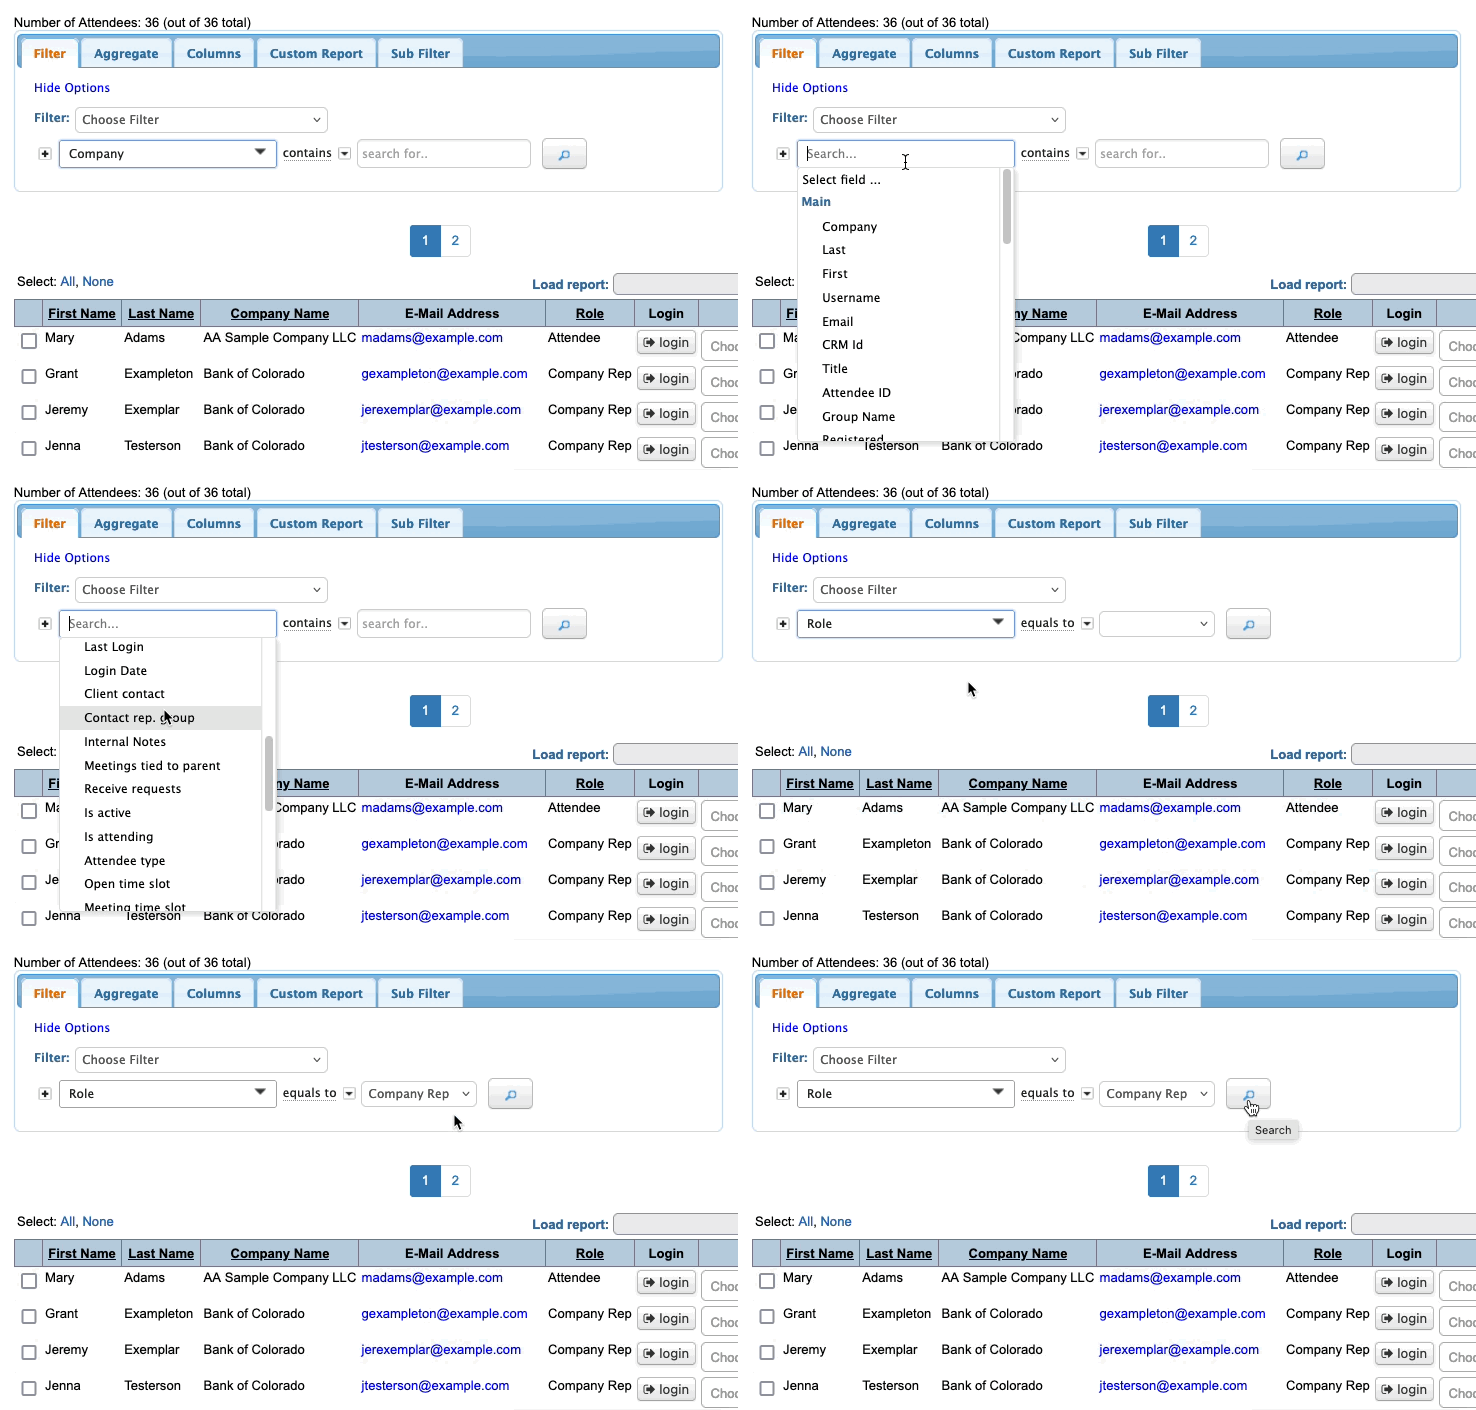
Your event might have slightly different names for these columns. As your event approaches, you might want to add more detail to this report. See the Updating section below for some ideas. - Step 3. Now, head to the Filter tab. Set the filter by Role, and choose Company Rep:

- At this point, you can export or save the report as shown below.
Exporting the report
To export the report in spreadsheet form, head to the top right corner of the page. Click Bulk Actions, then choose Excel.
You can open the exported file in any spreadsheet software:

Saving the report
Want to save this report so you can quickly access it later?
Head to the Custom Report tab. Choose New from the menu.
Then give the report a title, choose whether to share it with your team, and click Save:

Updating the report
As your event approaches, you might want to add more information to this report. You can update and resave it any time.
- Step 1. To open the original report, head to the Custom Report tab. Use the Load section of the menu:

- Step 2. From here, you can use the Columns tab to add any information you currently need.
- As an example, here are good columns to add if you’re tracking each Company Rep’s scheduled meetings and remaining availability:

- Step 3. When you have a new view that meets your needs, head back to the Custom Reports tab. Use the menu to Resave your report. You’ll have an opportunity to update its title if you like:

- Step 4. The Filter tab is also useful for seeing different snapshots of your Company Rep report. The top Filter menu gives you many different ways to view the data:

-
Filters will change the number of Company Reps you can see on the report - you’ll no longer see them all. So you might not want to resave the report after filtering.
Learn more:


