You can export schedules for all of your event’s Attendees (or Companies), or a specific group of them.
You’ll use the Print tool, but then save the schedules to PDF. Your computer’s print settings should allow this.
- Step 1. Head to the Attendee List:

- If you’re exporting Company schedules, start at the Company List:

- Step 2. If you want to export schedules for the entire list, skip to Step 3.
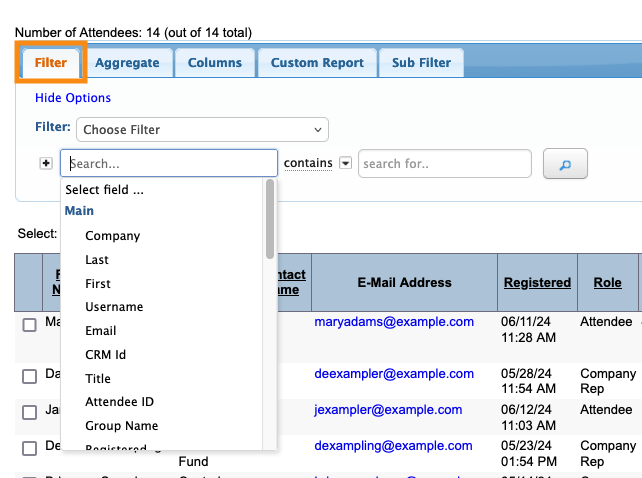
- If you need schedules for a subset of your list, use the Filter tab to narrow it down:

- Step 3. When you have the list you need, head to the top right corner of the page. Click on Bulk Actions, then choose Schedule:

- Step 4. You’ll see a preview pop up, where you can scroll through and see all the schedules in the batch.
- You might want to customize the format of the schedules, or what’s included. Learn more about schedule customization here.
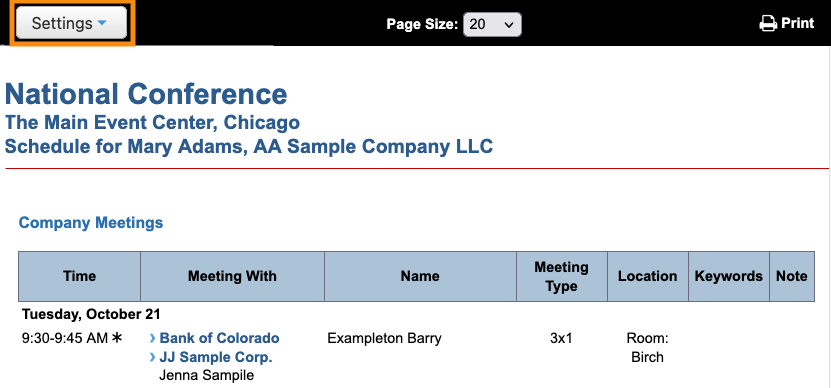
- To add customization, click the Settings button:

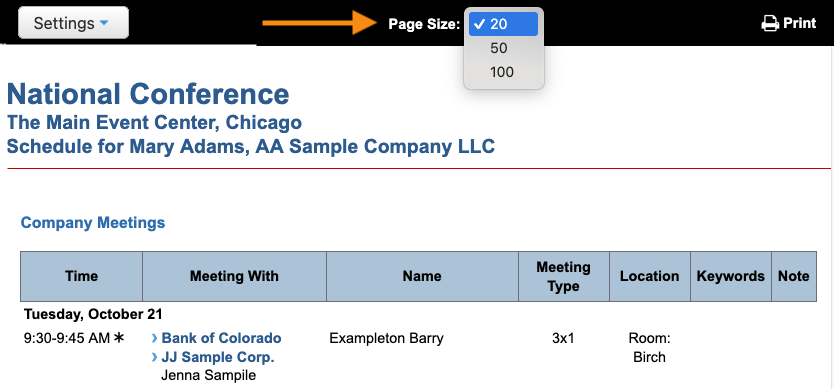
- Step 4. By default, MeetMax exports schedules in batches of 20. If you were exporting 50 schedules, for example, MeetMax would create three batches.
- You can increase that batch size if you like:

-
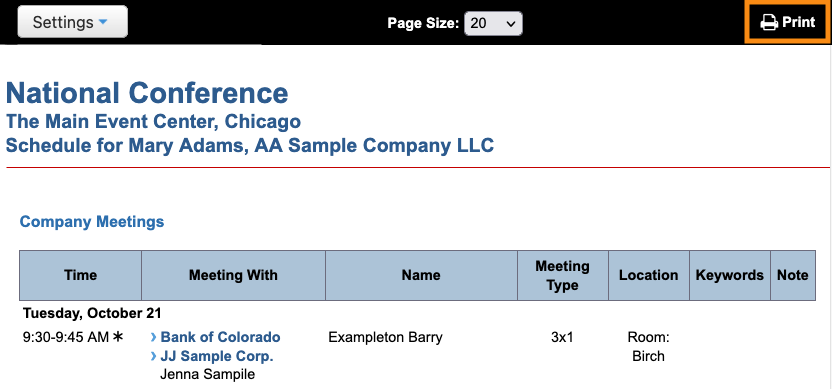
When you export and save as PDF, all of the schedules in a batch will be contained in a single PDF. You can then print individual schedules from this batched PDF. - Step 6. When you’re ready to export, click the Print button:

- Step 7. Your computer’s printer dialog box will open. You should see the option to save to PDF instead of printing. It will look something like this:


