In this article:
- Where is it?
- How many versions do you need?
- Creating alternate versions of a Message
- What participants see
Where is it?
Message editing happens in the Configure tab. You’ll set up versions on the Messages page:

We’re assuming here that you’re already familiar with the basics of adding custom content to MeetMax pages.
How many versions do you need?
In MeetMax, you can insert custom content on any of the web pages your participants see. We call these insertions Messages.
Every Message can also have multiple versions. We call these versions Message Tags.
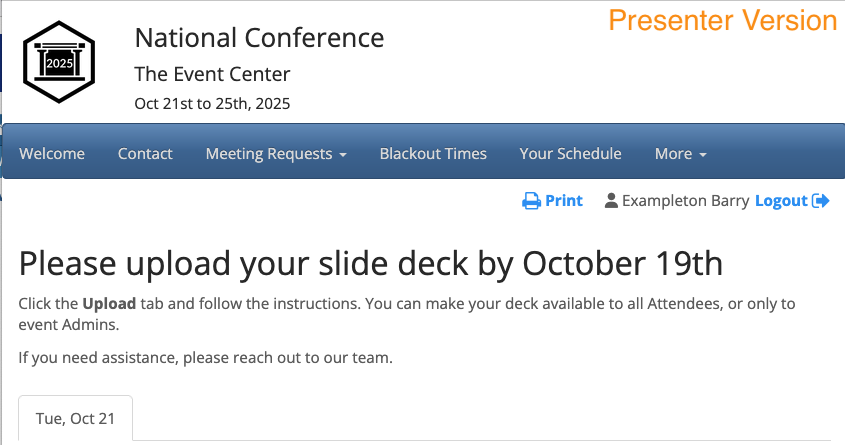
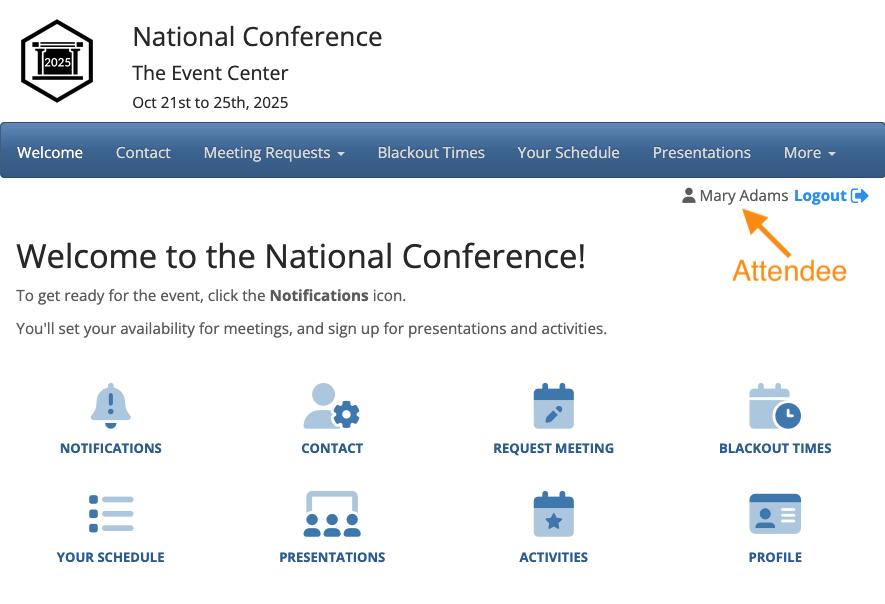
Here’s a simple example - we’ve inserted a custom Message at the top of the Welcome page for our event. This is the version Attendees see:
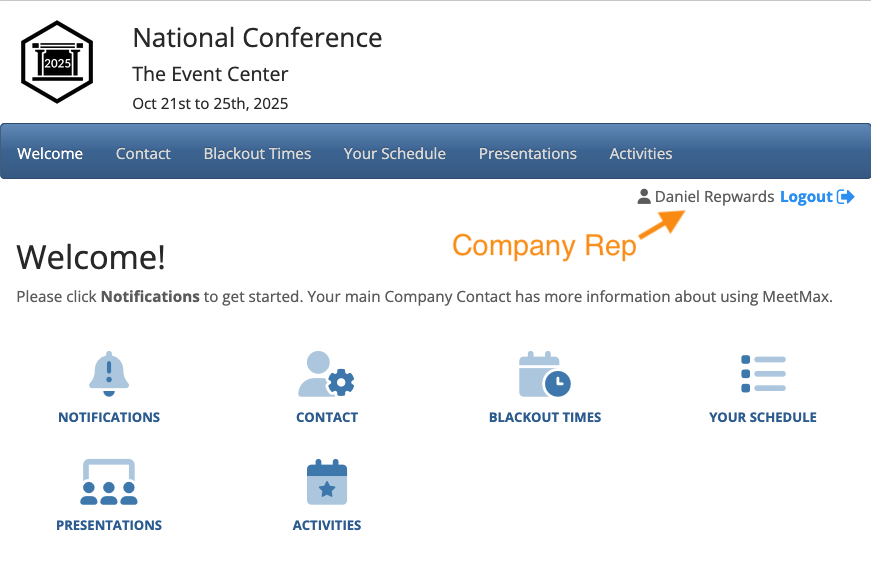
…And we created a separate Message Tag for Company Reps, so they see a different message:
You can have as many different versions of a Message as you need for your event. You can create different versions for user roles, or members of Attendee groups you've set up, or even different stages of your event.
| Our Support team is happy to help with setting up Message Tags for your event. |
Creating alternate versions of a Message
In this example, we’ll set up a Message (with two Tags) for the top of the Presentations page:
- We want Attendees to see instructions for signing up for presentations.
- We want Presenters to see a note about uploading their presentation slides to MeetMax.
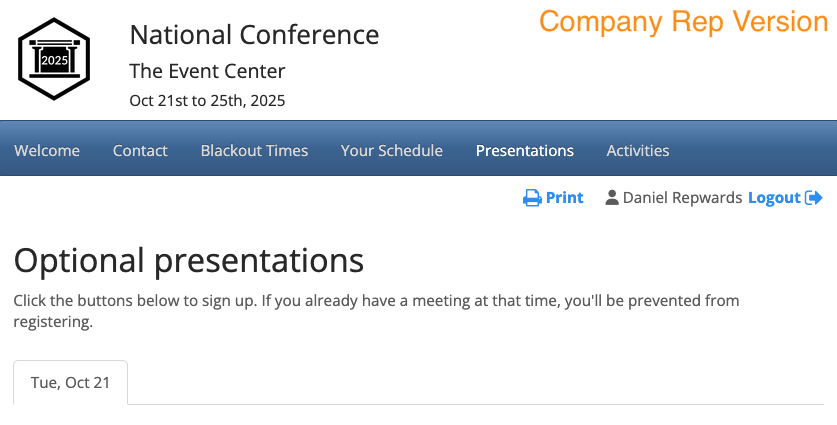
- We want Company Reps to see a reminder that presentations are optional.
- Step 1. Head to the Configure tab. Choose Site Design, then Messages:

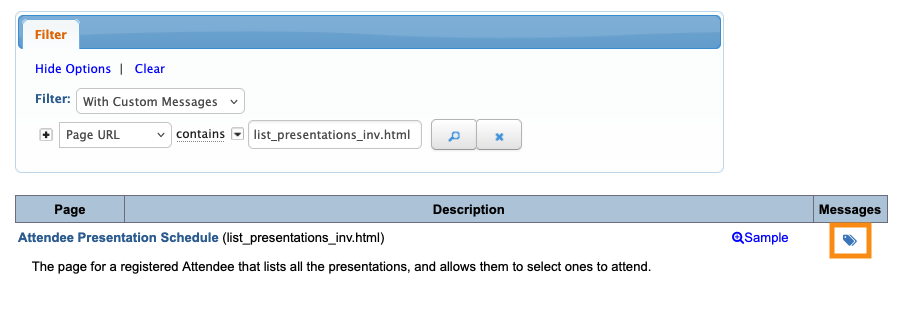
- Step 2. On the Messages page, filter the list to locate the Message you need.
- When you’ve found the Message, click the tag icon to open it for editing:
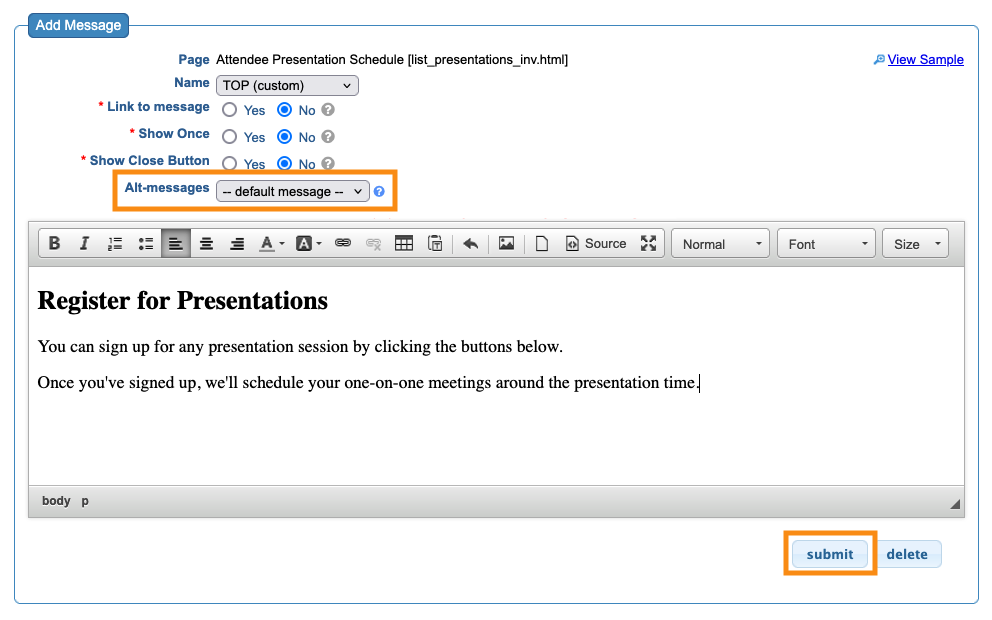
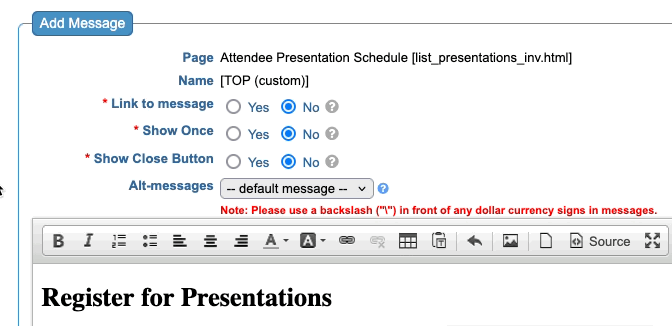
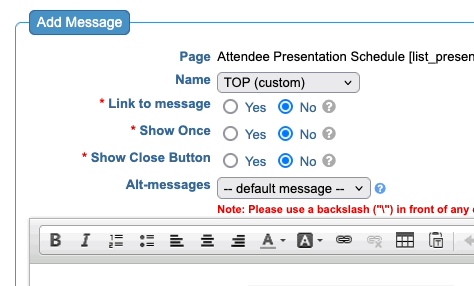
- Step 3. In the content editor, the first version you create is the default version. (Notice the Alt-messages menu - it’s set to Default Message.)
- Add your content for this default message, and click Submit:
- Step 4. After saving, you’ll remain in the editor. Now, go to the Alt-messages menu. Choose New Sub-Message:
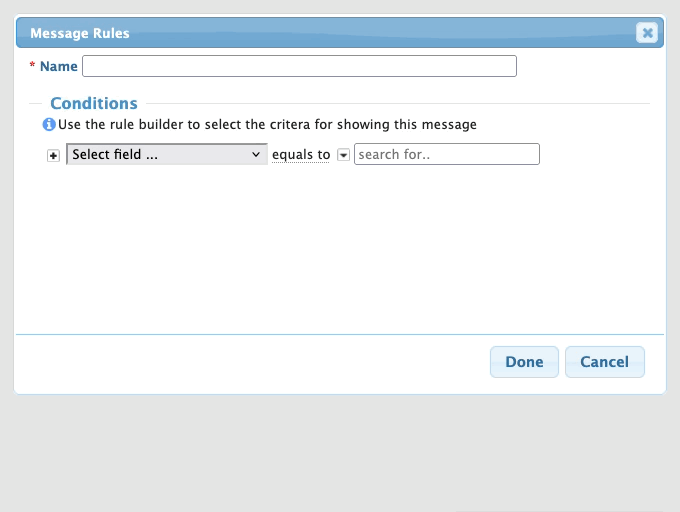
- Step 5. Next, you’ll set the rules that cause this version to display.
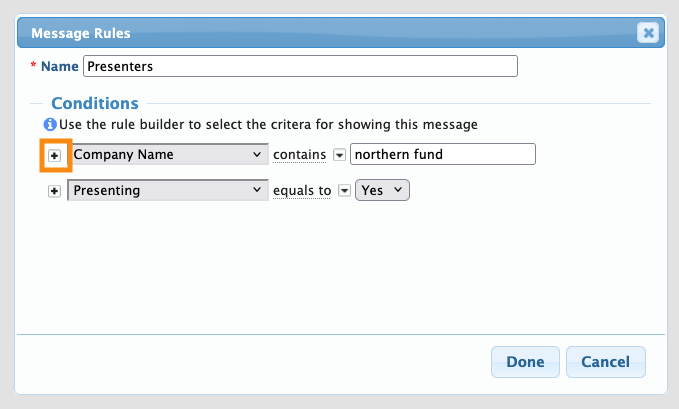
- Give this Message Tag a name. Then, choose the criteria from the menu.
- In this example, we’ll show this alternate message whenever someone’s designated as a Presenter. Click Done to save:
- Keep in mind that you can make the rules as simple or detailed as you need. Click the + button to add more criteria.
- Below, we added a second criteria - now this message would display only for Presenters from one Company:
- Step 6. After you click Done, you’ll be taken to the content editor for this Message Tag.
- Add the content for this version, then click Submit:

- Step 7. Now it’s time to create our third version of this Message.
- Head back to the Alt-messages menu again. Choose New Sub-Message:
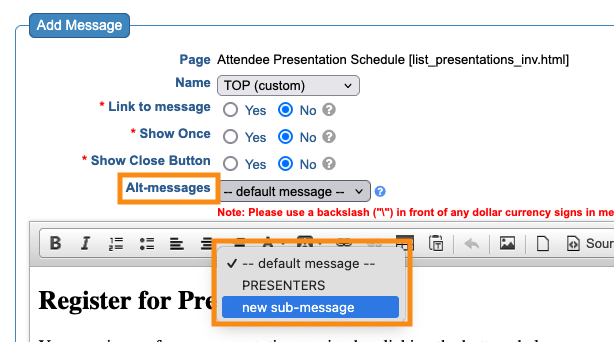
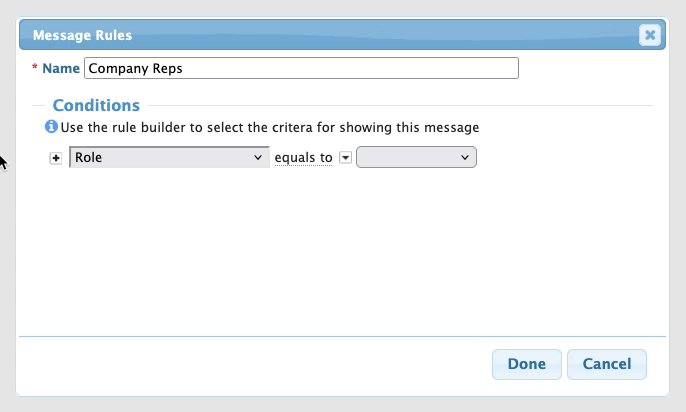
- Step 8. Give this Message Tag a name, and add the criteria for displaying it.
- Here, we’re setting this message to display only to Company Reps:
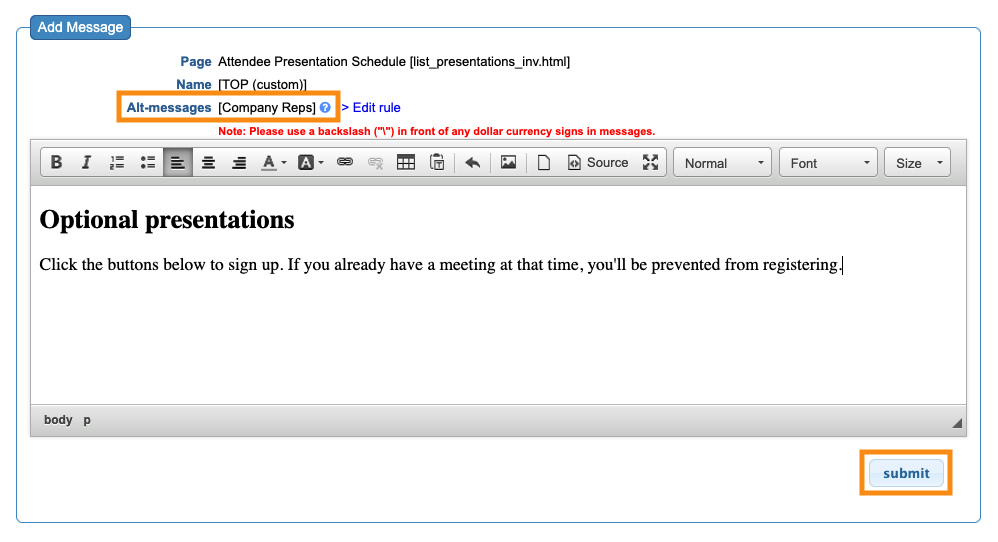
- Step 9. Finally, add the content for this version. Click Submit to save:
- You now have three versions of this message. If you need to edit any version later, use the Alt-messages menu to select it:
What participants see
Here’s what our three sample users will see. They’ll log into MeetMax and head to the Presentations page: