
In this article:
Where is it?
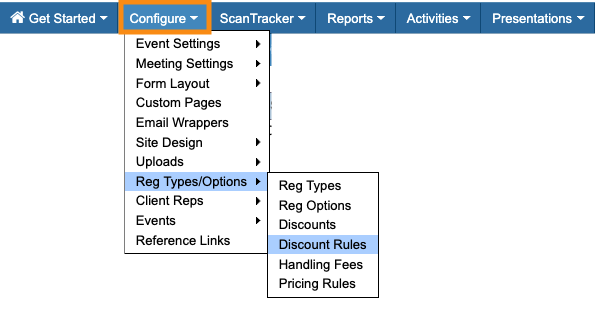
You’ll add Discount Rules from the Configure tab:

Discount Codes vs. Discount Rules
These two tools both create discounts, but in different ways.
- Discount Codes are broader, and require a participant to enter the code during registration. Anyone who has the code gets the discount, as long as they choose the Registration Type it applies to.
- With Discount Rules, you tie the discount to responses in specific form fields. That way, when the participant enters the response, MeetMax applies the discount automatically. If you’re concerned about people sharing discount codes, use a Discount Rule.
| If you’re using both types of discount in your event, and a participant tries to apply both discounts to their invoice, the Discount Code will always override the Discount Rule. |
In the Discount Rule form, you can choose from all of your default and custom form fields:
When you choose a form field, you can decide which responses are eligible for the discount.
Adding a Discount Rule
In this example, we have a VIP company, Central Fund, attending our event.
We want to give Central Fund employees a special extra discount on any of our admission prices. We don’t know who will be registering for the event or when. So as a simple solution, we’ll set a Discount Rule that’s tied to the Company Name field.
- Step 1. Head to the Configure tab. Choose Reg Types/Options, then Discount Rules:
- Step 2. The Add Discount Rule form has a few required fields, and some optional ones.
- Feel free to use only the criteria you need. Learn more about each field below:
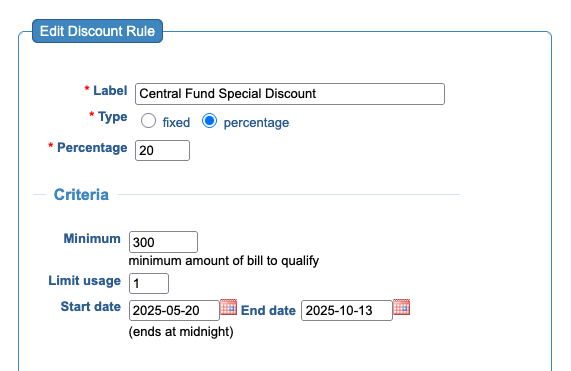
- • Label: An internal name for the discount. It doesn’t appear on the participant invoice.
- • Type: Choose a Fixed amount or a Percentage. Then enter the amount.
- • Minimum: Enter the minimum invoice amount that will trigger this discount to apply. In our example, our lowest admission, Early Bird registration, is $300.00, so we’ve set that as the minimum.
- • Limit Usage: Set the number of times a participant can use this discount.
- • Start/End date: We’ve set a wide date range for our example, since we don’t know when people from Central Fund will register. You can make a rule active for any amount of time you prefer.
- Step 3. At the bottom of the form, add the rules that allow this discount to apply.
- In this example, we’ll set a Qualifying Charge for this discount. It can only apply to one of our Registration Options: Admission.
- Then, we’ll choose the Company form field, and set the input for this field that will trigger the discount:
- Step 4. Click Save.
What Attendees see
When a new participant registers, if they’re identify themselves as being with Central Fund, they’ll see the extra discount on their invoice:
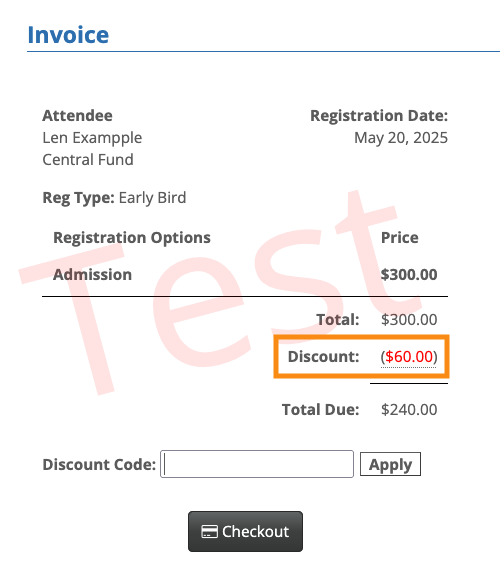
| See how there’s a Discount Code field visible on the sample invoice above? That’s because we also have some regular Discount Codes set up for this event. |
Discount Codes and Rules can exist in the same event, but you’ll likely want to set them up so they can’t be used together. Our Support team is happy to help you with these settings.

