In this article:
Where is it?
You’ll create categories and work with them on the Meeting Times page. You can reach it from either the Attendee List or Company List:


Choosing your categories
You can create as many categories as you need for your event. For each category, you’ll choose one or more filters that define who’s included in this category.
The filter options are based on:
- Fields in your registration form (including your custom fields)
- A limited set of meeting request criteria:
In the example below, we’re using the Group Name field, which we've added to the Admin version of our Attendee registration form.
This field lets our Admin team assign Attendees to groups. We can also use this field for meeting request categorization.
| Our Support team is happy to help you find the best filter options for your request categories. |
Who will the categories apply to?
Once you create your request categories, they’re available to all participants.
The categories are only visible, however, when you’ve also filled out the form field that’s attached to the category.
Setting up request categories
- Step 1. You can create categories from either the Attendee List or Company List. Either way, the categories will be available from all participant records.
- For this example, we’ll head to the Company List:

- Step 2. Use any Company record. Use the Action menu to choose Meeting Times:

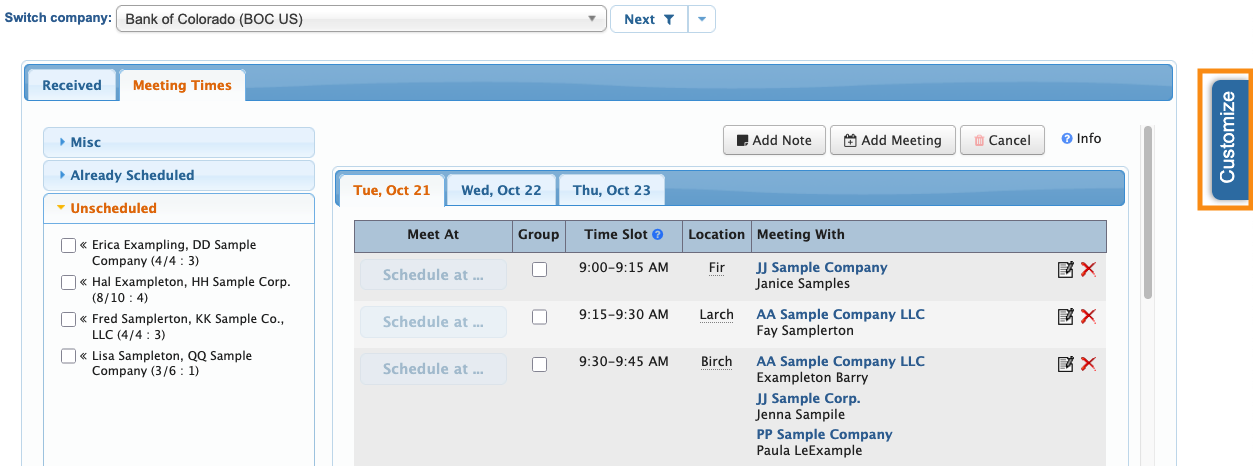
- Step 3. On the Meeting Times page, head to the right edge and click the Customize button:
- Step 4. In the slide-out menu, click the Meeting Times Sections option. Then click the Add button to create your first category:
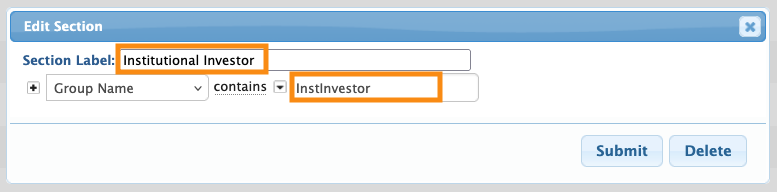
- Step 5. In the pop-up, give the new category a name.
- Then, set the filter criteria that will include people in this category. Click Submit to save:
- Values vs. Labels
- When you choose the form field for your filter, keep in mind that meeting request categories recognize the field’s Value.
- Here’s an example from the Form Editor. See how this field has different formats for the Value and Label?
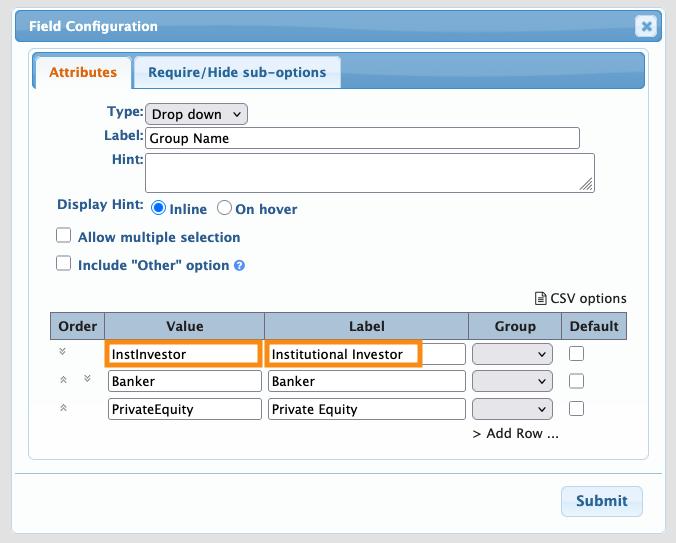
- When you use this field in a meeting request category filter, make sure you’re using the Value as shown below:
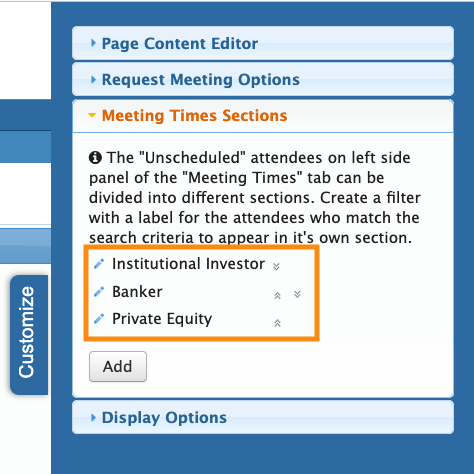
- Step 6. Repeat this process to create as many categories as you need.
- As you can see below, MeetMax converts the display to the Label:
Viewing categorized requests
We’re assuming here that you’ve already visited each participant’s record, and filled out the form field you’ve chosen for categorization.
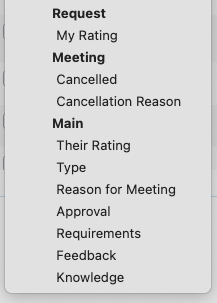
Assuming you’ve done that, you can head to the left sidebar of the Meeting Times Page, and see your newly-categorized meeting requests: