Adding a single Invitee

If you’re using Invitee registration, you might need to add individual Invitees to supplement your main registration.
In this article:
Where is it?
You’ll add the Invitee from the Invitees tab:

| In most cases, you’ll import your list of Invitees to MeetMax. This article covers adding individual, supplemental Invitees, either an Attendee or Company. | |
| Learn more about Invitee registration here. |
Adding a single Invitee
- Step 1. Head to the Invitees tab. Choose Add Invitee, then choose whether this Invitee will be an Attendee or Company:

- Step 2. If you choose Attendee, you’ll be taken to the Admin version of your event’s Attendee registration form.
- If you choose Company, you’ll be taken to the Admin version of your Company registration form.
- Fill in as much information as you have, especially the required fields. The Invitee will be able to fill in any other details later:
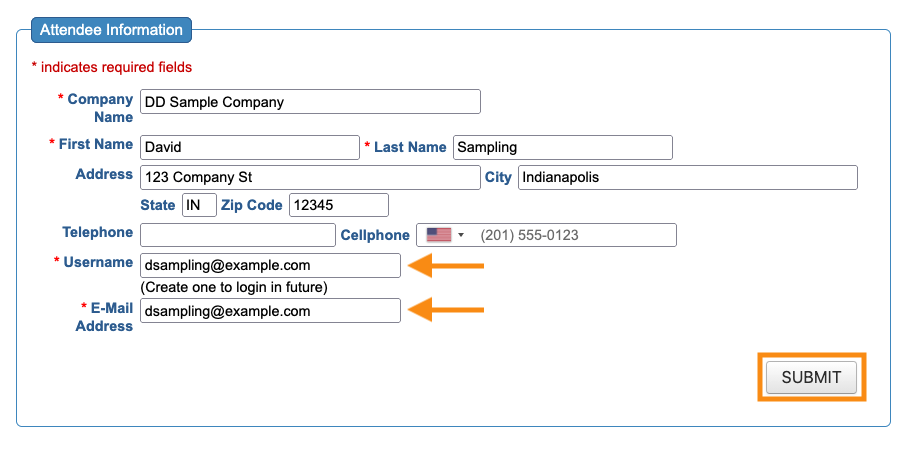
- Step 3. Click Submit to save.
-
We recommend setting the Invitee’s username to be their email address as shown above. It simplifies the login process.
Sending the invitation
Once you've saved the completed form, you’ll see three new buttons:
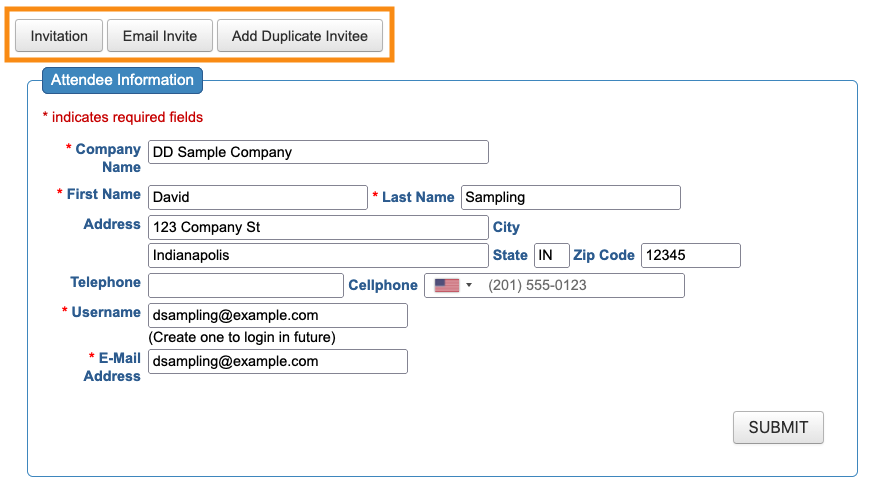
- Invitation: Use this button to view the invitation and accept it on the Invitee’s behalf.
- Email Invite: This button starts an email to the Invitee. You can add a personal note to the invitation content.
- Add Duplicate Invitee: If you need to invite more people from the same company, use this button. It starts a new Invitee registration, with all of the details already filled out.
What the Invitee does next
Once they receive your invitation, the Invitee can accept or decline. Learn more about what the Invitee sees here.

