

Badging Express: Checking-in and badging

You’ve completed the set-up! Now you’re ready to run check-in.
In this article:
- Locating specific attendees
- Checking in an attendee, printing their badge
- Walk-in registrations
- Editing and reprinting a badge
- Monitoring check-ins
| We’re assuming here that your attendees have already been added to the check-in system. |
Locating specific attendees
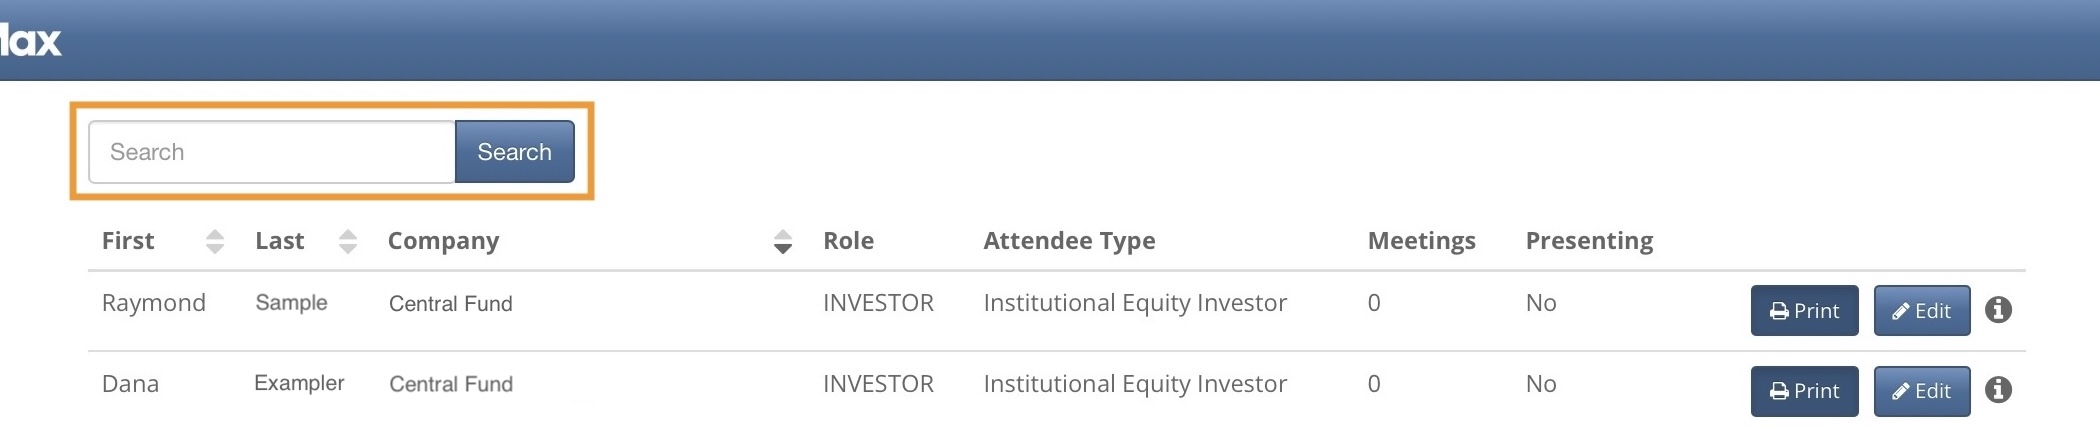
On the tablets, head to the top left corner of the page. Use the search bar to locate people.
You can search by last name or company name:
| Searches must be one word only, no spaces. |
Checking in an attendee, printing their badge
- Step 1. Locate the attendee you need to check in, as shown above.
- Step 2. Click the Print button next to their name:
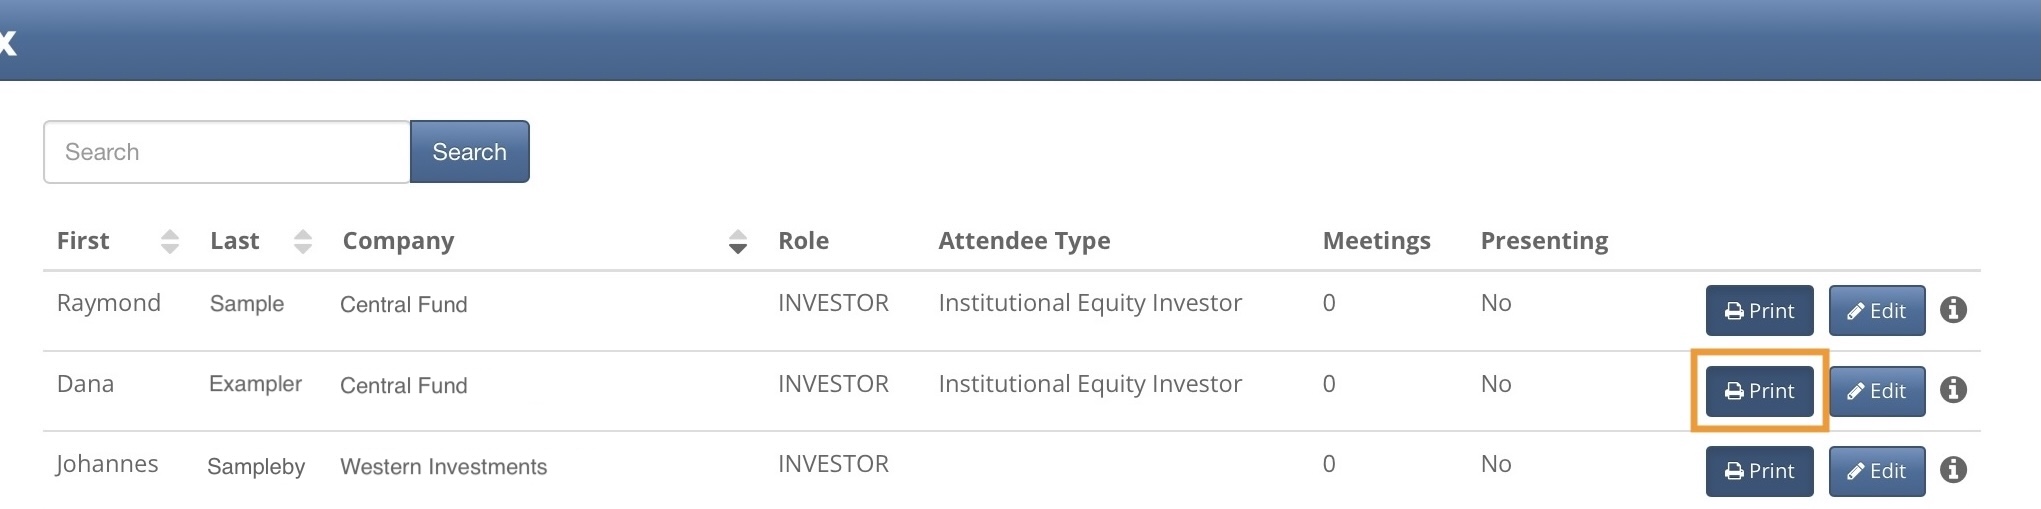
- Step 3. That action also checks the attendee in. Head to the printer to collect the badge.
Walk-in registrations
You can register walk-ins from either Tablet.
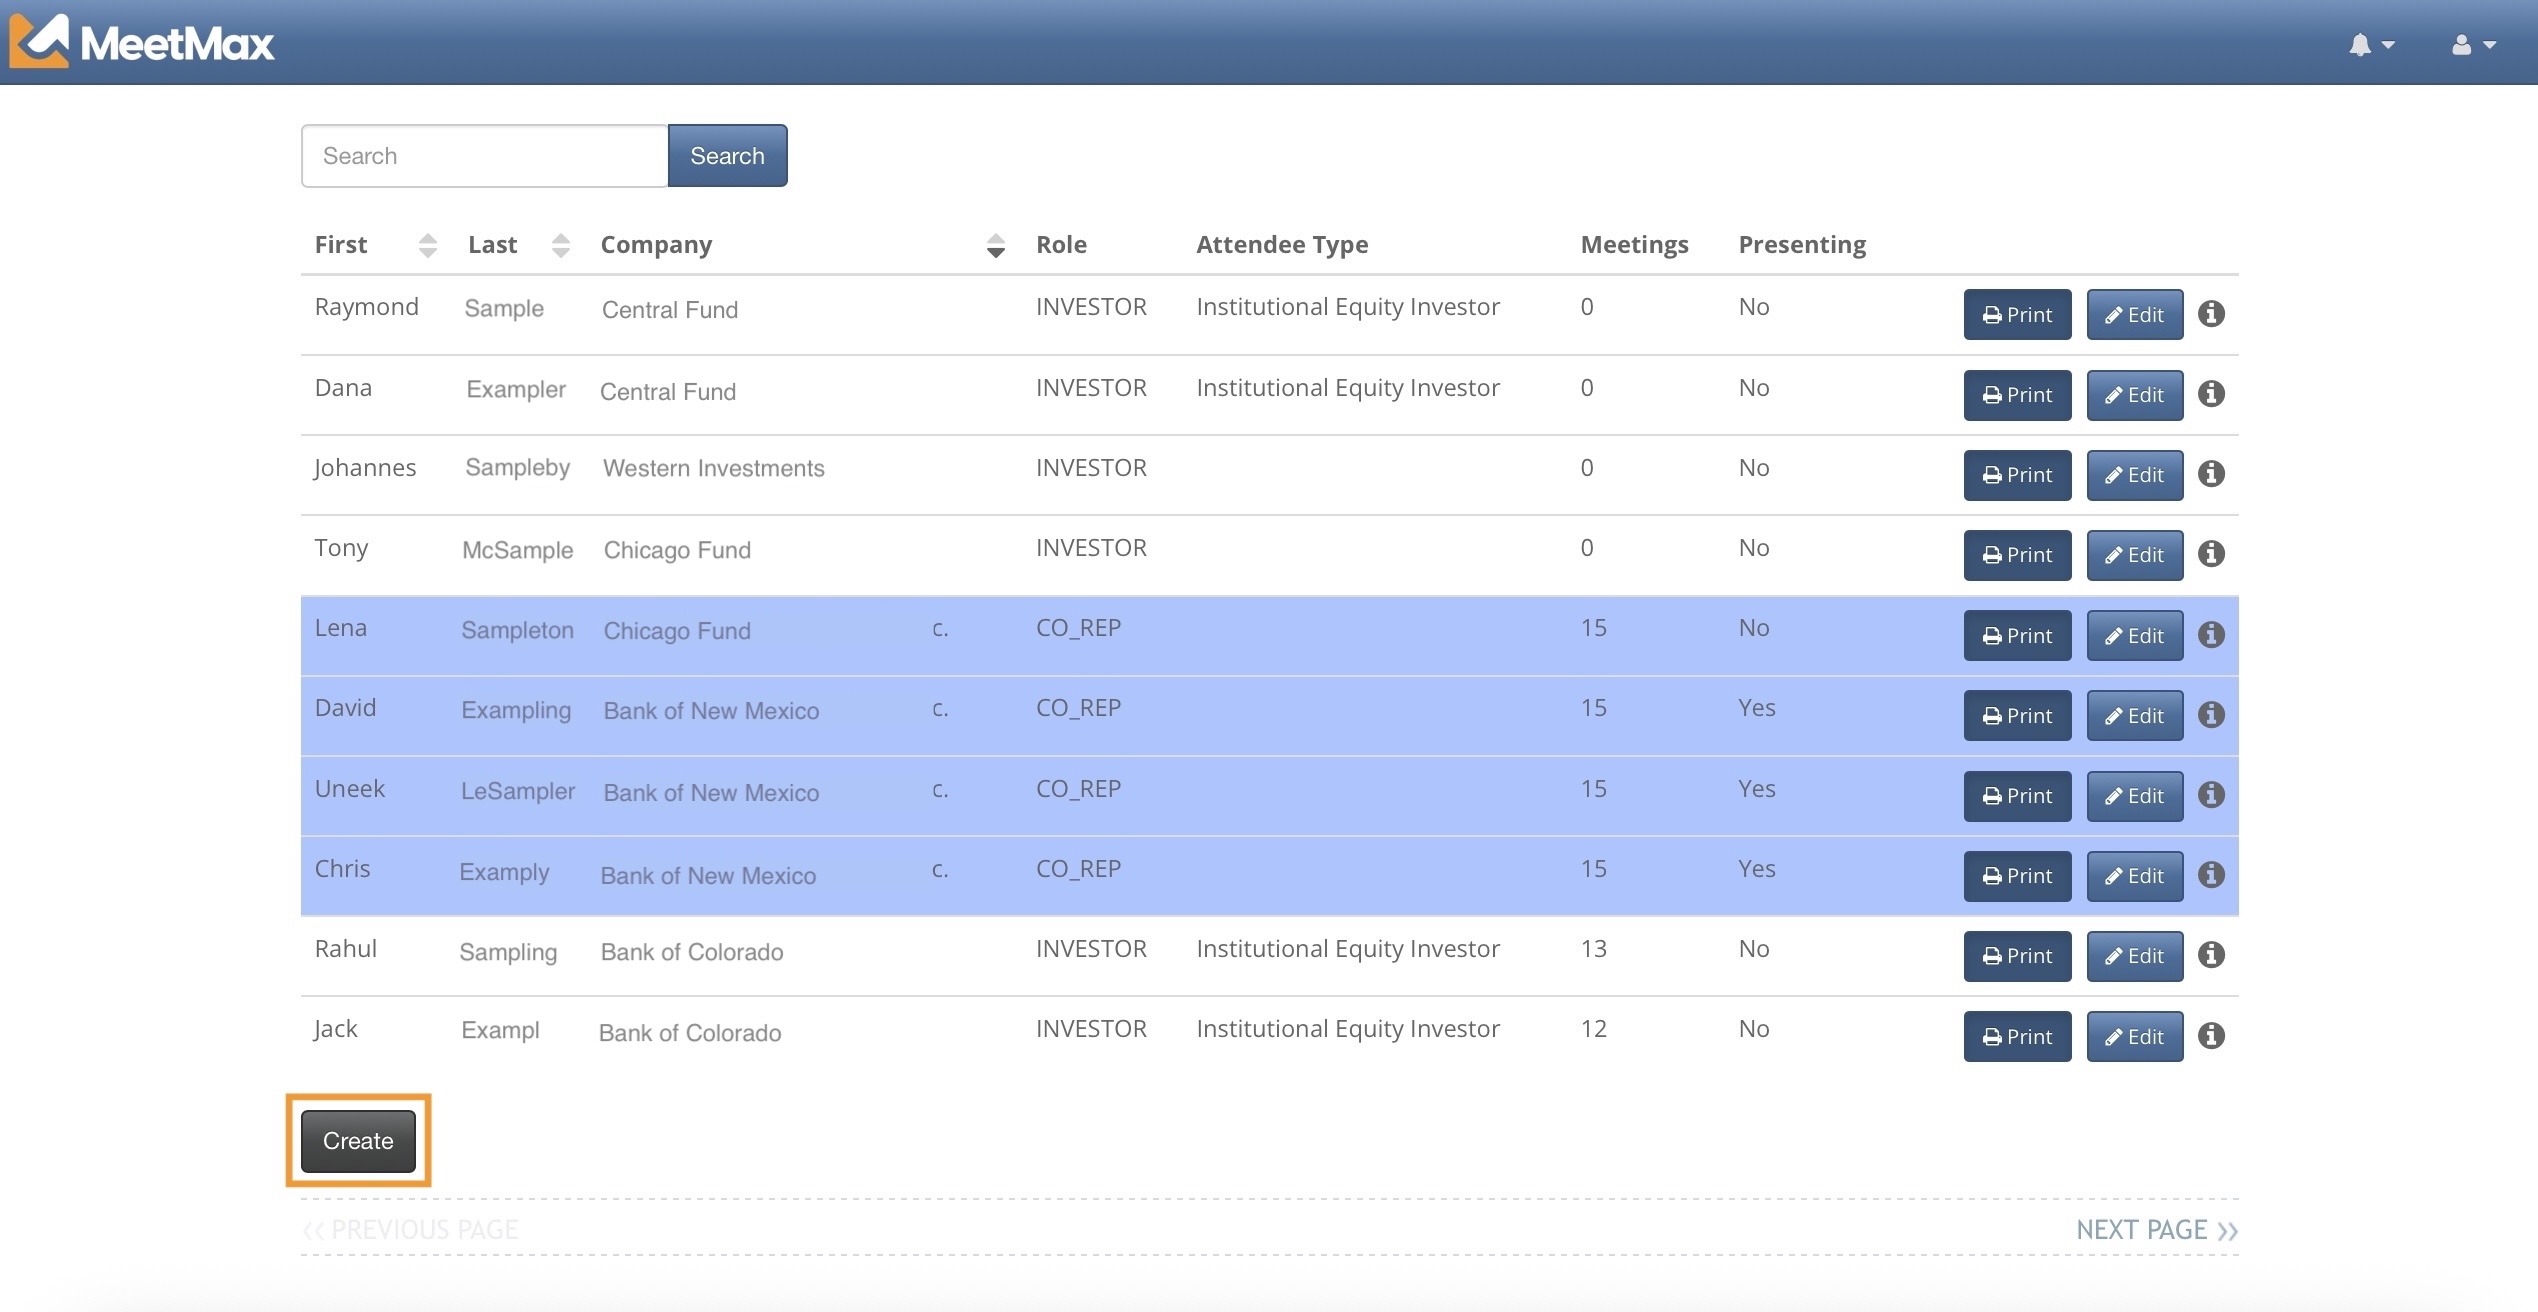
- Step 1. Head to the bottom left corner of the page and click the Create button:
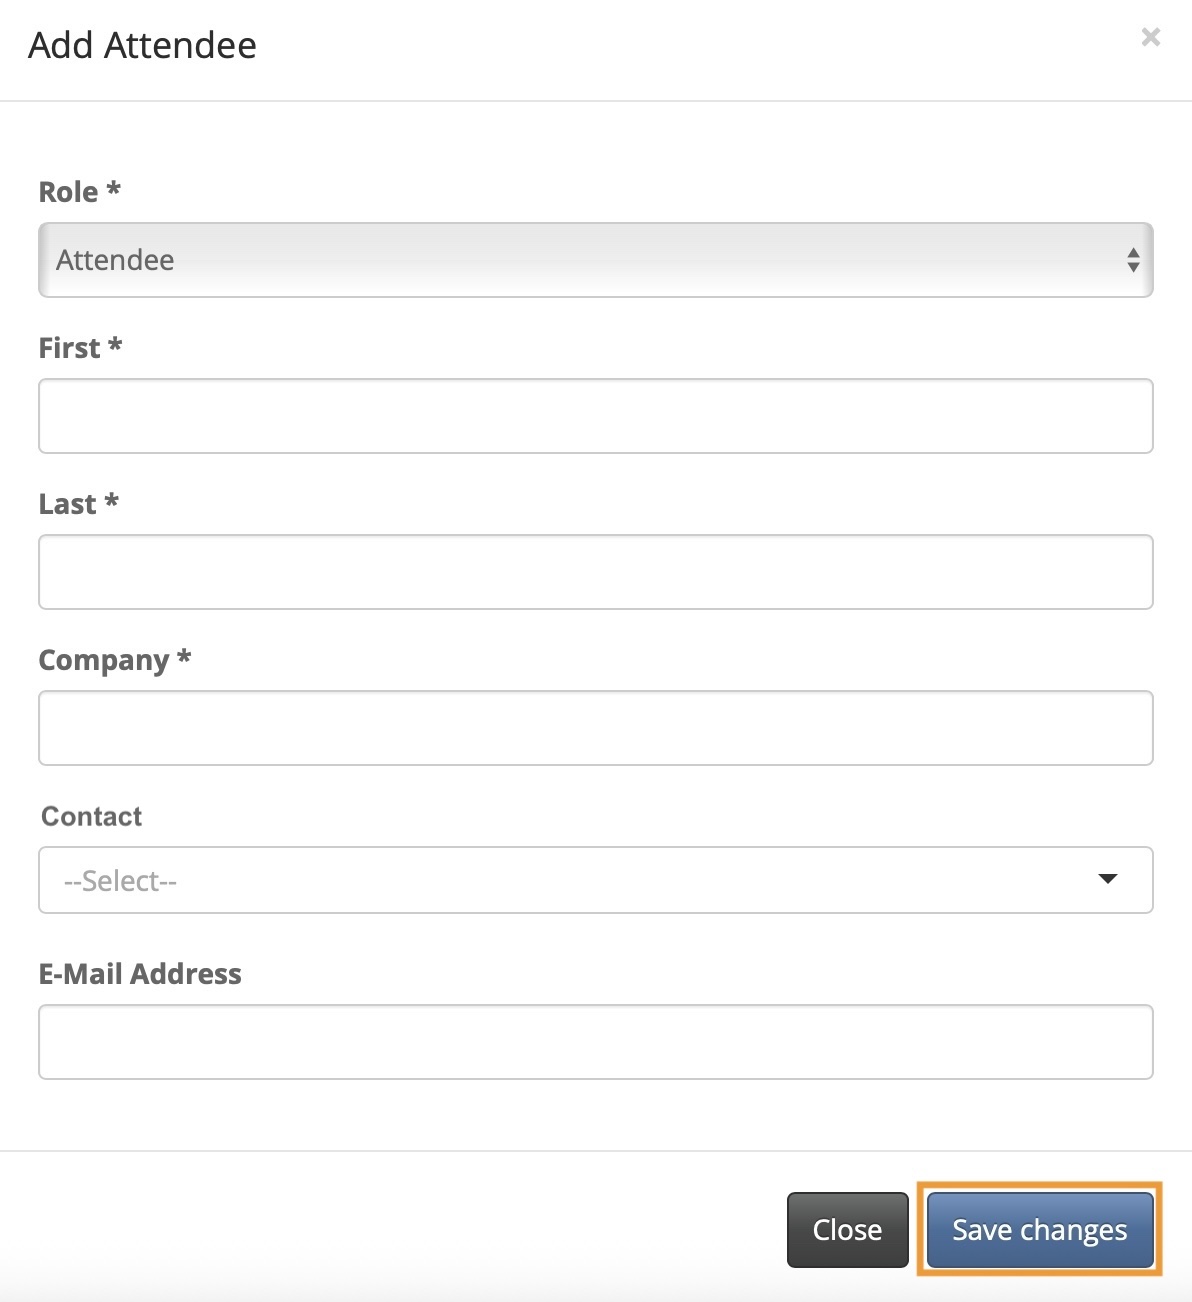
- Step 2. Your event’s registration form will pop up. Fill it out and click Save Changes:
- Depending on network traffic, it could take a moment for the new registration to transmit to our system.
- If you want to sync the check-in interface immediately, head to the top right corner of the page and click the bell icon:

-
Be sure to refresh page after this step, so you can see the updated display. - Step 3. When you can see the new attendee in the list, click the Print button to issue their badge.
Editing and reprinting a badge
Sometimes, an attendee will want a minor change to their badge.
| Remember, searches must be one word only, no spaces. |
- Step 1. Use the search bar to locate the attendee:

- When you’ve found the registration you need, click the Edit button:
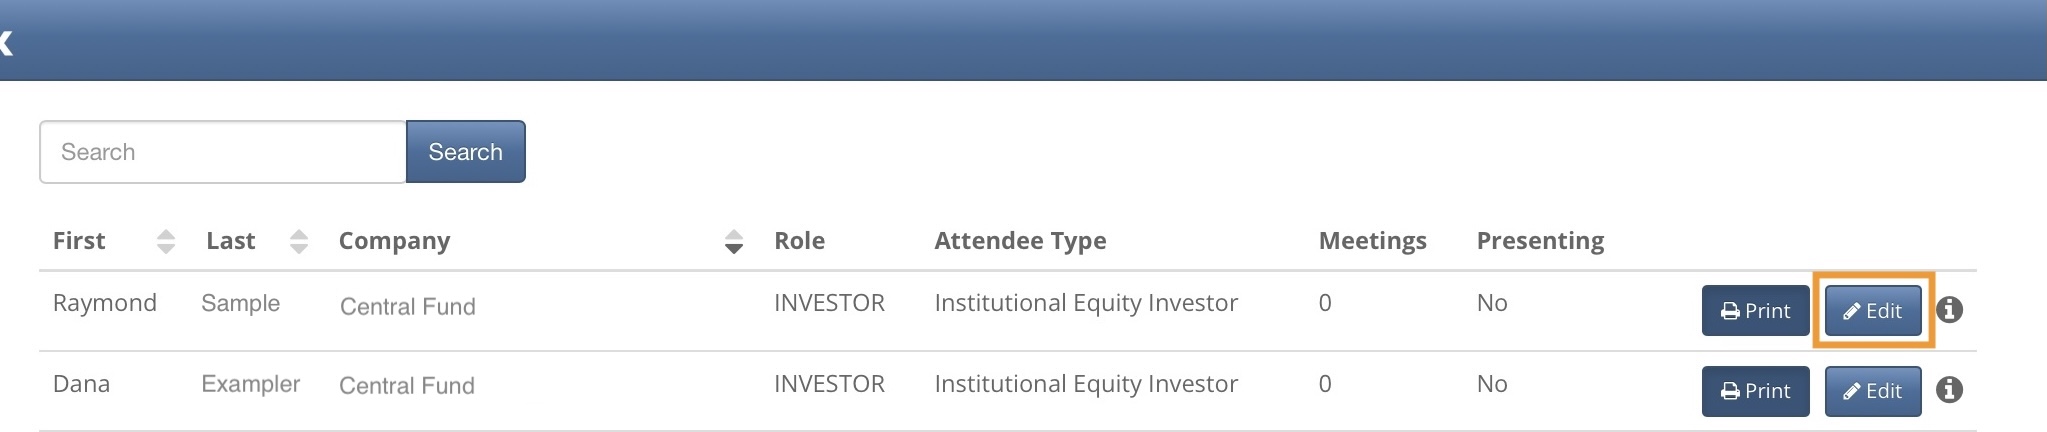
- Step 2. The attendee’s registration form pops up. Update any information you need.
- Click Save Changes.
- Step 3. Click the Re-print button to send the updated badge to the badge printer:

Monitoring check-ins
Throughout your event check-in, you might want to check on progress. Or, you might need to verify whether a specific person has checked in.
The simplest method is to use the Tablets. Use search bar to locate the attendee. Then check the Print button:
- If it’s a blue Print button, the attendee has not checked in.
- If it’s a green Reprint button, they have checked in.
Alternatively if you’ve brought a laptop to access your main MeetMax account, you can monitor check-ins on the Attendee List:
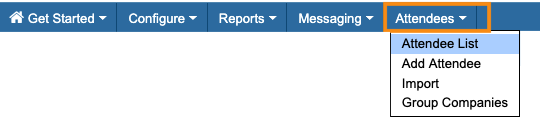
Our team has added the Is Attending and Checkin Time columns. That shows everyone who’s checked in:
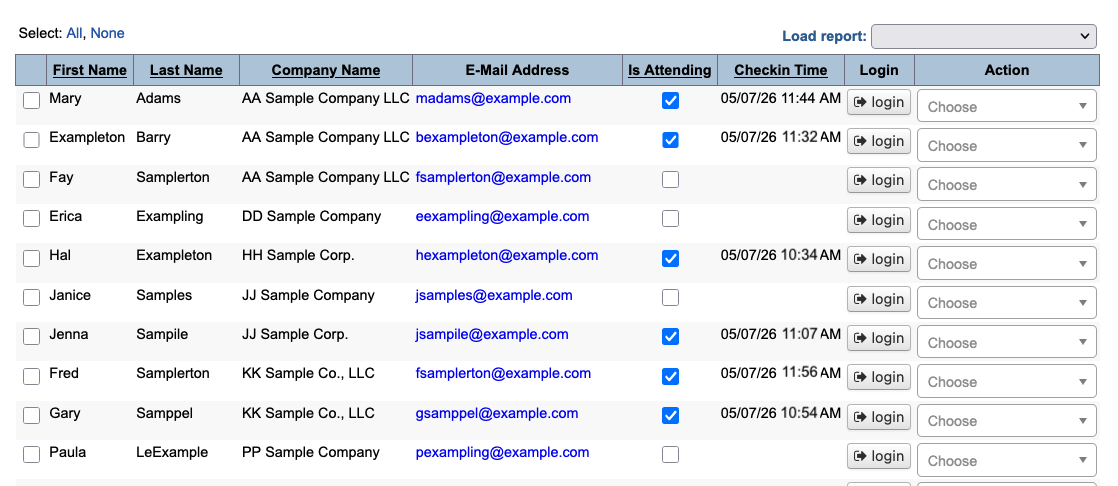
| You can also click the Is Attending checkbox here to mark an attendee as checked in. It may take a few moments for that status to transmit to the badging interface on the Tablets. |
What’s next
- When your event ends, it’s time to pack the equipment to ship back.

