
In this article:
- Where is it?
- Why is it useful?
- Setting up your registration form for Pricing Rules
- Creating a Pricing Rule
- What participants see
- More complex scenarios
Where is it?
You’ll create and manage Pricing Rules from the Configure tab:

Why is it useful?
For some events, you might want to offer options that have added fees. But not all Attendees will want these options - you’ll also need to add an ability to choose.
Here are some examples:
- You might want to offer a special Q&A session with a VIP, and charge a separate admission fee for that one session.
- You might have one Activity, like a golf outing, where the Attendee needs to pay a fee if they’re signing up.
- Your event might have an optional Member Directory for sale. If an Attendee wants to buy it, they can choose either a digital or printed version.
| Our Support team is happy to help you with this feature. |
Setting up your registration form for Pricing Rules
As a first step, you’ll choose a form field to use as the basis for your Pricing Rules. You can use any default field, or create your own custom field.
Here’s a simple example: we’re offering a VIP Q&A session with a separate admission fee. Attendees can accept or decline this session. If someone accepts the session, MeetMax adds the fee to their invoice.
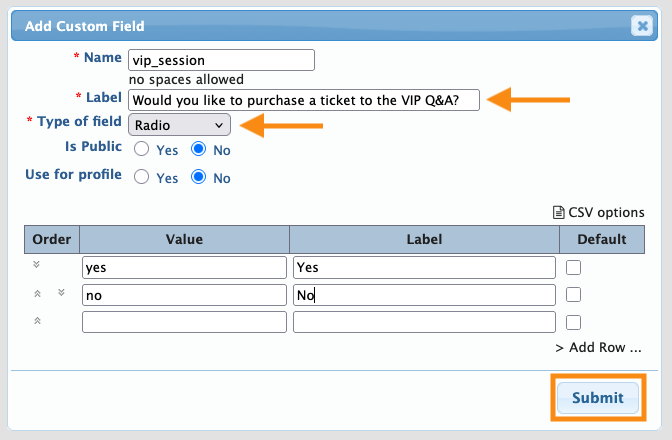
Our first step for this example is to create a custom field for our Attendee registration form. We’ll use a Radio field, so we can capture a Yes/No answer:
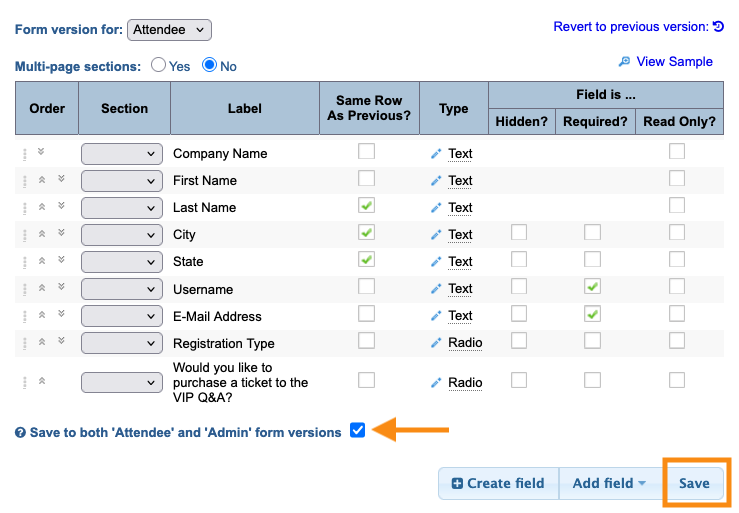
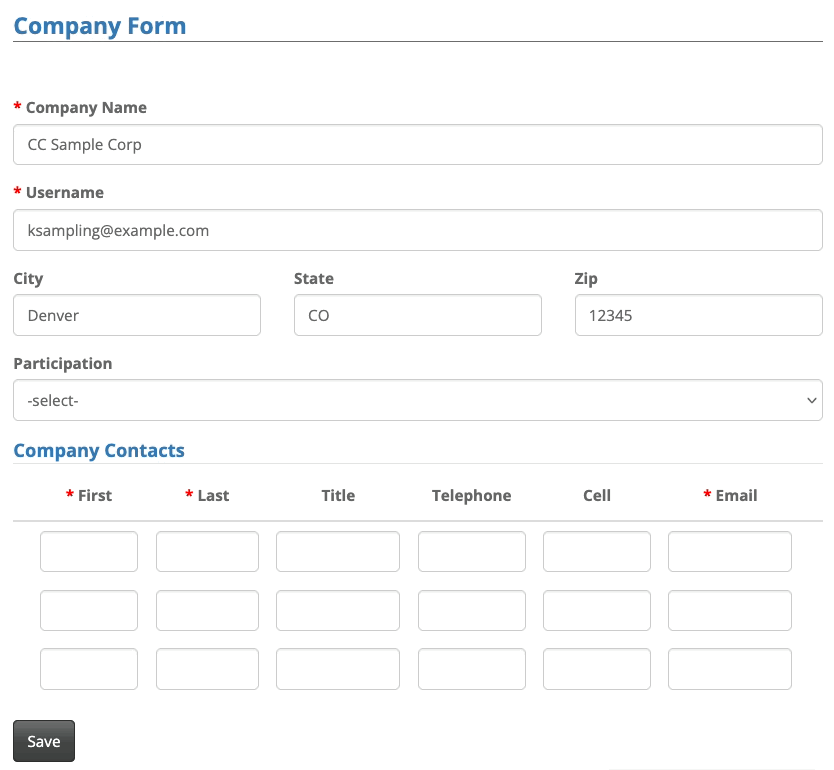
Next, we’ll add this field to both the public and Admin versions of our registration form:
Creating a Pricing Rule
Now that the form field is set, let's use it as the basis for a Pricing Rule.
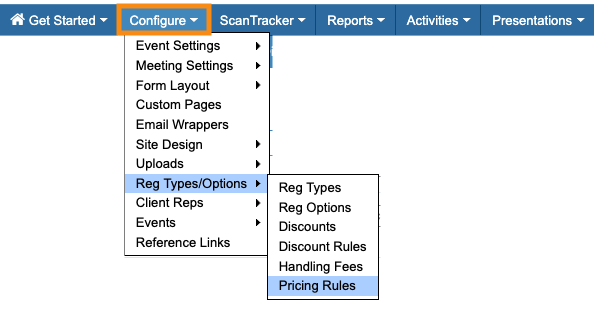
- Step 1. Head to the Configure tab. Choose Reg Types/Options, then Pricing Rules:
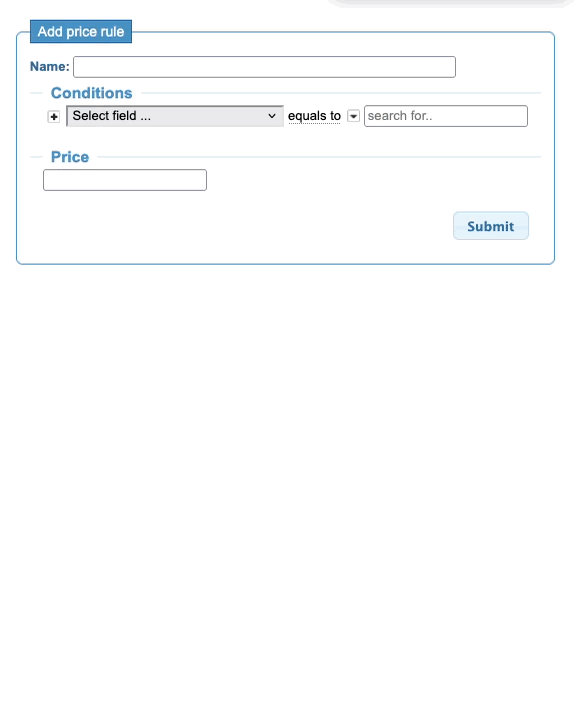
- Step 2. Give the rule a name.
- Under Conditions, choose the form field to associate with this rule. Then choose the response that will have a price attached.
- Add the price, then click Submit to save:
-
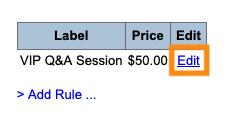
Notice how the Conditions menu includes all of your available form fields? Pricing Rules give you the flexibility to attach pricing to any of these fields. - Step 3. You can return to this page any time and update your rule:
What participants see
In our example above, while an Attendee registers, they’ll respond to the form field you’ve designated:
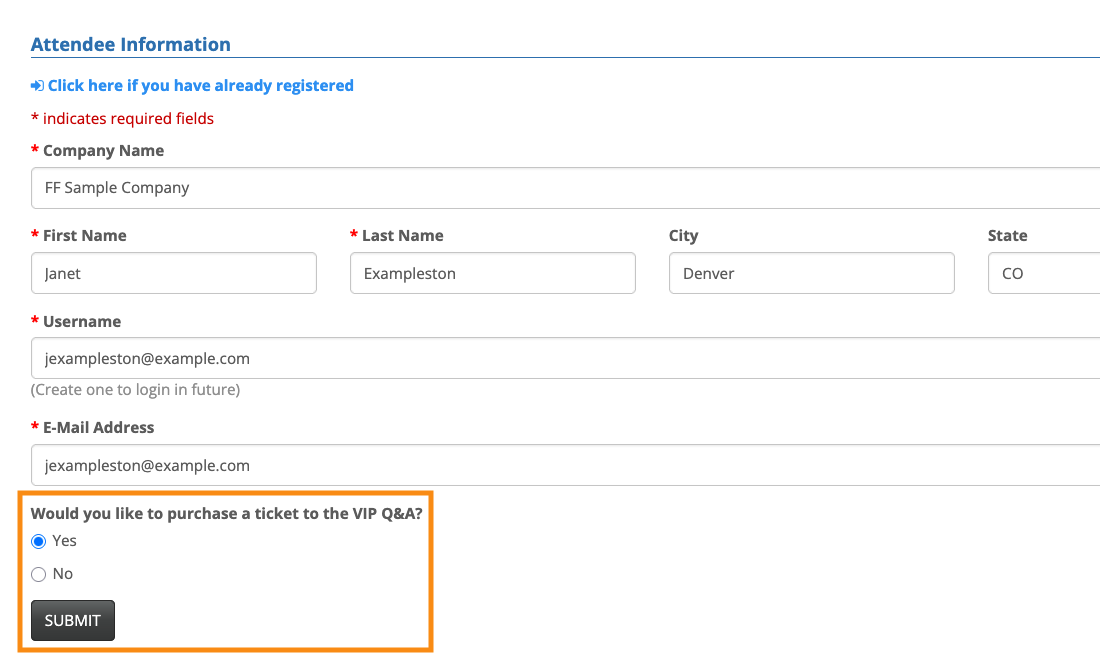
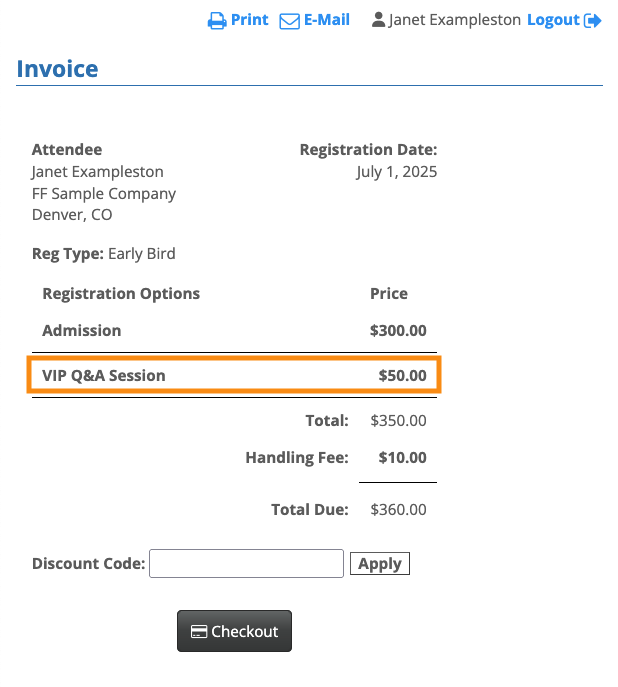
When the response matches your Price Rule, they’ll see the added charge on their Invoice:
More complex scenarios
If you have only one payment-related question for registrants, you can place the field on your main registration form as shown above.
If your event offers multiple payment-related questions, the MeetMax Form Editor offers several ways to create a user-friendly display.
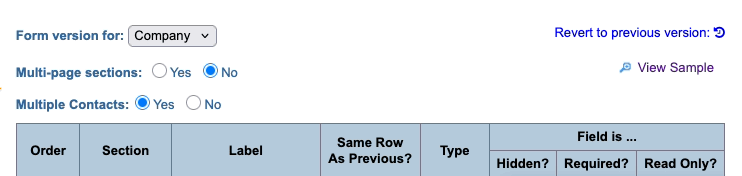
Adding sections to the form
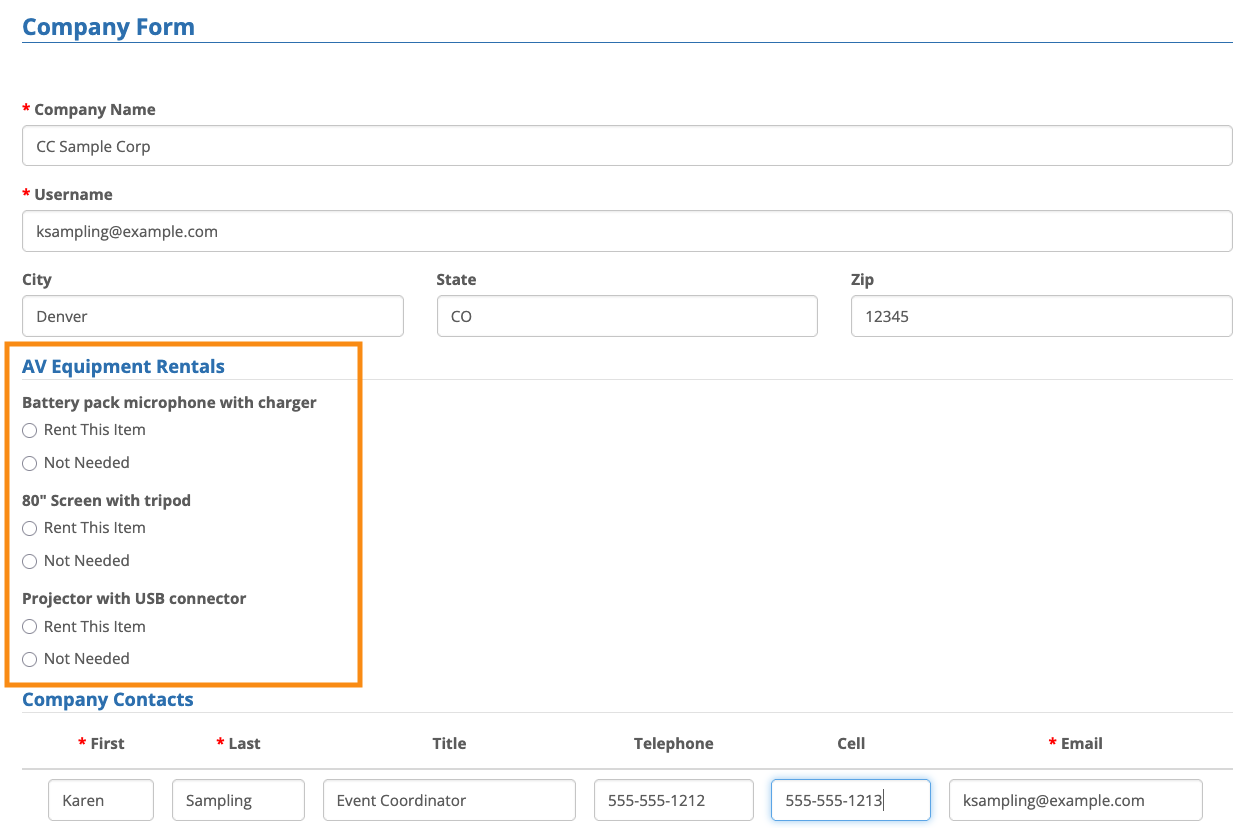
You can always create a separate form section for your payment-related fields. Here’s an example:
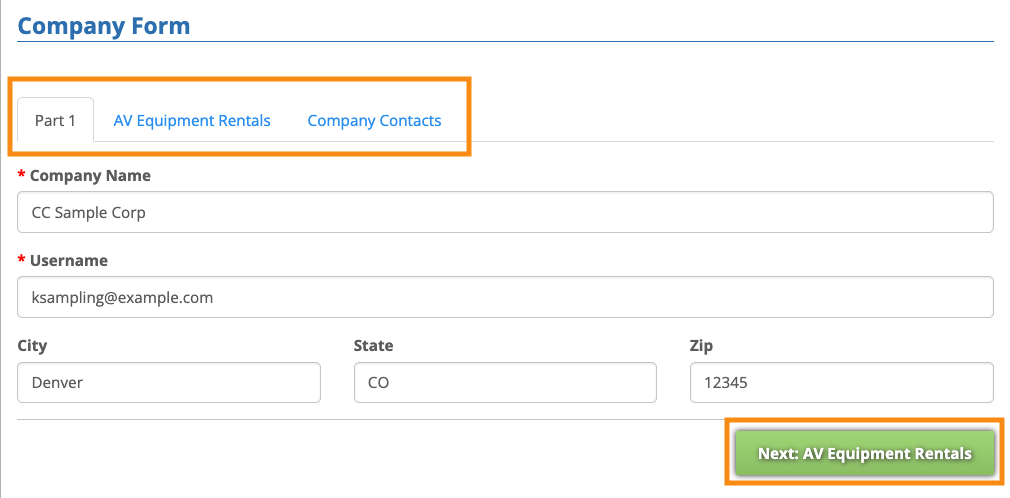
You can even set your form sections to display on separate pages, like this:
Showing the fields only to certain participants
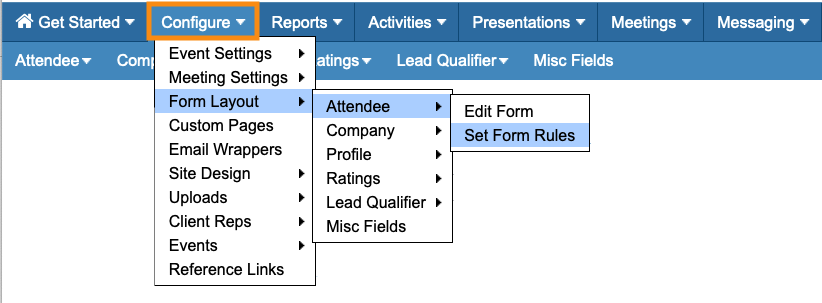
You can also create Form Rules to control who can see your payment-related fields:
With a Form Rule, we can take the form section we created above, and make it visible only to a handful of companies that are registering as Sponsors.
Here’s how we’ll set up the Form Rule:
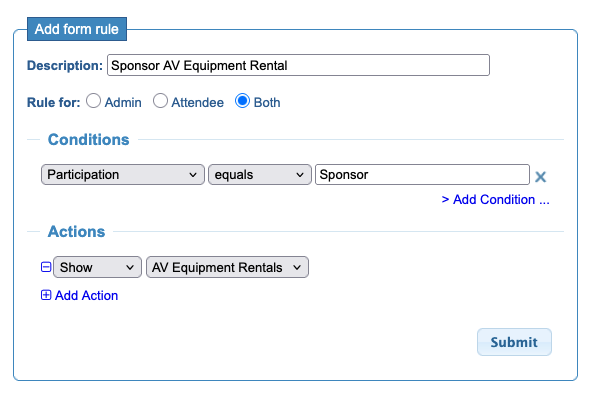
During registration, anyone who chooses Sponsor from our custom field will immediately see the payment section:
| You can add Pricing Rules (along with sections and Form Rules) to your Attendee or Company registration forms, or both. |

