
In this article:
- Where is it?
- When is it useful?
- Enabling automatic location assignments
- Setting up an automation run
- Running the automation
- Checking the results
Where is it?
This automation is available in the Company List, where you can automatically schedule one Company’s meetings:

You can also run this automation on one Attendee’s schedule, from the Attendee List:

From either list, use the Action menu to choose Fill Requests:

When is it useful?
This automation is useful if your event has a few VIP Companies or Attendees who’ll participate in 1x1 meetings. To give these participants the highest-value meetings, you might want to make their schedules first.
Alternatively, you might have one participant who’s participating in more meetings, and you want to save some time with scheduling.
- This automation works from meeting requests, so we’re assuming here that your participants have already made theirs.
- This automation also uses request ratings to create optimal meetings. So it’s helpful if your VIP participants have added ratings to their meeting requests.
| Our Support team is happy to help you use this feature. |
- If your event isn’t using meeting requests, you might want to use the Batch Meeting Pairs automation instead.
- If you need to automate scheduling for many people at once, use this article instead.
Enabling automatic location assignments
If you want the automation to assign a location to each meeting, follow these steps.
- Step 1. Head to the Configure tab. Choose Meeting Settings, then General Settings:
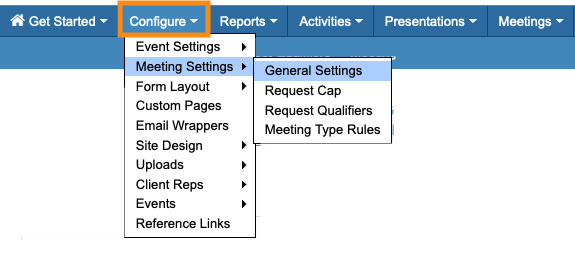
- Step 2. Scroll down to Automatically assign room to meeting when confirmed, and choose Yes:
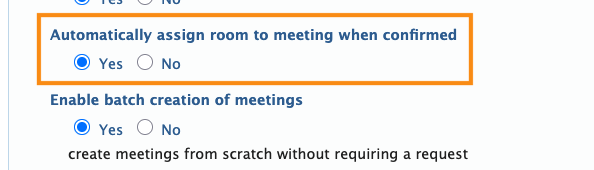
- Step 3. Scroll to the bottom of the page and click the Save button:

-
If you’d rather manually assign the locations after all the meetings are created, the Assign Location Grid is a great time-saver.
Setting up an automation run
In this example, we’ll create meetings for one Attendee, Mary Adams. Mary has already added a number of meeting requests in MeetMax, and ranked her interest level in each one.
- Step 1. Head to the Attendee List:

-
The process would be exactly the same to automate meetings for a Company. You’d just start in the Company List instead. - Step 2. We recommend adding two columns to the Attendee List: Requests Made and Unfilled Requests.
- These are useful for seeing how many meetings the automation has created.
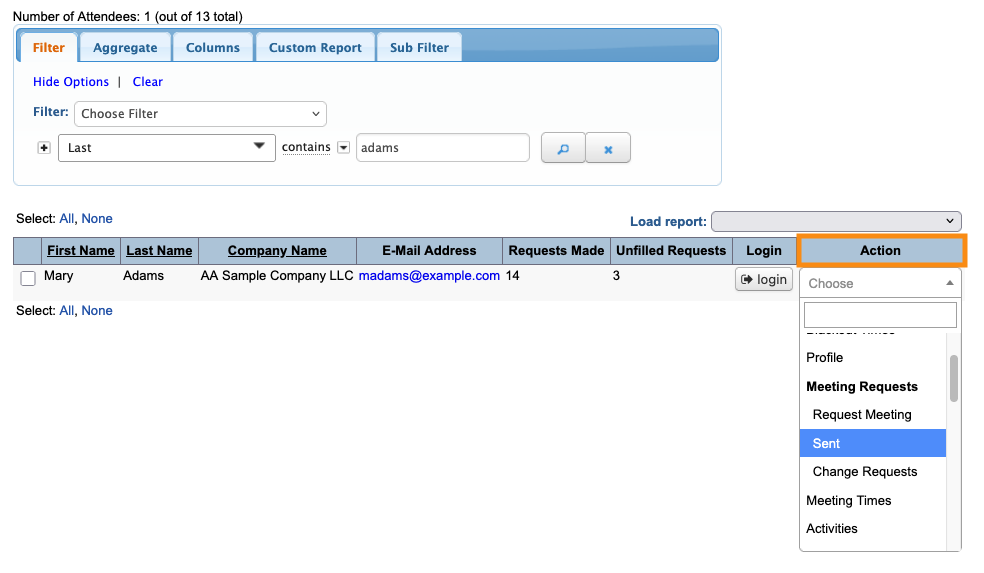
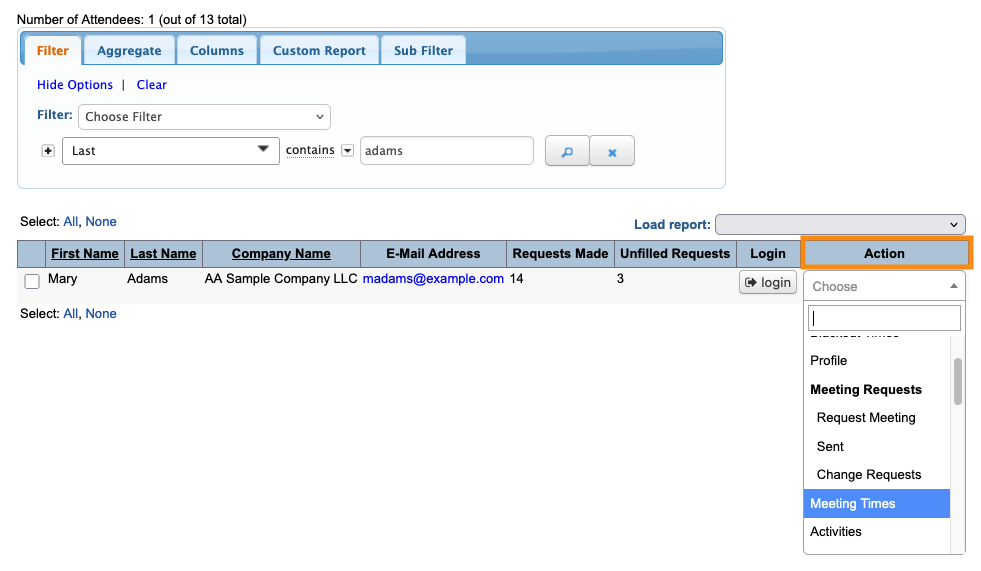
- Step 3. Filter the list to find the Attendee whose meetings you want to create.
- Then use the Action menu to choose Fill Requests:

-
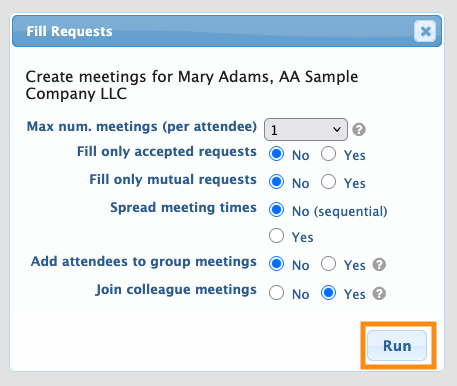
Step 4. You’ll now see the available settings for this automation. Not all settings will apply to your meeting program. Learn more about each one below:

- • Max Num. Meetings: By default, MeetMax creates one meeting. Change this to set the number of meetings you need to create for this participant. Choose All if you want MeetMax to create as many meetings as possible.
- • Fill only accepted requests: Use this setting if you’re having participants approve or decline the meeting requests they receive. The automation will ignore pending and declined meeting requests.
- • Fill only mutual requests: Some events allow bi-directional meeting requests, where every participant can request meetings with every other participant. If this is your event format, you might want to use this setting. MeetMax would only create meetings if both parties have requested each other.
- • Spread Meeting Times: MeetMax can schedule meetings sequentially, starting with your first time slot. Or, MeetMax can spread the meeting times around your event schedule.
- • Add Attendees to Group Meetings: If this Attendee requests a meeting with a Company that’s using group meetings, the automation may add the Attendee to a group meeting. MeetMax takes meeting requests and rankings into account.
- • Join Colleague Meetings: If two people from the same company have requested a meeting with the same participant, the automation will automatically include them in the same meeting.
Running the automation
- Step 1. When you’ve completed your settings, click the Run button:
- Depending on the number of requests, the process could take a few minutes.
- Step 2. After running the automation, you’ll see that the number of Unfilled Requests has changed.
- In this example, the automation was able to create meetings for all but 3 of Mary’s requests:

- Step 3. To see which requests that weren’t filled, head to the Action menu again. Choose Meeting Requests Sent:
- We’ll talk more about these unfilled requests in the section below.
Checking the results
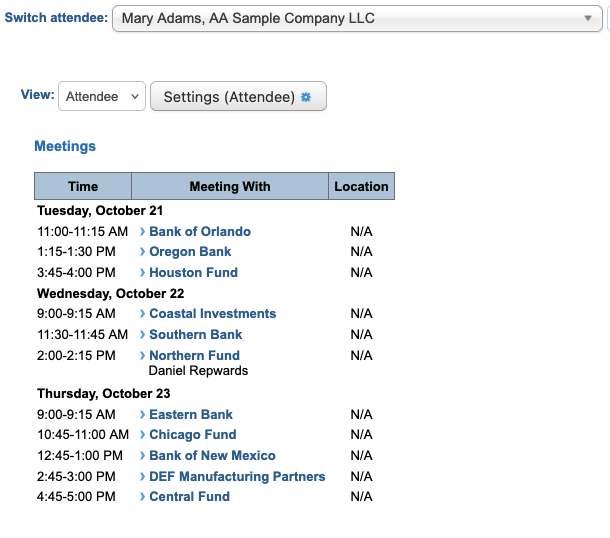
To see what meetings were created in this run, head to the participant’s Meeting Times page:
On the Meeting Times page, you can click through the tabs to see meetings on each event day:
For a more compact view, use the Your Schedule page:

Troubleshooting
After any automation run, there might be some meeting requests where MeetMax couldn’t create a meeting.
In our example, there were three requests that the automation run didn’t schedule:

MeetMax starts with the filters and settings you’ve added for your automation run. Then it overlays:
- Your event’s available time slots
- Each participant’s availability settings
- Meeting request ratings
These criteria can be in conflict sometimes, and prevent the automation from scheduling a meeting.
- If you end up with a large number of meetings not created, it’s usually a good idea to adjust your settings and do a second automation run.
- If you end up with only a few meetings not created, as in our example, it’s usually simplest to head to the Meeting Times page and schedule them manually.
Why weren’t these requests scheduled?
Here are some things to investigate:
- Do both participants have available time slots in common?
- Is either participant scheduled for presentations or activities in these common time slots?
- If you scheduled some meetings manually before running this batch, are these participants already scheduled to meet?

