
In this article:
- Where is it?
- Accessing the display settings
- Customizable areas on both pages
- Combined list
- Hide time slots
- Enable calendar slideout
- Hide reason for meeting
- Hide actions
- Hide rank
- Hide date requested
Where is it?
You’ll make customizations from the Attendee List and/or Company List:


Participants will see those customizations on their Meeting Requests Received and/or Sent pages:

| You can also customize the Request Meeting page. Learn more about that here. |
Accessing the display settings
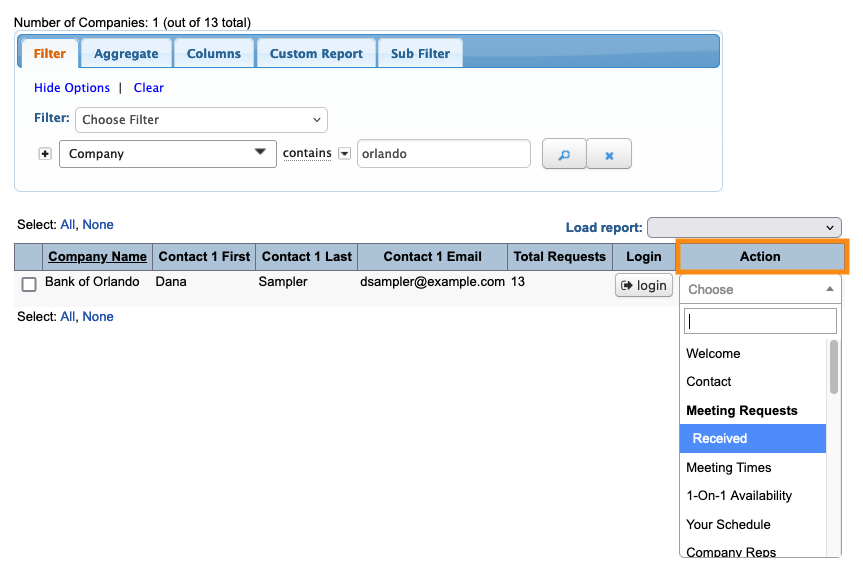
- Step 1. In this example, we’ll customize the pages that Attendees see. So we’ll start in the Attendee List:

- (If you’re updating Company-facing pages, start in the Company List instead.)
- Step 2. Go to any Attendee’s record. The changes you make here will apply to all Attendees.
- In the Action menu, choose either Meeting Requests Sent or Meeting Requests Received - whichever one you need to customize:

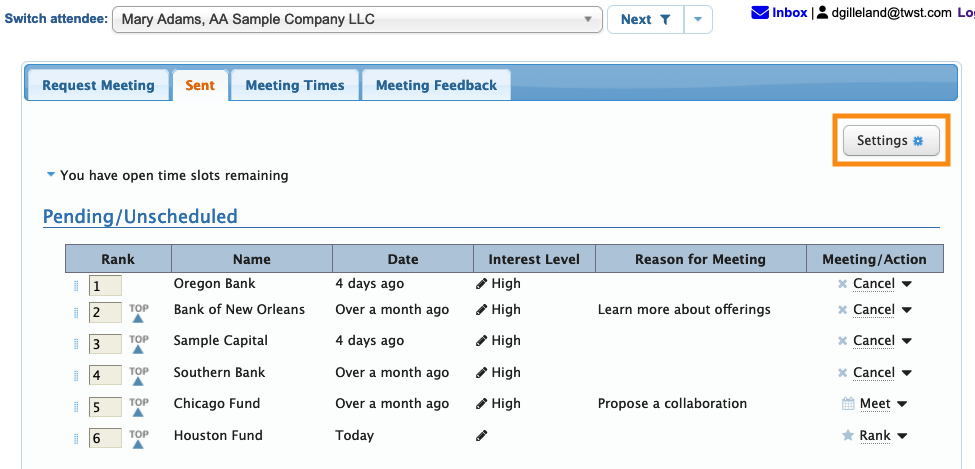
- Step 3. Once you’re on that page, click the Settings button:
- Step 4. You’ll see a pop-up with the available settings. (More details on these below.)
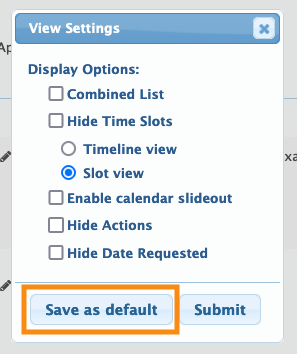
-
Most of these settings are available on both the Requests Sent and Requests Received pages, except where noted below. All of these settings are optional. You can use as many or few as you need for your event.
Customizable areas on both pages
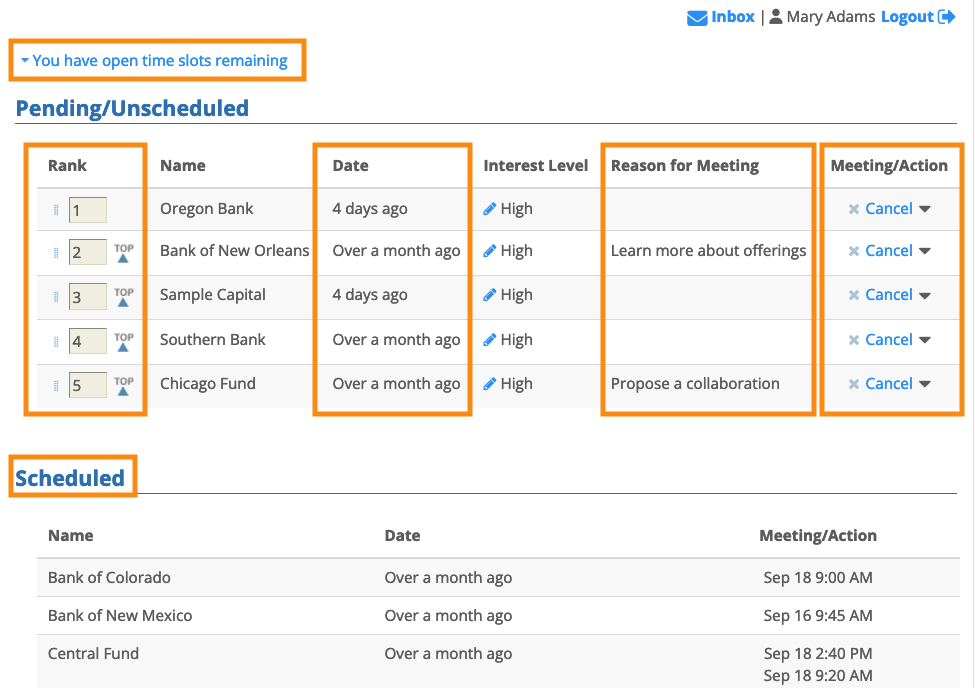
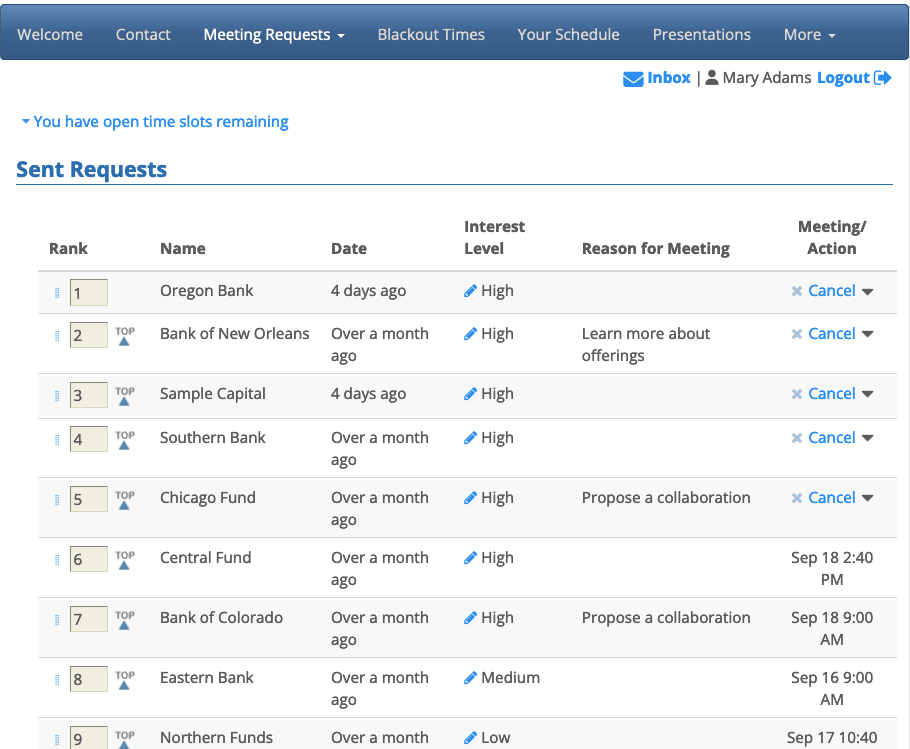
These are the customizable parts of the Meeting Requests Sent page:
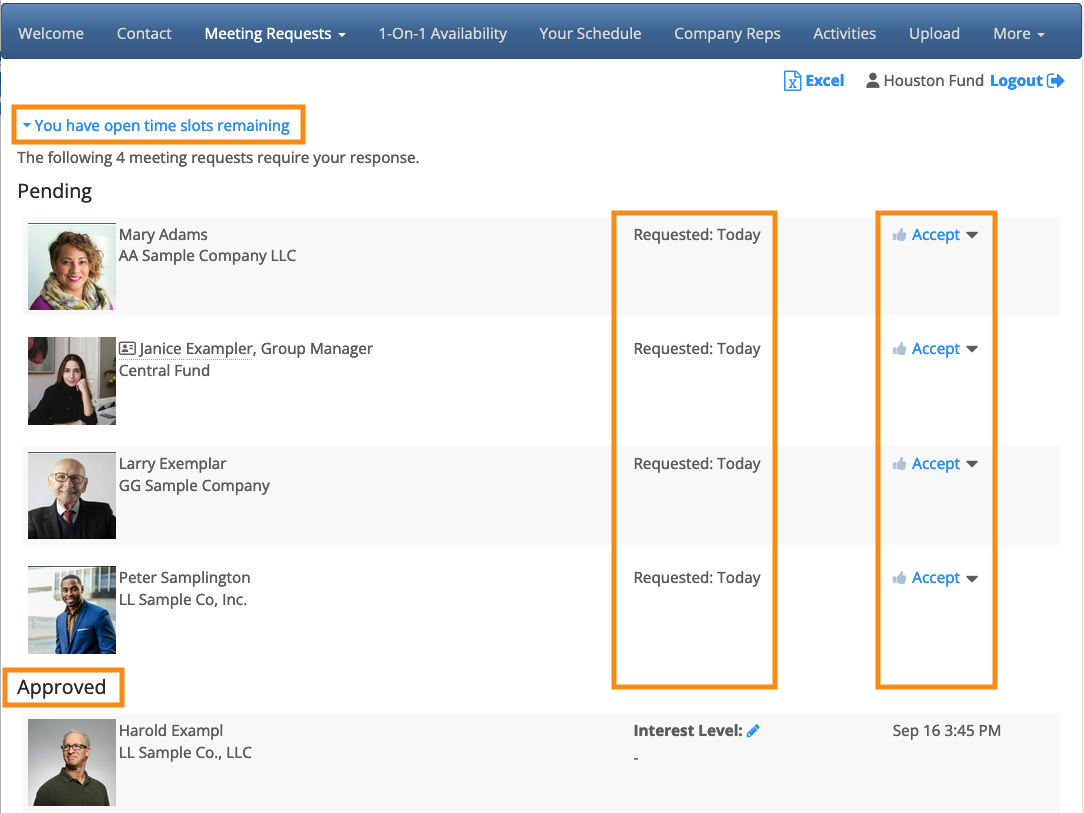
These are the customizable parts of the Meeting Requests Received page:
Combined list
By default, MeetMax divides request lists into Pending, Scheduled, Approved, and Declined sections, as shown above. If you’d rather see a single list, like the one below, enable this setting:
Hide time slots
By default, each participant can open a display of their available time slots at the top of the page, like this:

You can also switch the display to a Timeline view if you prefer:
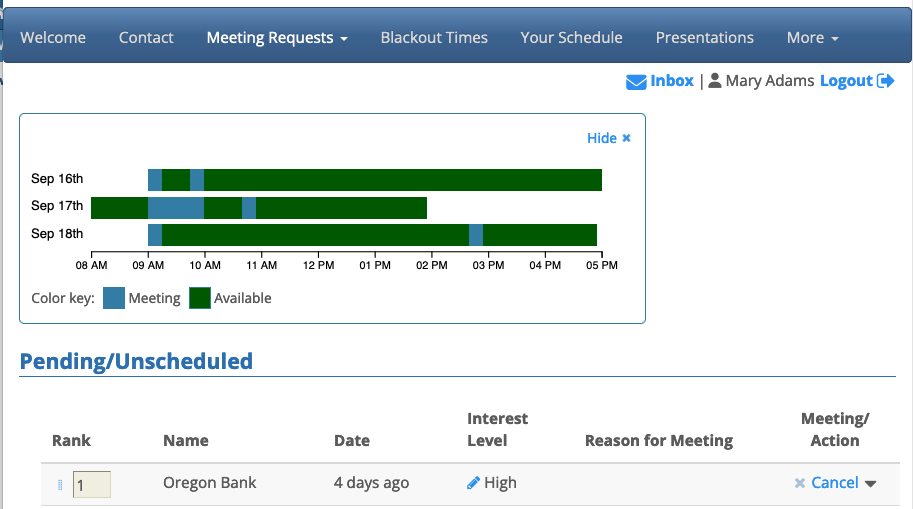
For some events, it’s handy for participants to see their available time slots. If you’re doing all the scheduling for your participants, however, you might want to use this setting to hide the time slots.
Enable calendar slideout
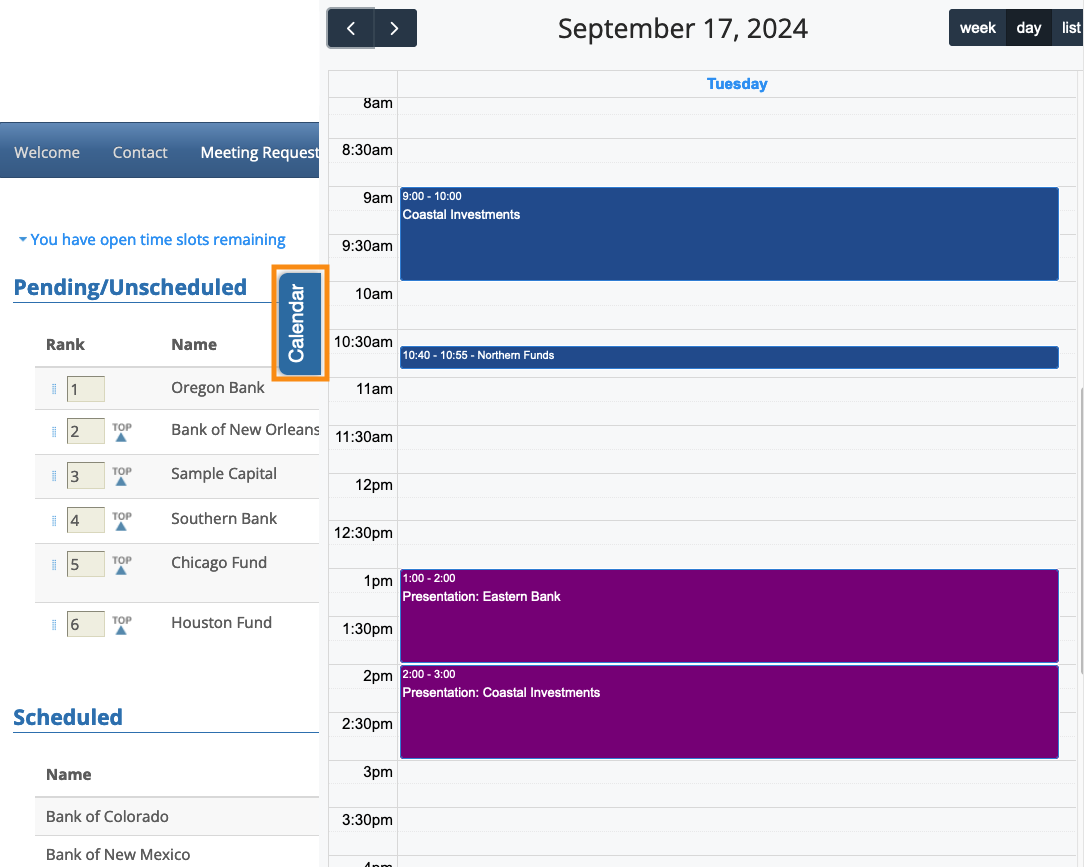
As an option, you can give participants a Calendar tab along the side of their requests list. Clicking it opens their event calendar as an overlay:
Settings for columns
The options below relate to specific columns in the request list:

Hide reason for meeting
The Reason for Meeting column shown above relates to meeting request ratings. If you’re not using ratings for your event, you can hide the column. (This setting isn’t available for the Requests Received page.)
Hide actions
This column (shown above as the Meeting/Action column) lets participants accept or decline a meeting request, or schedule a meeting. If an Admin is doing all the meeting scheduling for your event, you’ll likely want to hide this column.
Hide rank
This column allows participants to arrange their meeting requests in priority order. It’s mostly useful for Moderated meeting programs or automated scheduling. You can hide the column if you’re not using those. (This setting isn’t available for the Requests Received page.)
Hide date requested
In the Date column shown above, a participant can see how long ago they made each request. If that information isn’t useful for your event, you can also hide this column.

