If you’re using Custom Records to help match buyers and sellers, you can create a web page to display the data in Attendee and Company accounts.
In this article:
Where is it?
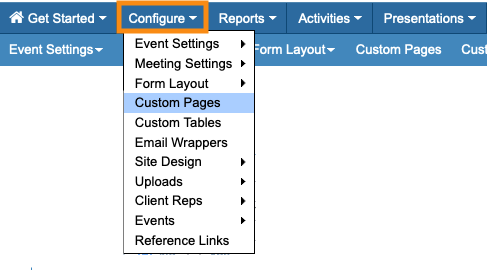
You'll create your Custom Page from the Configure tab:

We’re assuming here that you’ve already created one or more Custom Records to display on the page.
Setting up the Custom Record page
In this example, we’re creating a Custom Page for a meeting planner conference:
- The Attendees here are meeting planners. They’re currently working on upcoming events in different locations.
- The Companies are event facilities. They’re in different locations and offer different kinds of services.
Our page will give Attendees an overview of available facilities from the participating Companies. The data comes from the Custom Records the Companies have filled out.
| You can create as many or few custom pages as you need. For this example, we could also create a separate custom page for Companies, showing the locations and requirements of all the Attendees’ upcoming events. |
- Step 1. Create a Custom Page. Learn more about Custom Pages here.

- For this example, we’ll create a page that’s visible only to Attendees. We’ll add a short message about how to use the information on this page:

- Step 2. Once you’ve saved, you’ll see the new page in your Custom Pages list. Use the Action menu for this page, and choose List:

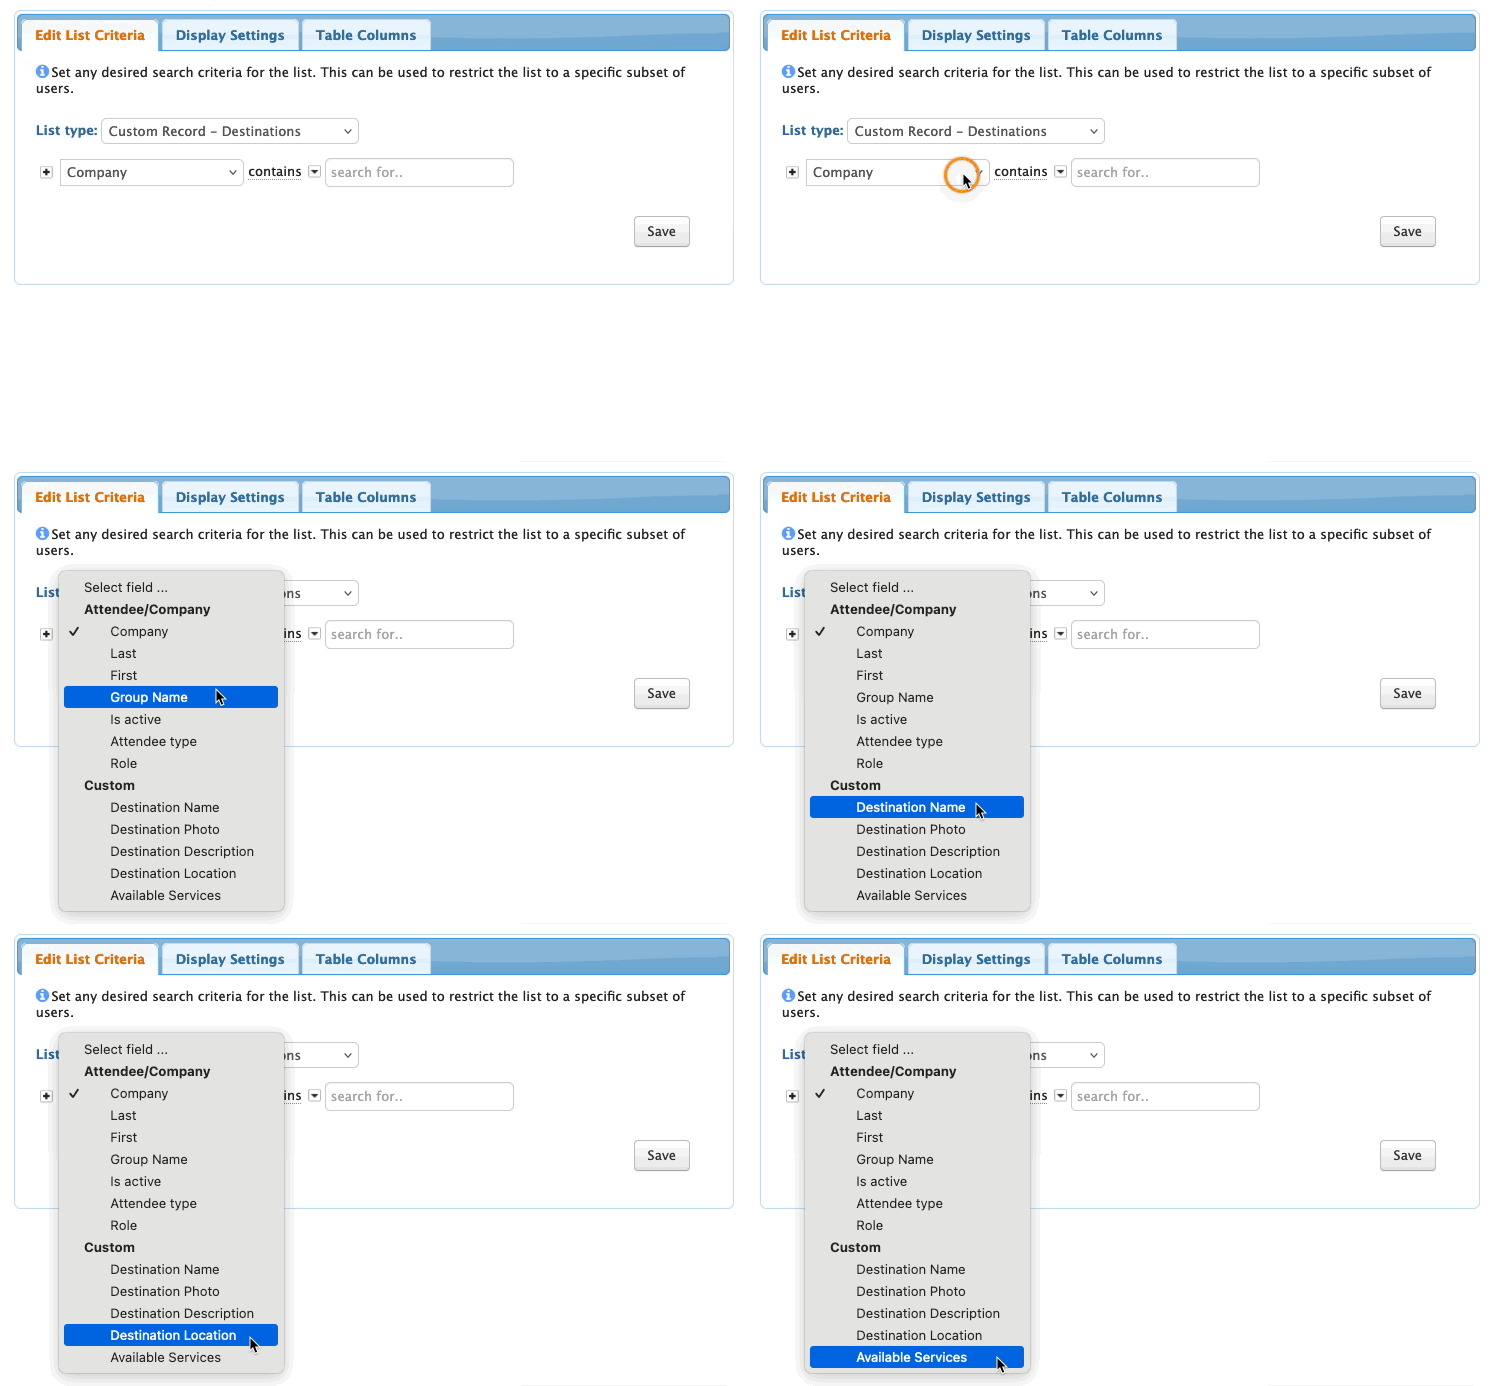
- Step 3. Now use the List type menu. You’ll see the Custom Records you've created here.
- Let’s choose our Destinations Custom Record for this example:

- Step 4. From there, you might want to apply some filters to this list, so the Custom Record data displays as you like.
- Your custom record fields are available here to use as filters, along with a variety of other criteria. Learn more about the basics of filtering here:

- For this example, we want to show all of the data, so we’ll set an Is Active filter:

- Step 5. Now head to the Display Settings tab. Here, you can choose how many items and which data fields will display on your custom page:

-
We recommend setting Add Excel Download to Yes for this type of page. That way, your participants can export the data if needed. - Step 6. Finally, go to the Table Columns tab. Here, you can add and remove columns of data from the page. Be sure to click Save when you’re done:

Viewing the Custom Record page
To see the new page, head to your Attendee List:

Locate a test user, and log in from that account:

Here’s the new page, listed in the Attendee’s menu. It displays the Custom Record data:


