

In this article:
Where is it?
You’ll build Custom Pages from the Configure tab:

Adding a Custom Page
You can add as many pages as you like. Each one can be visible to all participants, or only specific roles.
- Step 1. Head to the Configure tab. Choose Custom Pages:

- Step 2. The first time you visit this page, you’ll see the Add Custom Page form. Fill this out to create your first page, as shown below.
- After that, you’ll see a list of the pages you’ve created, with an Add button to create new pages:

- Step 3. Give the new page a name. There are two parts:
- • Page: This is the extension that appears at the end of the page’s URL. MeetMax will remove spaces automatically. You can use hyphens or underscores in place of spaces.
- • Title: This is the public page title that appears in navigation menus. If you’re using this page as an email, the Title is also how you’ll locate it in the batch emailer.

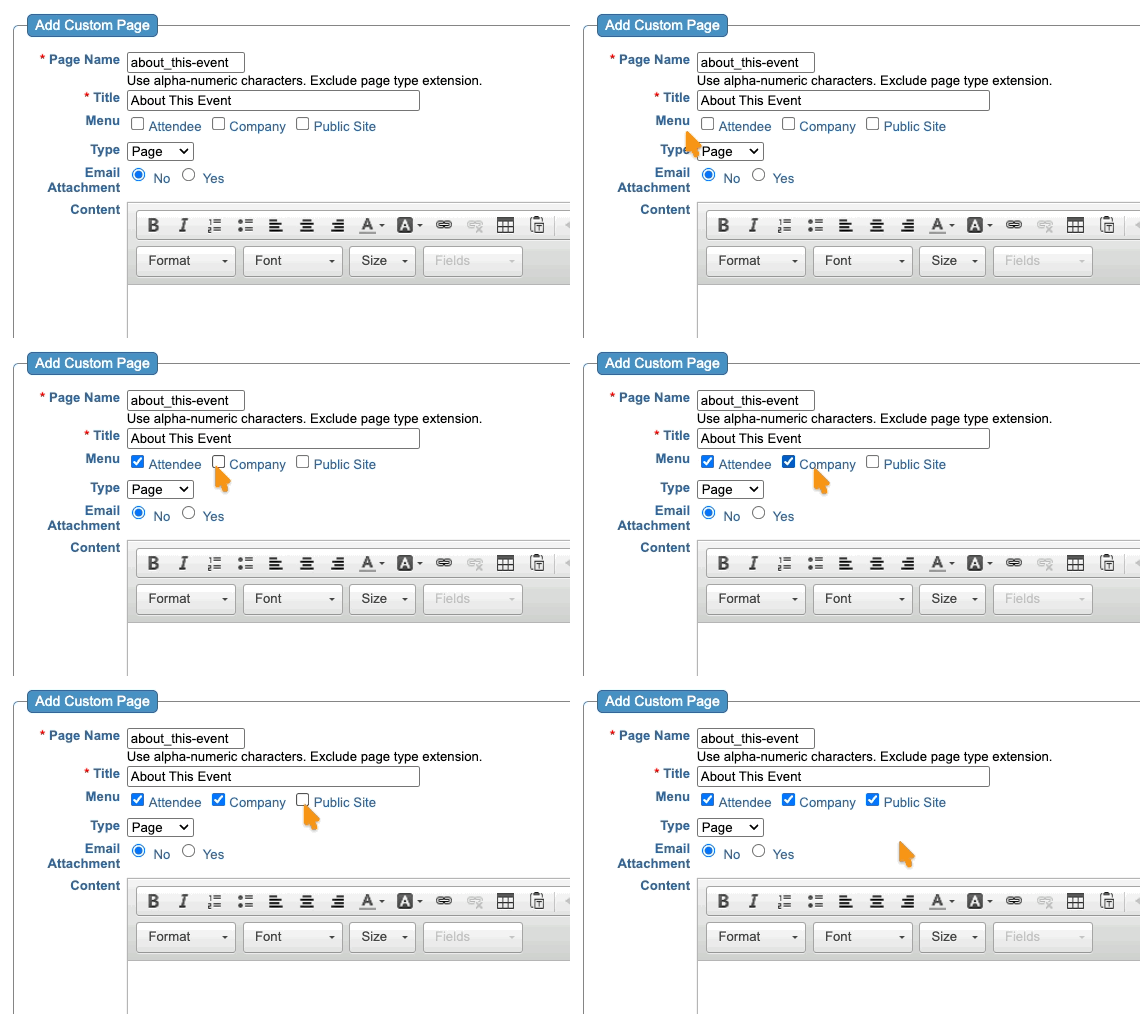
- Step 4. In the Menu field, choose which navigation menus this page will appear in.
- • Choose whether this page will be visible to Attendees and/or Companies.
- • If you want to share the URL of this page in links (such as in batch emails), click Public Site.
- If you’re not sure which menu views you’ll need, select all three options - you can always disable them in the Menu Editor later:
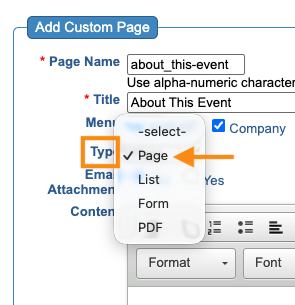
- Step 5. In the Type menu, you’ll choose what form your Custom Page will take.
- In this article we’re building a Page type, for text and images. But Custom Pages can also take these forms:
- • Custom List of participating Attendees or Companies
- • Custom Form to capture any data you need
- • PDF embedded into a web page
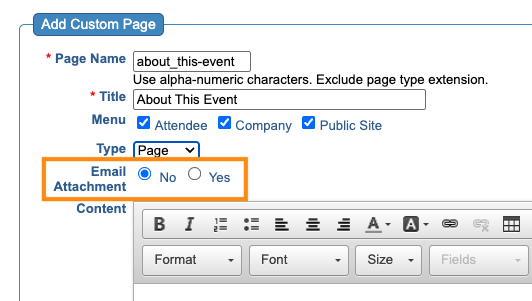
- Step 6. Custom Pages can also be emails!
- If you want to use this page as a batch email attachment instead of a web page, set Email Attachment to Yes.
- For web pages, leave it set to No:
Adding content to the Custom Page
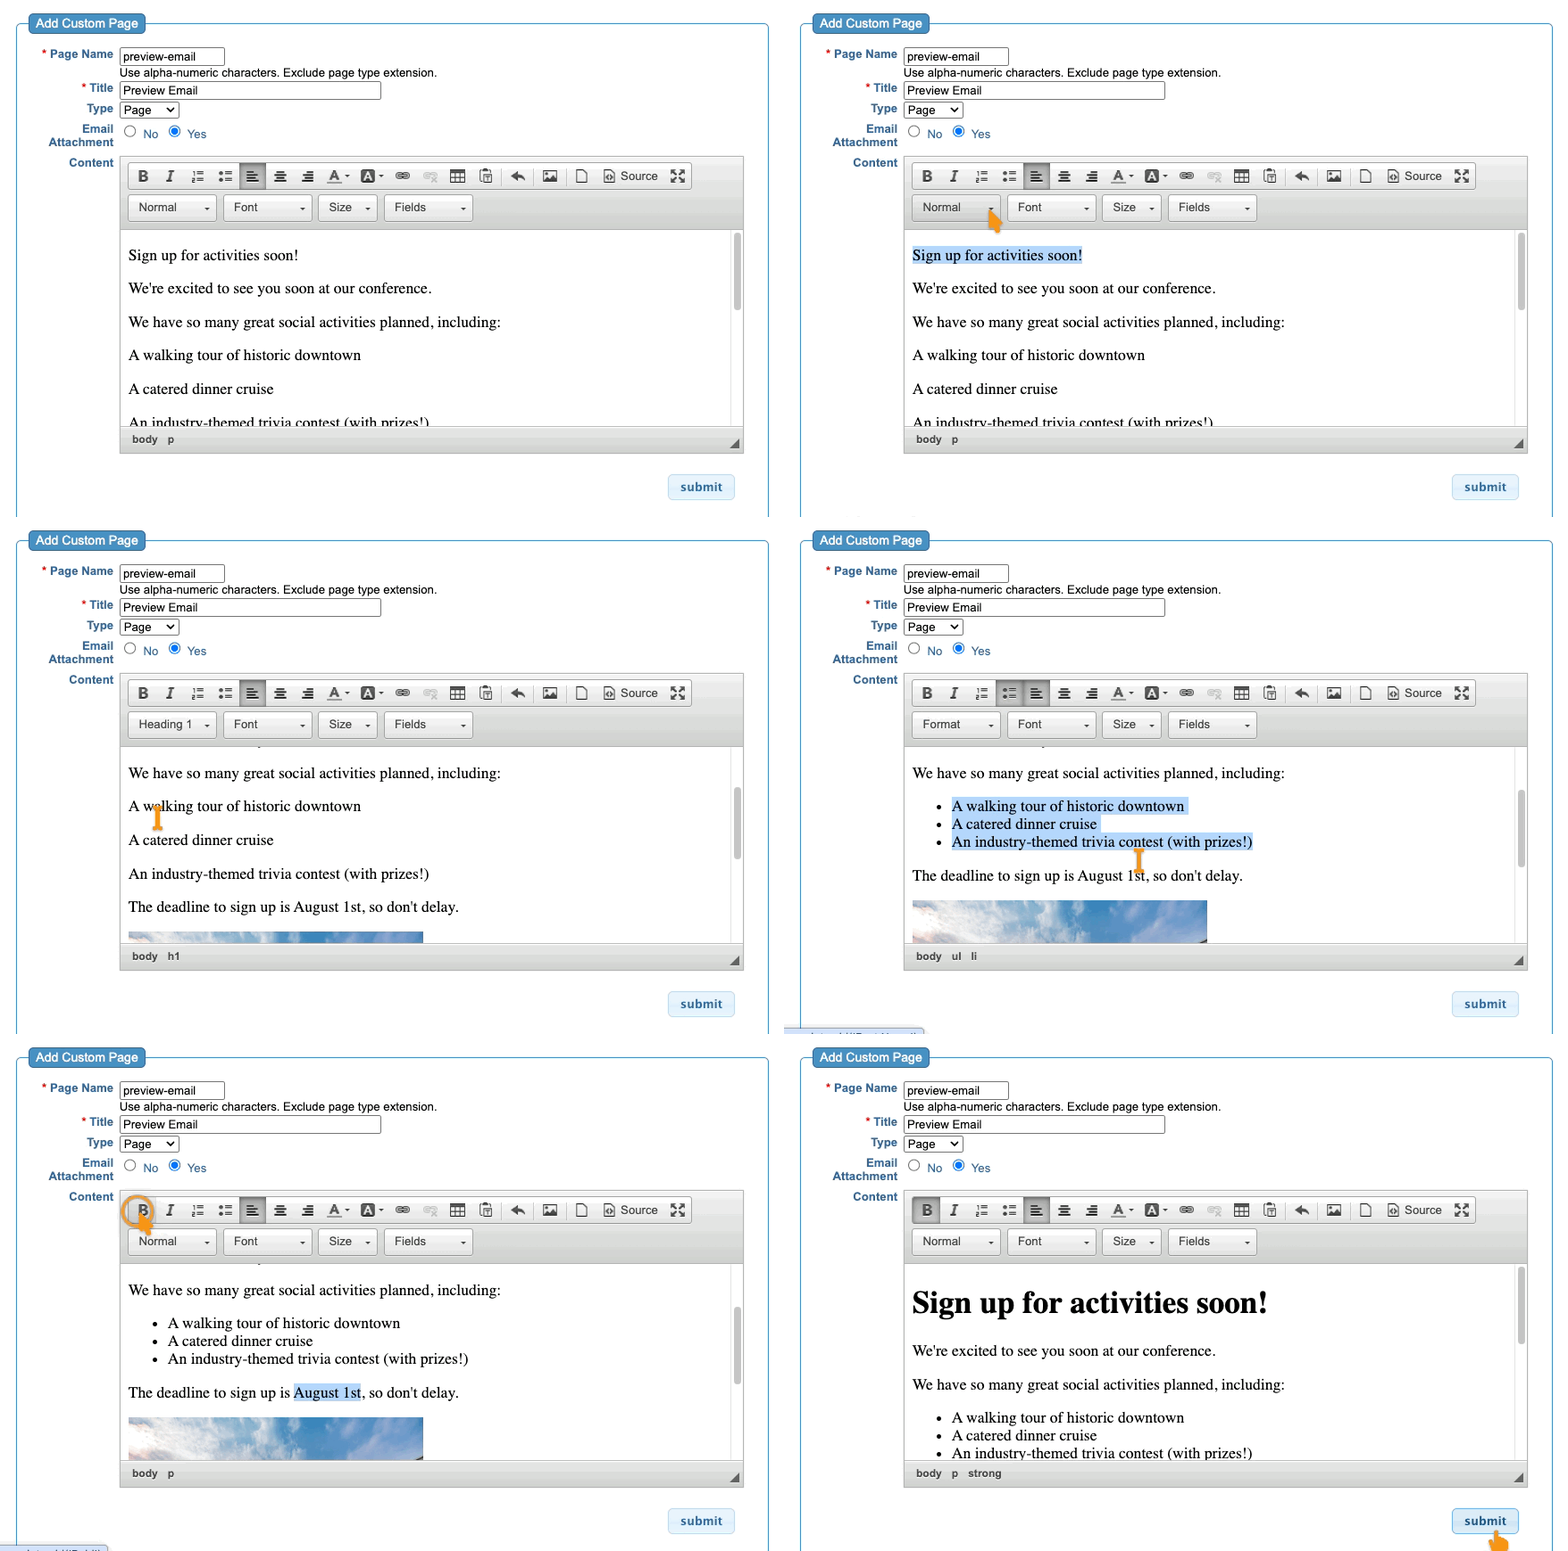
Use the page editor tools to add text, formatting, images, etc. Click Submit when you’re ready to save:
| You can copy and paste content into this field, but doing this from a Word document can create formatting issues. Instead, paste your text into a Notepad app first to remove all formatting. Then copy/paste into the MeetMax editor. | |
| If you need to use a dollar sign ($) in your content, be sure to put a backslash in front of it, like this: \$. A dollar sign by itself could break the page. | |
| If you’re fluent in HTML, click the Source button to edit that code directly. | |
| If you want to attach a PDF to this page, upload it to MeetMax first. Then copy the link to that uploaded file, and use it in a text link. |
Choosing who can see the page
When you created this page, you chose the navigation menus where it will appear. In the example below, our custom page can only be seen when an Attendee logs into MeetMax:

For each checkbox you’ve clicked here, MeetMax will automatically enable this page.
If you want to enable this page for more menus later, you can always edit the page and check more boxes.
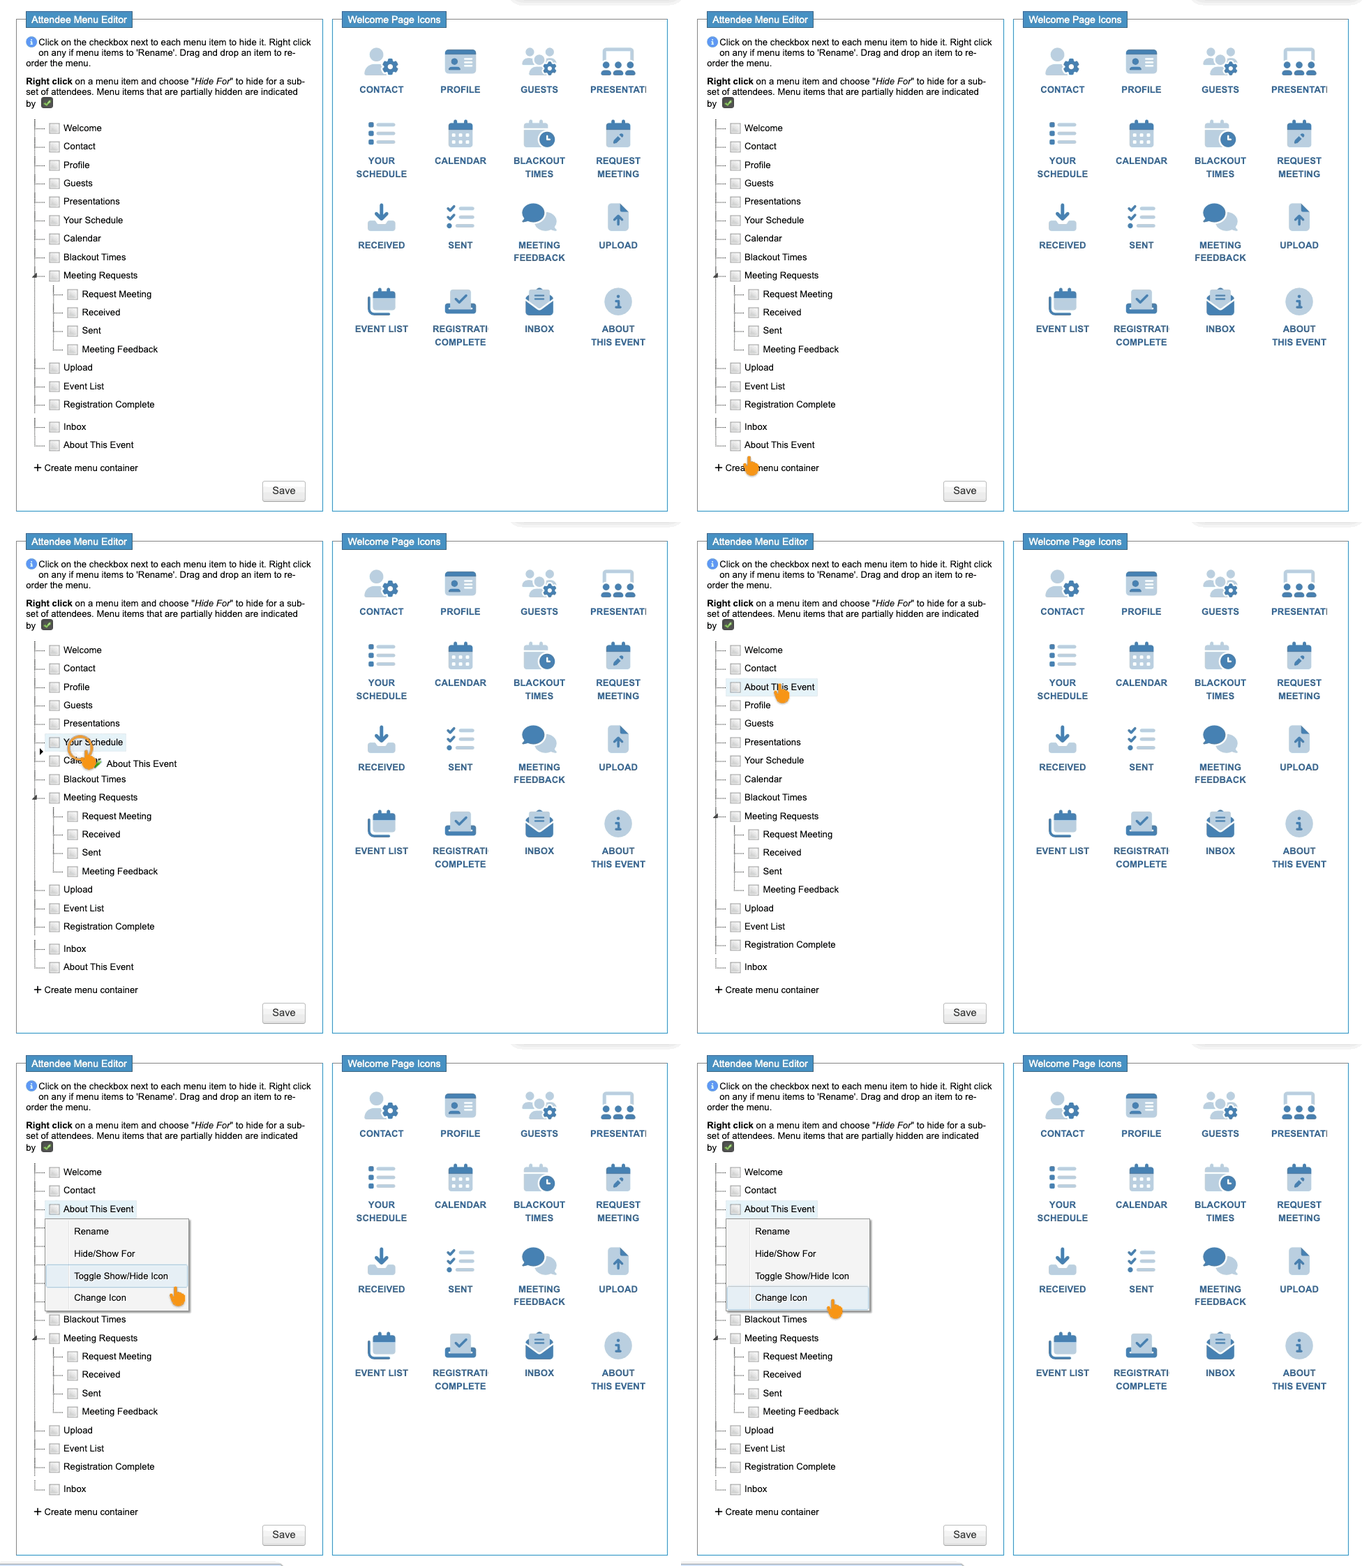
To make more adjustments to visibility, head to the Attendee Menu Editor:

In the Menu Editor, you can:
- Make this page visible to only certain types of Attendees.
- Make this page visible only to certain groups of Attendees.
- Enable or disable the page whenever you need.
- Change the page’s default icon.
Managing Custom Pages
To make changes to a page, head back to the Configure tab:

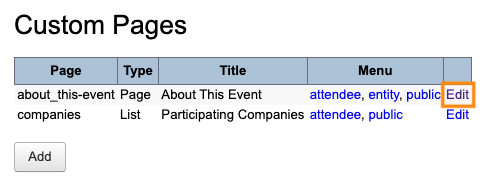
Locate the page in your list. Then click the Edit link:
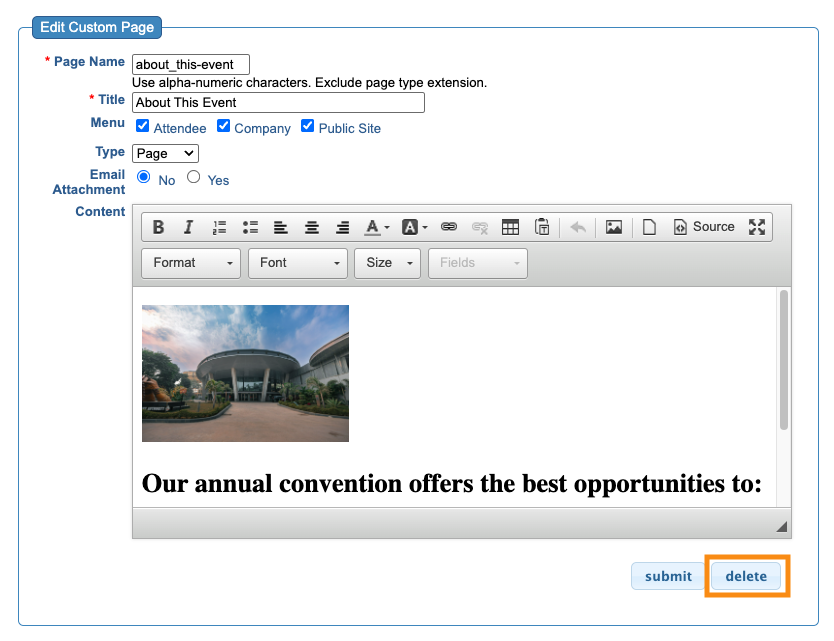
If you want to delete a page, use the steps above to open it for editing.
With the page form open, you’ll see the Delete button:
| If you’ll want to use this page in future, you can leave it in your account, but disable it in the Menu Editor so no one can see it. | |
| You can also copy custom pages from an old event to a new one. |

