
In this article:
- Before registration
- How an Attendee registers
- Receiving a registration confirmation
- What the Attendee does next
- Accessing a registered Attendee
Before registration
The registration process in MeetMax is highly customizable. Our team will help you choose the best registration method for your event, and design registration forms to capture all the data you need.
In this article, we’ll show a general overview of what Attendees see during registration. Depending on how your event is set up, your Attendees might have a slightly different process.
| If you’re using paid registration, see an overview of the payment process here. |
How an Attendee registers
The way your Attendee accesses registration will depend on your event’s set-up. Generally speaking, an Attendee receives a link to register via email. Here’s where you can get that registration link.
Once an Attendee clicks their registration link, they’re taken to your event’s registration form.
Once they click Submit, they’re immediately taken to your event’s MeetMax website. They’ll see everything that pertains to their user account:
| Remember, this experience will be branded and customized for your event. | |
| The Attendee can skip any fields that aren’t set as Required, and they can come back to this form at any time to add or change details. |
In the main navigation bar, the new registrant sees your event’s programming, and their meeting-booking options. There’s a matching icon for each item in the menu:
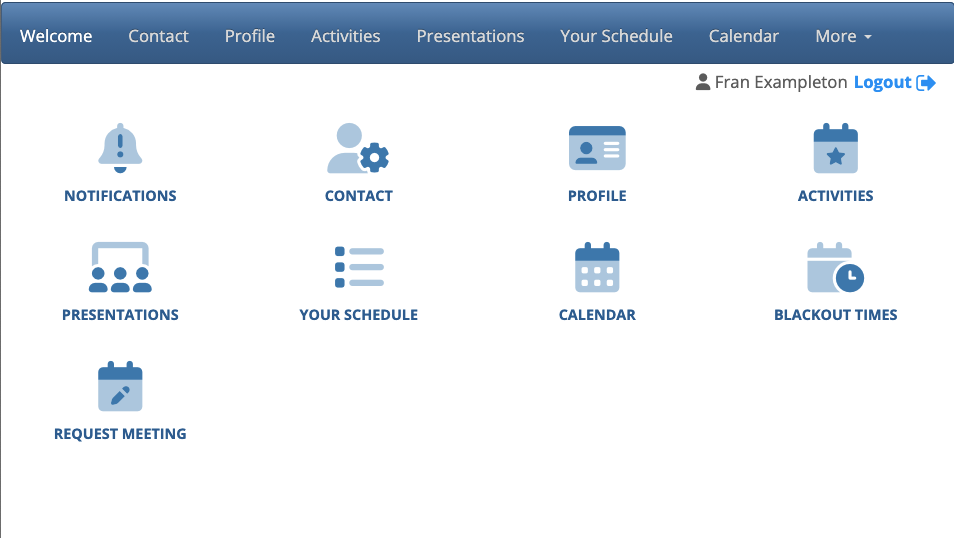
| You can show or hide any menu item at any time during your event. |
As soon as an Attendee finishes registering, MeetMax emails their login details. That way they can log back into their account throughout your event.
Receiving a registration confirmation
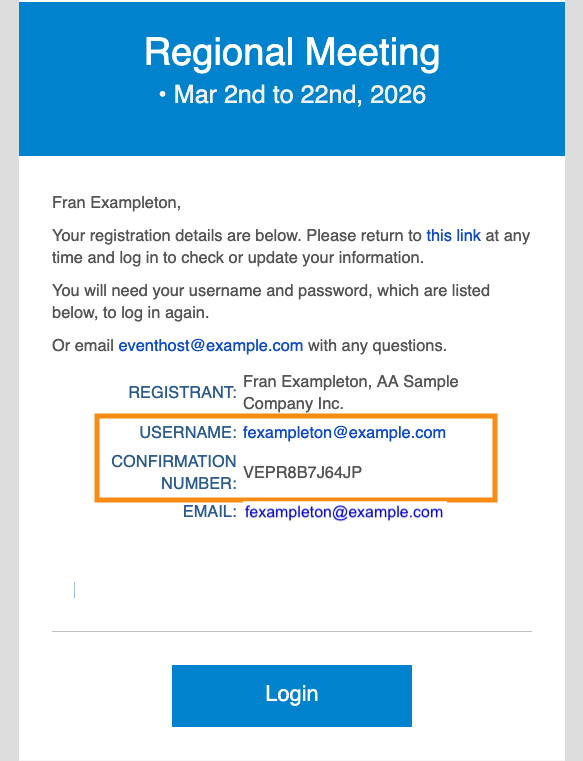
MeetMax sends a confirmation email to the email address the Attendee entered in their registration form. Depending on how your event is set up, this email might send automatically or you might send everyone’s confirmations in a batch.
The email looks something like this, and contains the Attendee’s login credentials. As with everything MeetMax, it’s highly customizable for your event:
- You can resend an Attendee’s confirmation email any time.
- If they lose their confirmation number, you can retrieve it for them.
What the Attendee does next
When the Attendee logs into MeetMax, they’ll see a Notifications icon on their welcome page. This is the quickest way to see what actions they need to take:
![]()
See more details on each action below.
Meeting Requests
On the Meeting Requests tab, the Attendee sees all of the participants that are open to 1x1 meetings.
The Attendee can click the Request link to enter a meeting request:

Adding Blackout times
In MeetMax, “blackout times” or “blackouts” are the time slots when the Attendee isn’t available for 1x1 meetings.
Each Attendee can choose any time slots to exclude from meeting scheduling:

Adding Profile information
The Attendee can also update their Profile tab with any details not captured during registration.
These details are useful during the process of scheduling 1x1 meetings:

Signing up for Activities
On the Activities tab, the Attendee can sign up for business and social events, such as meals, workshops, tours, receptions, and so on:

All of the activities they've signed up for appear on the Your Schedule tab.
Signing up for Presentations
On the Presentations tab, the Attendee can see the presentation schedule and click to register for the ones they're interested in:

All of the presentations they've signed up for appear on the Your Schedule tab.
Adding Guests
If you’ve enabled the Guests feature for your event, Attendees can use this tab to sign up a “plus one” for any of your event activities:

Accessing a registered Attendee
Once an Attendee is registered, your Admin team can locate them in the Attendee List:


