
In this article:
Where is it?
The Attendee List is in the Attendees tab:

Filtering the list to create a batch
If you want to email everyone on your Attendee List, start from the Messaging tab instead.
When you need to send a batch email to a specific group of your Attendees, use the Filter tab to narrow your list down:
MeetMax offers lots of flexible ways to filter. Learn more about filtering here.
Once you’ve filtered the list, the batch emailer will send only to those Attendees.
Sending a batch email
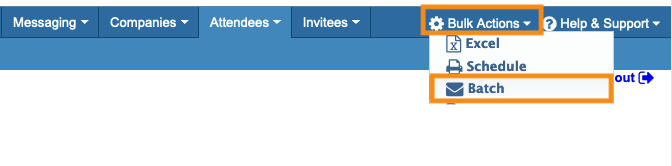
- Step 1. Once you have the Attendee List displaying the people you need, head to the top right corner of the page.
- Choose Bulk Actions, then Batch:
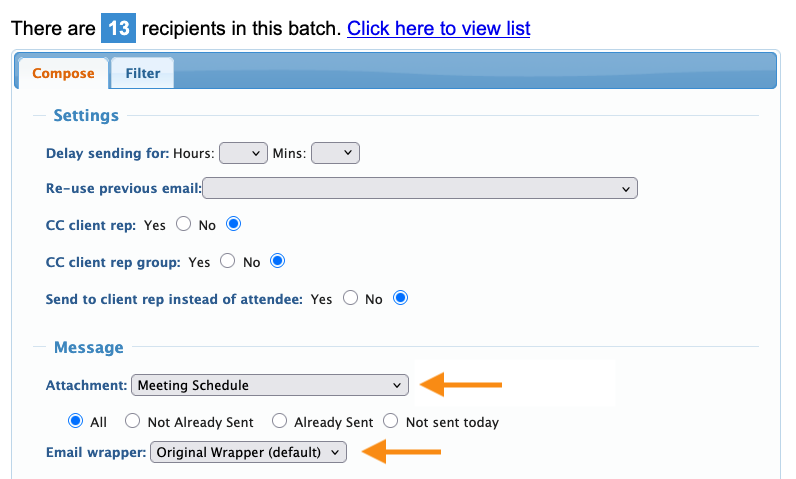
- Step 2. Most commonly, you’ll head to the Attachment menu and choose one.
- The Attachment is what displays the personalized information in the emails. See samples of all the Attachments here.
- If you’ve created any Custom Pages to use as emails, you’ll see them in this menu too:

- Step 3.The settings at the top of this editor control when and how your email sends. Learn more about these here.
- If your event is using Email Wrappers, you can choose which one to apply to this email:
- Step 4. Add a Subject line for the email.
- If you’d like to receive a confirmation that the emails were sent, add your email address in the Batch Complete email field:

-
What if I don’t need an Attachment?
-
The Attachment is a complete email by itself. If you’re using one, it’s optional to also use the Message editor.
If you’d like to add some extra messaging or instructions, use the Message editor.
In your emails, the Message content will appear above the Attachment content:
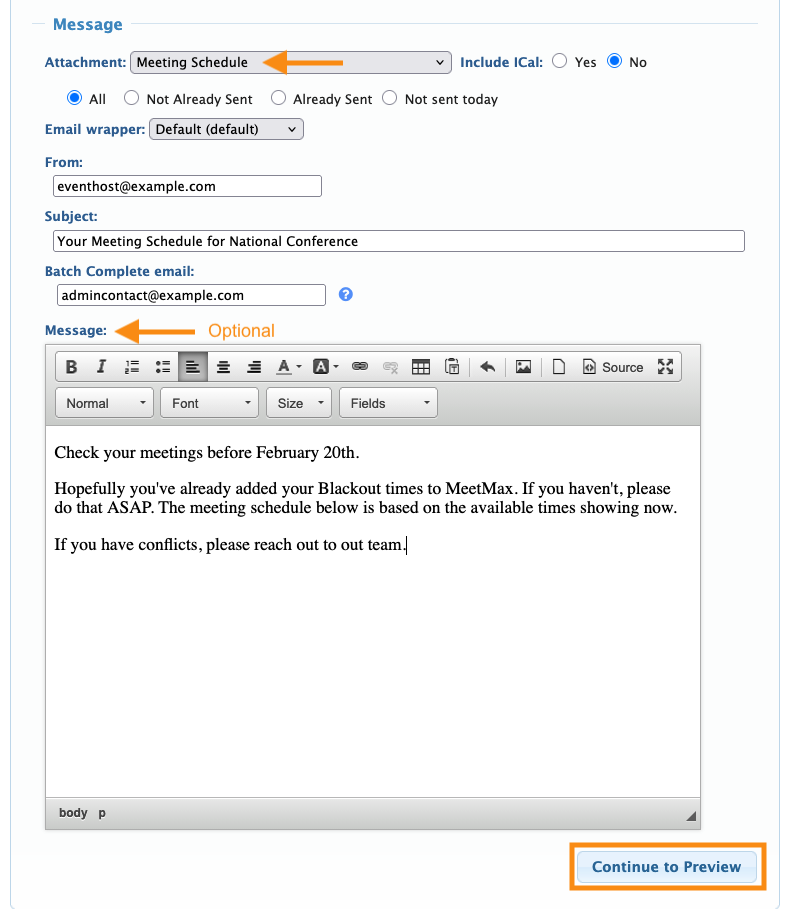
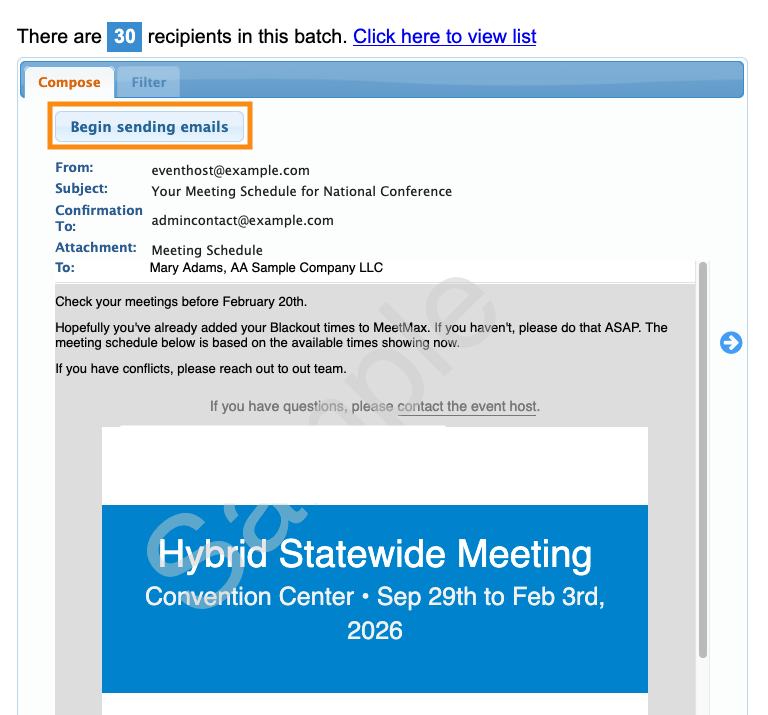
- When your message content and settings are complete, click Continue to Preview.
-
Copying and pasting directly from a Word document can create formatting issues. Instead, paste your text into a Notepad app first to remove all formatting. Then paste into the MeetMax editor. - Step 4. You’ll see a preview of one of the emails. Use the arrow icons to page through the other emails in this batch.
- If all looks good, click Begin sending emails:
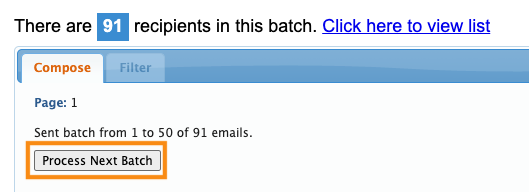
- By default, MeetMax sends emails in batches of 50. At the end of each batch, you’ll be prompted to send the next one:
-
Our Premium email service skips this process, and sends email batches of any size in one operation. Learn more about Premium email here.
Verifying receipt
Once the batch is completed, head to the Messaging tab. Choose Email Logs, then Batches:

The Email Log shows you the number of emails that were delivered, bounced, and opened. Learn more about the Batch Email Log here.

