
In this article:
Where is it?
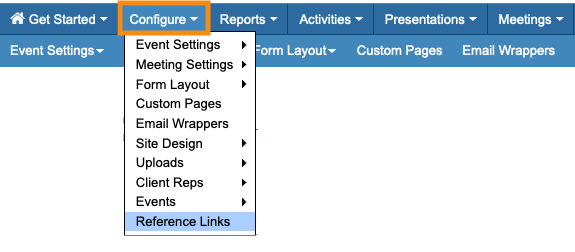
Once the integration is enabled, you’ll find the PRISM registration link on the Reference Links page:
Setting up the integration
- Step 1. Reach out to your Datazoic Representative. They’ll help you get started.
- Step 2. In your MeetMax account, go to the Configure tab. Choose Event Settings, then Enable Features:

- Step 3. Scroll down to the Integrations section.
- • Under Do you wish to integrate with PRISM, choose Yes.
- • Next, set an additional identifier. When a participant accesses your registration page, they'll always enter their email address.
- You’ll also require them to fill out either their Last Name or Event Code:

-
The Last Name validation is a great option in most cases. If you host a lot of events with the same registrants, the Event Code validation works best. - Step 4. Scroll to the bottom of the page and click Save:

- Step 5. Datazoic will give you a Bearer Token and an API Endpoint to paste into MeetMax.
- From the Enable Features page, click on the PRISM tab as shown below.
- Paste your token and endpoint into the fields. Then click Save:

- Step 6. Reach out to our Support team for help with one last step: mapping your PRISM fields to the registration form fields in MeetMax. That way, we’ll pull your data to the right locations.
- Now you’re ready to use the integration!
Locating the registration link
MeetMax generates a unique registration link for each event. It references data from your PRISM records, and pulls that information into the MeetMax registration forms.
| This same link works for registering Attendees, Company Reps, and Companies. Anyone using the link will be prompted to choose their role as they register. |
- Step 1. To get the link, head to the Configure tab, then choose Reference Links:
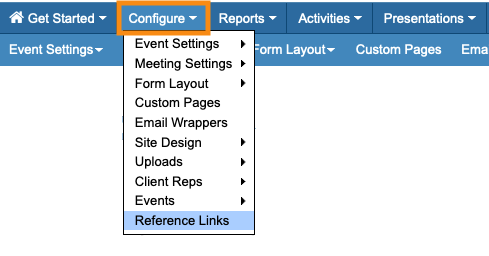
- Step 2. On this page, you’ll find the PRISM Validation link:
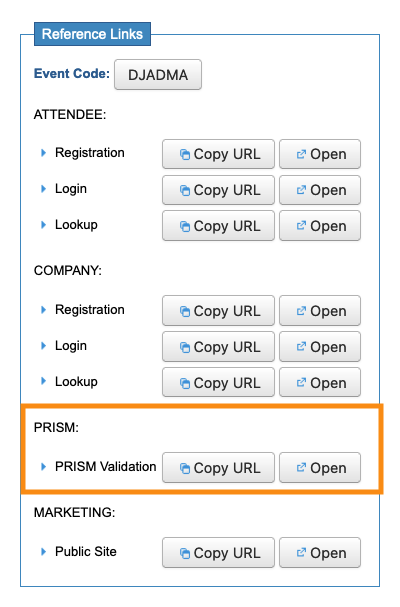
- Step 3. Clicking Copy URL will copy the link, so you can share it with your contacts. Paste it into any email or messaging you’re using.
What the registrant sees
When someone clicks on the PRISM Validation link, they’re taken to a look-up page that’s branded for your event.
The fields they see there will depend on your identifier setting from the section above.
Last Name
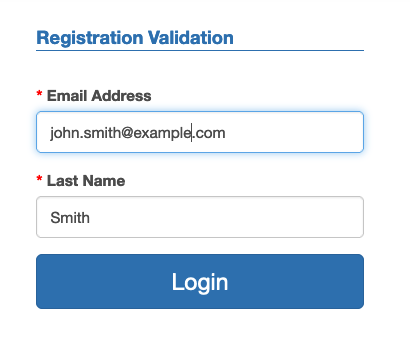
If you chose for participants to identify themselves by Last Name and email address, they’ll see a registration page like the one below.
They’d enter their last name and email address, and then click the Login button:
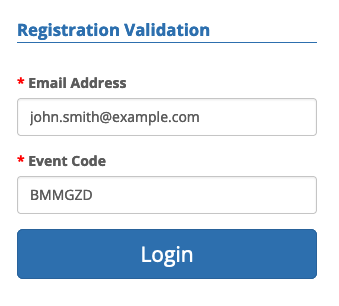
Event Code
If you chose for participants to use your Event Code instead, you’d need to give your participants the unique MeetMax code for your event, along with the PRISM Validation link.
They’d then see a registration page like the one below.
They’d enter their email address and the Event Code, and then click Login:
| For the lookup to work, the last name and email address must match those in your PRISM database. If someone enters different information or there’s no record for them, they’d instead be taken to a blank registration page to sign up for your event. You can connect this registration to PRISM later. |
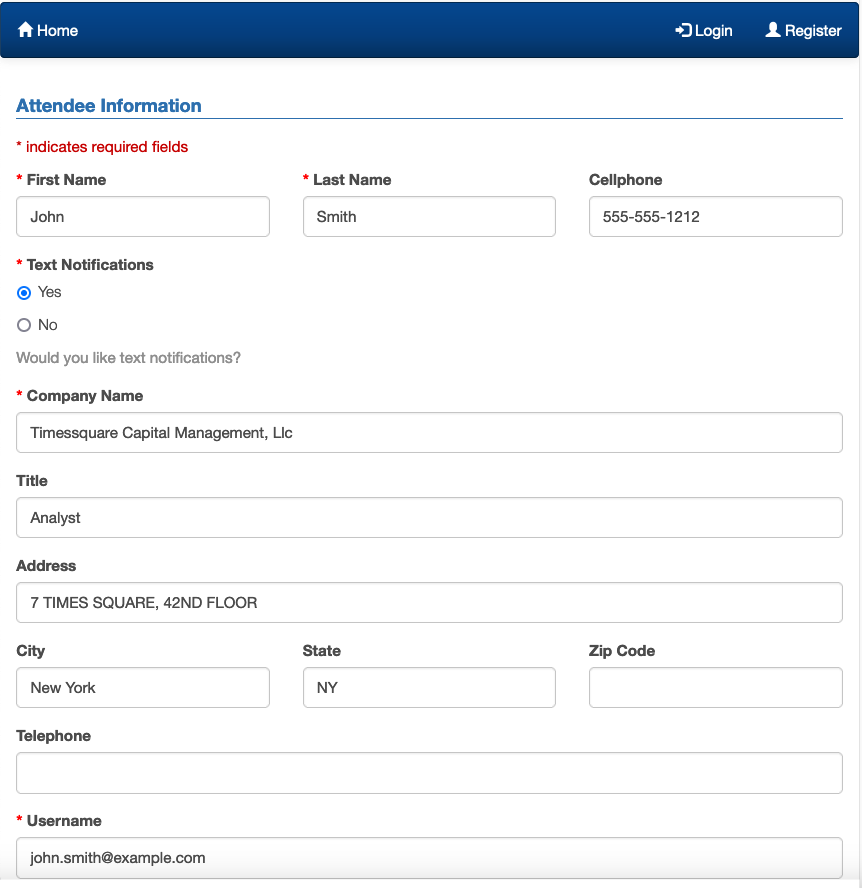
After validation
Once the registrant has passed the validation stage, they’ll see the MeetMax registration form. MeetMax has already pulled in details from the matching PRISM record:
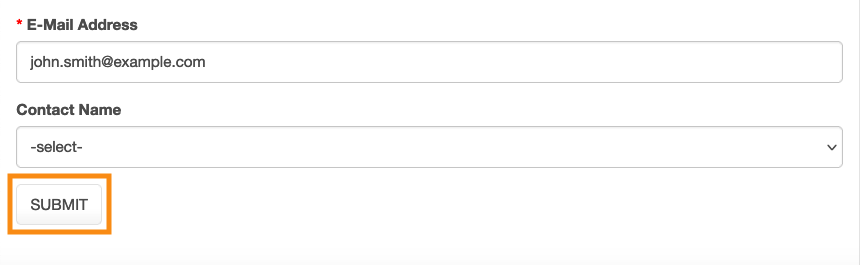
The registrant can fill in any other data they like, and then click the Submit button to complete the registration:
What’s Next?
Once you’ve completed registration, you can:
- Locate and update MeetMax records that aren’t connected to PRISM
- Add individual Attendees or Companies directly to MeetMax
- Learn more about meeting requests
- Learn more about scheduling meetings

