In this article:
- Where is it?
- Who’s on the Invitee List?
- Adding, removing, and reordering columns
- Sorting and filtering Invitees
- Saving custom reports
- Exporting from the Invitee List
Where is it?
The Invitee List is in the Invitees tab:

The list appears as soon as you’ve added or imported your first Invitees to MeetMax.
Who’s on the Invitee List?
Depending on how your event is set up, the people you invite to register might be:
The Invitee List lets you work with these user records while the invitation process is happening. Once everyone’s registered, you’ll work with those records in the Attendee List or Company List.
Adding, removing, and reordering columns
Head to the Invitee List page:

The default view contains only some of the available details – you can customize the list to reflect exactly what you need.
Click on the Columns tab. There, you can add new columns to the list, or remove some. Be sure to click the Apply button afterward:

Need to change the order of columns? Click on any column name to highlight it. Then use the arrows to move it up or down, as shown above.
Sorting and filtering Invitees
If you have a large Invitee List, you’ll need ways to locate specific people or groups quickly.
Sorting links
Look at the titles on each column. Some of them are links.
Click on any of these, and that sorts the whole list by that column. Click again to switch between ascending and descending order:

Filter tab
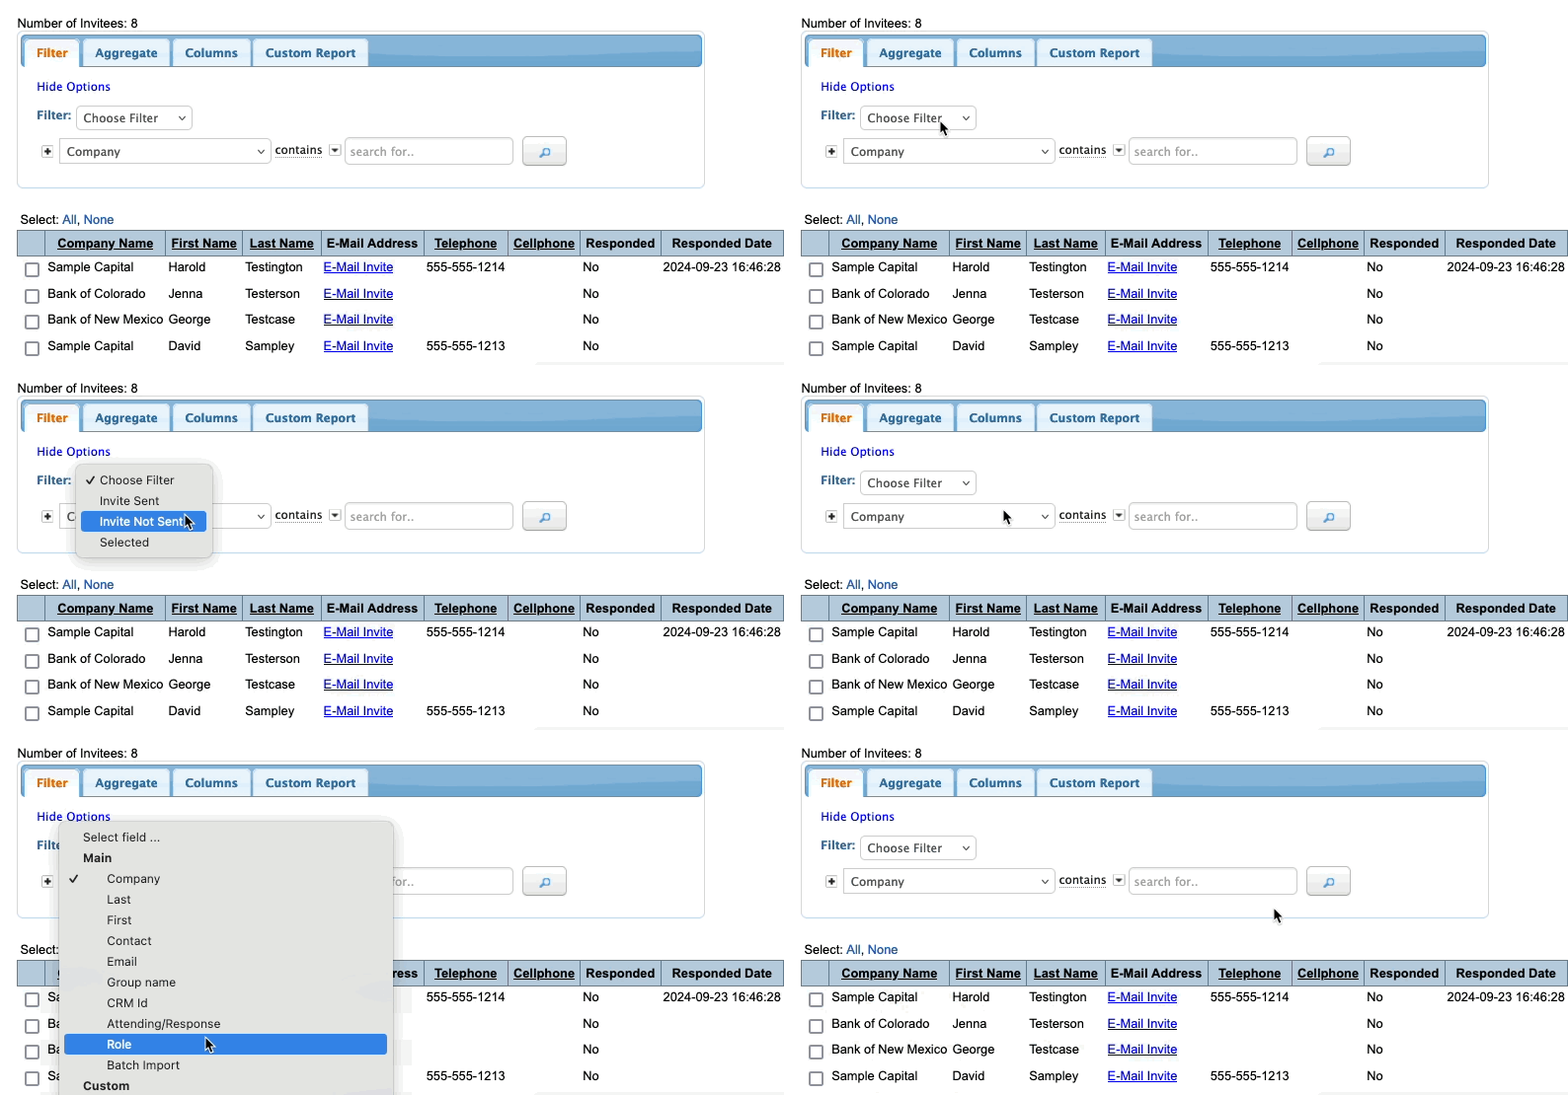
In the Filter tab, you can narrow down the display using a variety of criteria.
There are two menus of filters, which you can use together or separately:

You can also combine filters by clicking the + button. In the example below, we’re filtering for everyone from a single company who hasn’t answered our invitation yet.
Click the magnifying glass button to see the results of your filters:

Need to remove a filter? There are two ways:
- Click the X button to remove one filter
- Click Clear to clear all current filters
Saving custom reports
Once you’ve created a view that you’ll want to access later, you can save it as a custom report.
| The two reports you'll need most commonly from this list are Invitees who've responded to your invitation, and Invitees who haven't responded yet. |
Click on the Custom Report tab. Then give your report a name, choose whether to share it with your team, and click Save:

Custom reports save you a lot of time! For any event, you'll have specific data you need to reference continually. Create as many custom reports as you like.
Once you’ve saved some custom reports, you can access them from the Invitee List any time. Head to the top right corner of the list and click the Load Report menu:

Exporting from the Invitee List
You can export any Invitee List view to Excel. The export will contain only the data in your current filter/sort.
Head to the top right corner of the page and click the Excel icon. You can open the exported file in any spreadsheet software:


