How do I close registration for my event?

You can close event registration at any time. Even if you’ve emailed out links to your registration pages previously, those pages will stop accepting new registrations.
| Once you've closed registration, you and your Admin team will still be able to add or import more Attendees to your event. |
- Step 1. Head to the Configure tab. Choose Event Settings, then Main Details:

- Step 2. Under Registration Closed, choose Yes. Then click Submit to save:

- At this point, all public MeetMax web pages for your event will display a “Registration is now closed” message:

-
We'll cover how to customize this message in a moment. - Step 3. If you’re using the MeetMax public website for your event, you’ll want to update its menu to hide the Register option.
- Head back to the Configure tab. Then choose Site Design, Menu Editor, and Public Menu:

- Step 4. In the left panel of the Menu Editor, click on the Register box. A red X will appear there, indicating that this item is now hidden.
- Be sure to click Save!

| If you need to re-open registration again, repeat these steps. |
Customizing the Closed message
As with most MeetMax pages, you can add your own content to the page that displays a “Registration is now closed” message.
You'll want to do this before you close registration. Learn more about web page customization here.
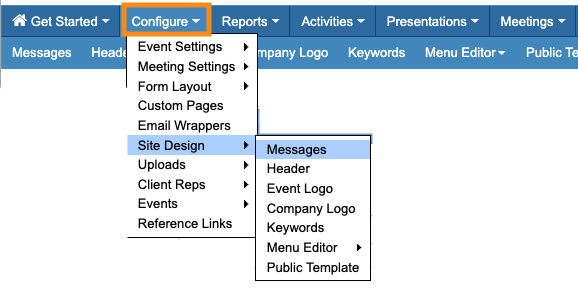
- Step 1. Head to the Configure tab. Choose Site Design, then Messages:
- Step 2. On the Messages page, set the Page URL filter to event_closed.html.
- Step 3. Click on the tag icon. A menu will appear.
- Choose the TOP section - that’s where the default message is:
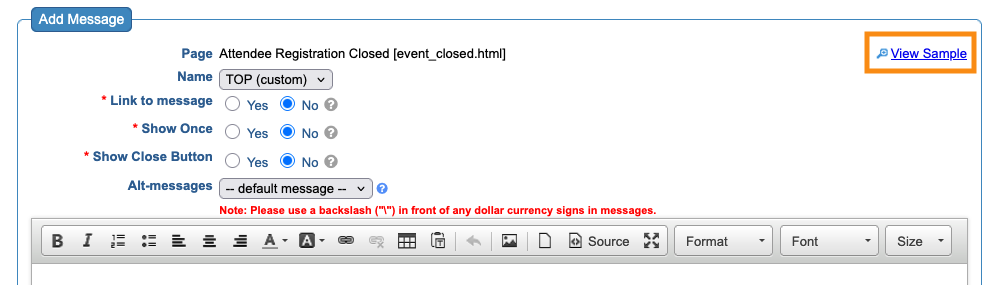
- Step 4. You’re now in the custom content editor. Add your own text and formatting. You can also add images. Learn more about the editor here.
- Click Submit to save:
- Step 5. MeetMax will now display your custom closure message. Preview it by clicking the View Sample link: