Adding hotel details to the Hotel page

Your participants will see this information above your event’s Hotel reservation form.
In this article:
Where is it?
To insert custom content on the Hotels page, you’ll use a Message. Learn more about Messages here.
The Message editor is in the Configure tab:
| Use this page only when you’re paying for (or guaranteeing) hotel rooms for your event | |
| If your participants will be booking their own rooms, use this process instead. |
Locating the correct Message to edit
MeetMax has many available Messages, so you can customize many different web pages and emails.
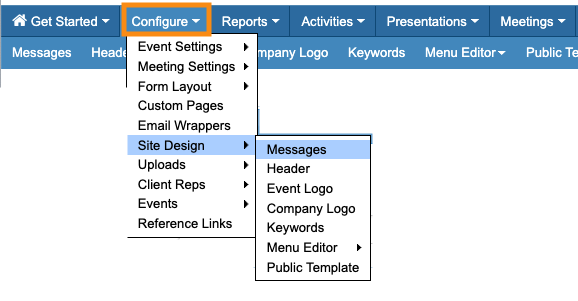
- Step 1. Head to the Configure tab. Choose Site Design, then Messages:

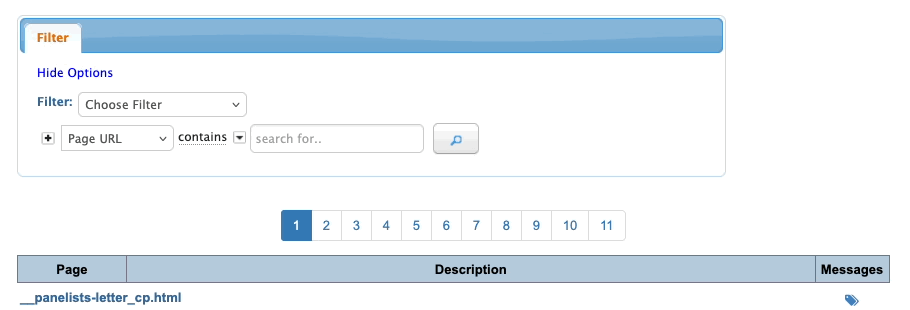
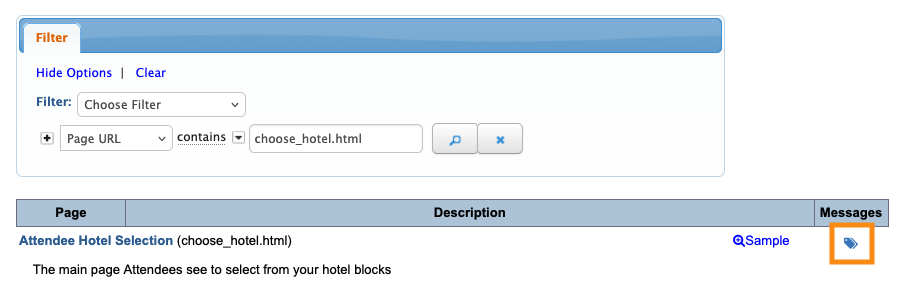
- Step 2. On the Messages page, set the filter to Page URL. Then paste in this URL: choose_hotel.html
- Step 3. Click on the tag icon to open this message for editing:
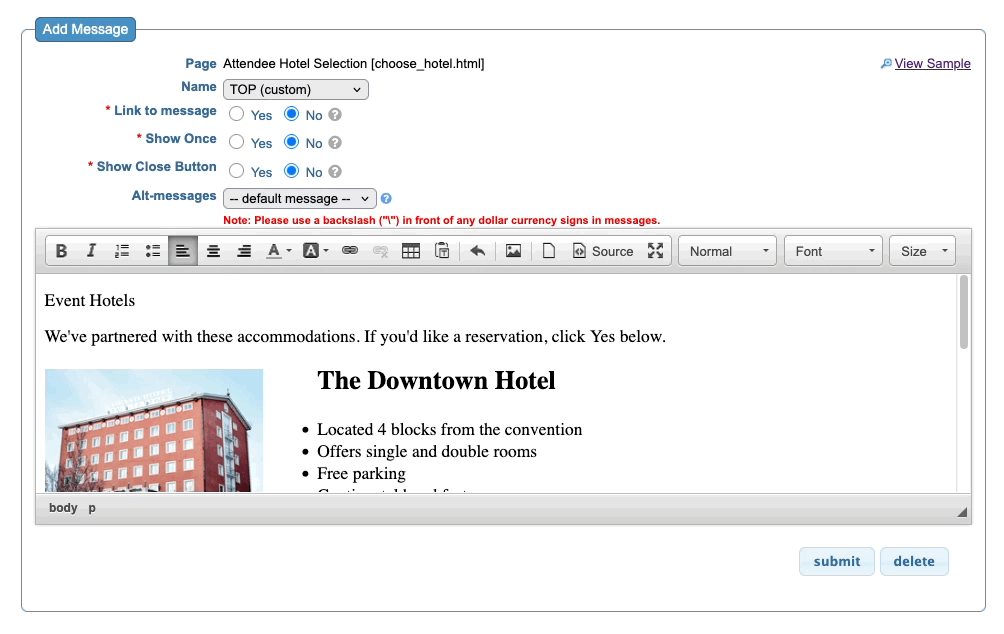
Adding content to the Message
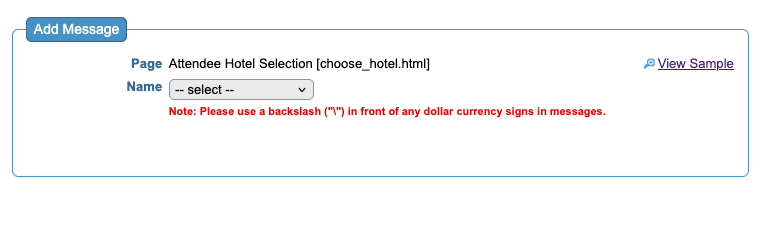
- Step 1. After you click the tag icon, it’s time to choose where you’ll insert the hotel information. Use one of these options:
- • TOP places it above the hotel reservation form.
- • BOTTOM places it below the hotel reservation form.
- For this example, we’ll insert a TOP message.
- Step 2. When you choose the location, that opens the custom content editor. Here, you’ll add your hotel text and images.
- Step 3. Click Submit to save:
Previewing the page
Once you’ve saved your changes, head to the top right corner of the editor. Click View Sample:
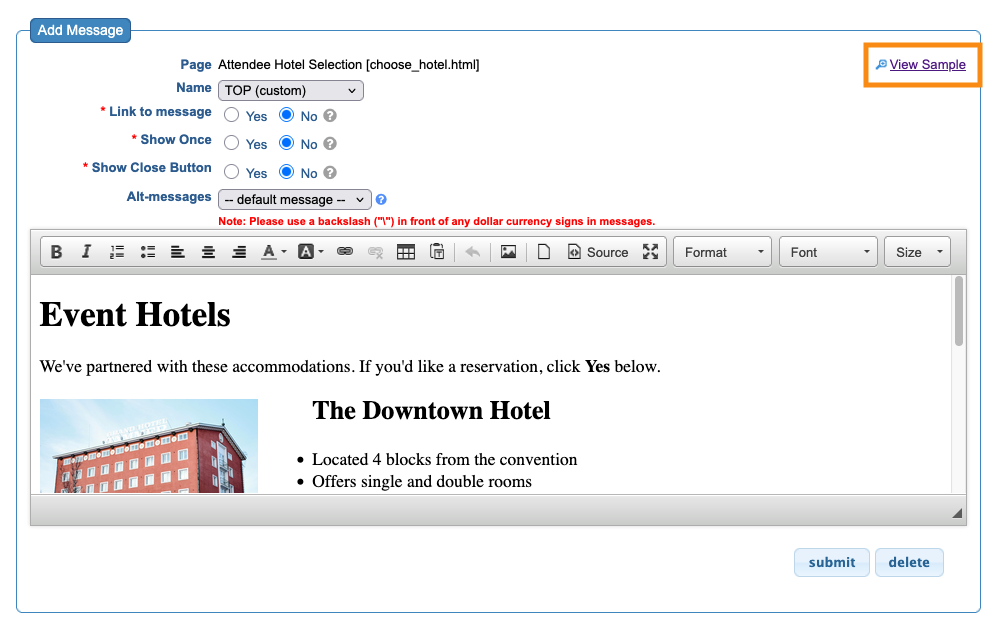
MeetMax opens the sample page in a new browser tab:
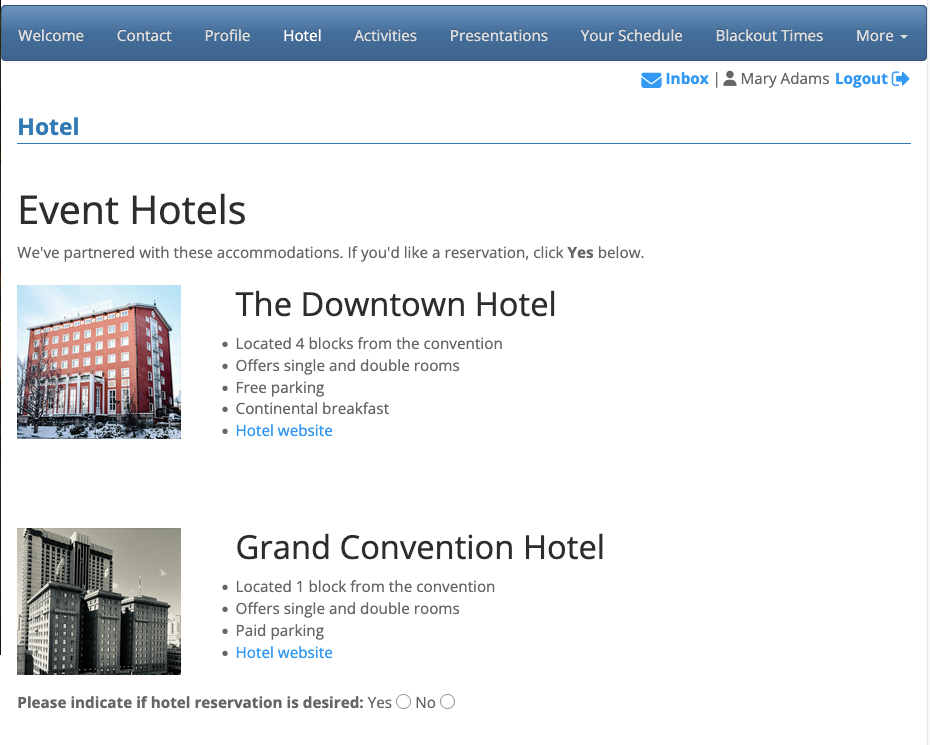
| This page will be branded for your event, and contain the menu options you’ve enabled. |
What’s Next?
Now that your Hotels page is available, it’s time to:

