Badging: Adding your registrants to MeetMax

MeetMax lets you import your Attendees as a list, or enter them individually. That way you can handle early or late registrants easily.
In this article:
- Where is it?
- Your registration form
- Importing your list of registrants
- Adding a last-minute attendee before the event
- Setting the Attendee List up for check-in
Where is it?
When you add registrants before your event, you’ll be working in the MeetMax Attendees tab:
Once you’re onsite at your event, you’ll add walk-ins from the MeetMax Check-In interface:
Your registration form
Our Support team has already configured your event registration form. You’ll use this form as a basis for:
- Importing attendees
- Adding late registrants individually
- Adding walk-ins at your event
More details:
- From your MeetMax Admin view, you can add information to any Attendee’s registration form.
- You can change the registration form any time.
- You can also create custom fields for your registration form.
Importing your list of registrants
You’ll add most of your Attendees to MeetMax by importing a list.
- Step 1. Create a spreadsheet, with a column for each field in your registration form.
- The sample spreadsheet below is based on the sample registration form above:

- Step 2. Export the spreadsheet as a CSV file.
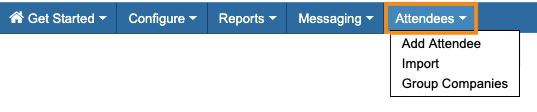
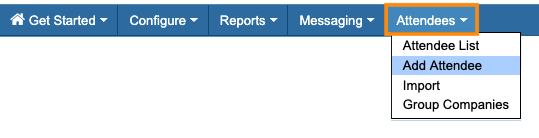
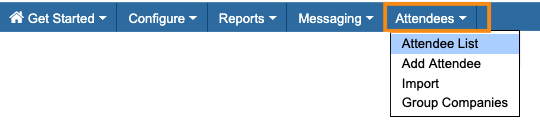
- Step 3. Head to the Attendees tab, and choose Import:

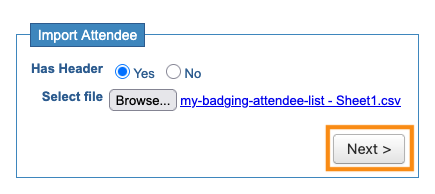
- Step 4. Indicate whether your spreadsheet has a header row or not. Then click Browse to locate your CSV file on your computer:
- Step 5. Once you’ve chosen your CSV file, you’ll see it here. Click Next to proceed:
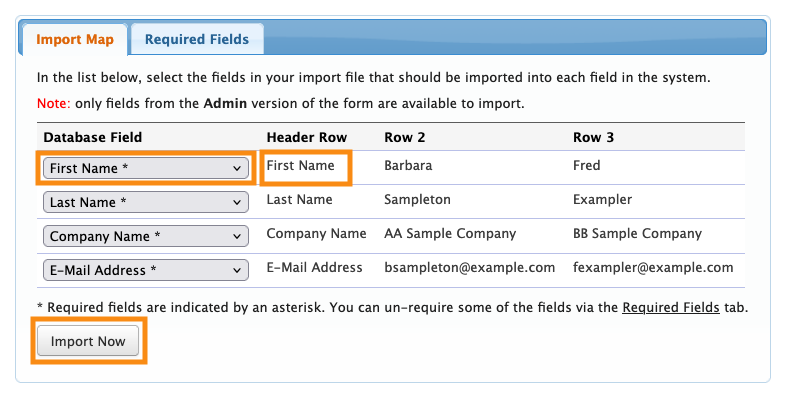
- Step 6. You’ll now be taken to a mapping page. Make sure the Database Field matches the sample data in each row.
- When everything matches, click Import Now:
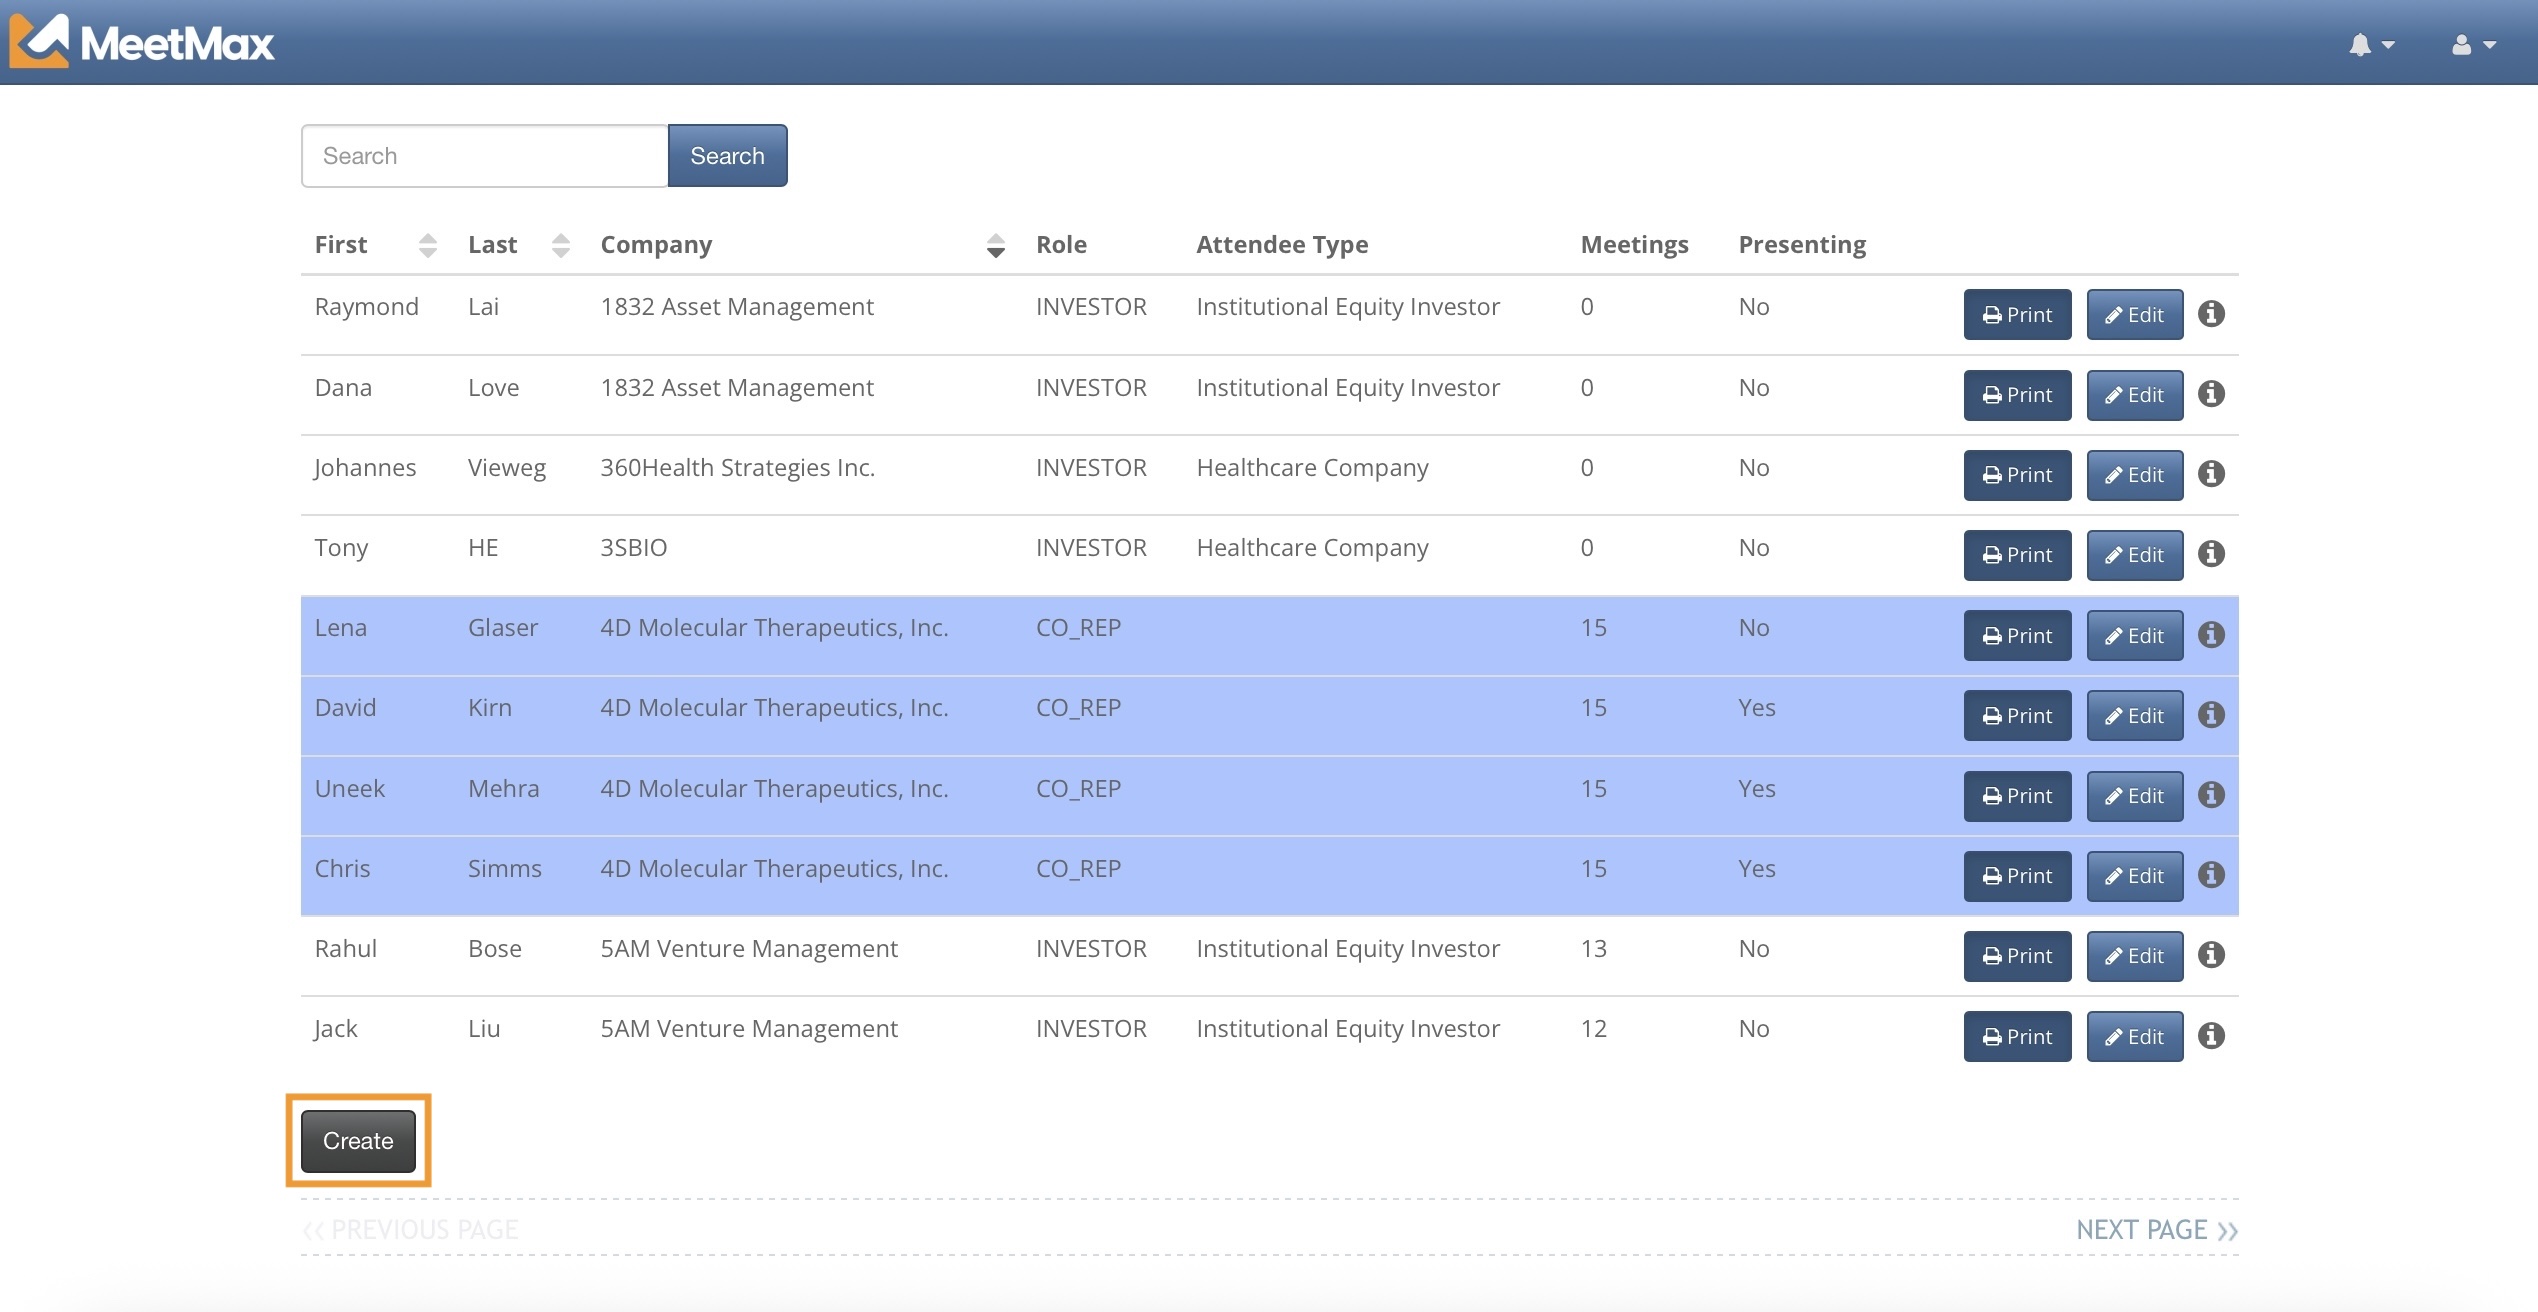
- Step 7. The import process takes about 30 seconds. Once it’s complete, you’ll see a new item in your Attendees tab: the Attendee List:

- On that page, you’ll see all the attendees you just imported.
More details:
Adding a last-minute attendee before your event
After your import is done, you might need to add a few extra people.
- Step 1. Head to the Attendees tab, and choose Add Attendee:
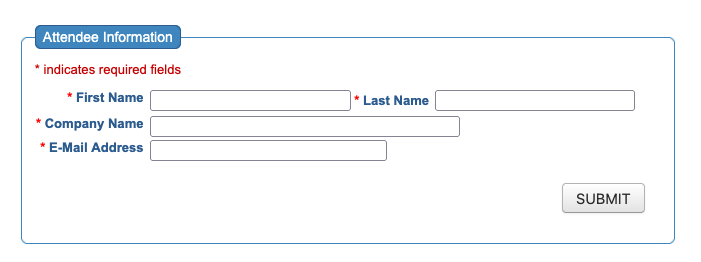
- Step 2. Fill out the registration form. Then click Submit:
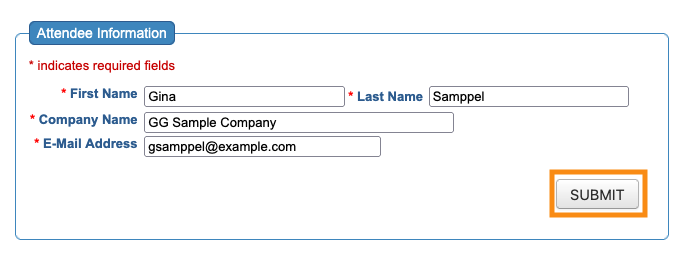
- Step 3. You’ll now see the new registrant on your Attendee List:

-
You can also add walk-in attendees at your event. See this article for more details.
Setting the Attendee List up for check-in
During your event, you’ll be using the Attendee List to keep track of who’s checked in.
Let’s add two columns to the list, so you can easily see everyone’s status.
- Step 1. Head to the Attendee List:
- Step 2. Click on the Columns tab.
- Use the menu to choose Checkin Time. Then click Add.
- Do the same to add the Attending column. Click Apply to save:
- You might also want to remove some default columns, if you don't need their data.
- Here, we’re removing Last Login, Num Logins, and Created By. Click Apply to save:

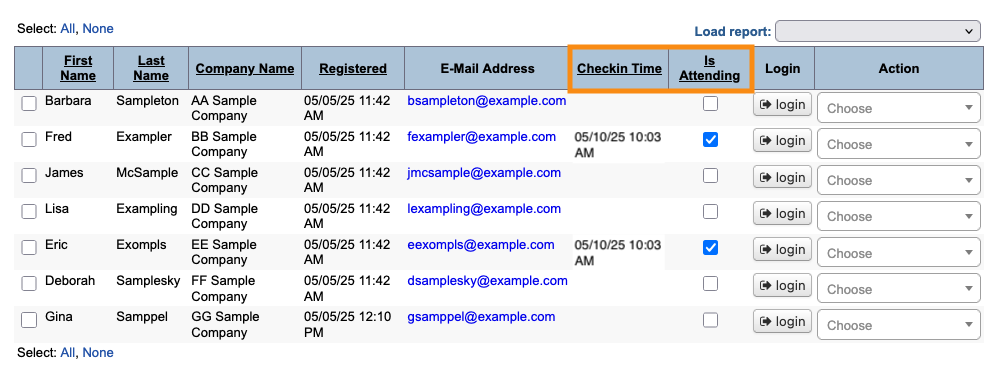
- Step 4. You’ll now see these new check-in columns on the Attendee List.
- As each person checks in, you’ll see these columns update:
More details:

