In this article:
- Where is it?
- Setting up request decline reasons
- Declining a meeting request
- What requestors see
- What recipients see
- Declined request reports
Where is it?
You’ll set decline reasons for your event from the Configure tab:
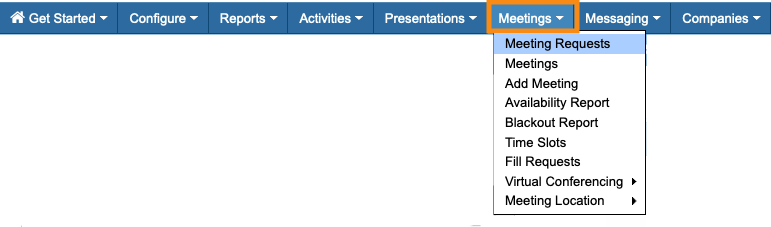
You’ll then decline meeting requests and add these reasons from any participant’s Meeting Times page:
| This feature is available for Moderated and Unmoderated meetings programs. We’ll show a Moderated program here. |
Setting up request decline reasons
MeetMax has a set of default reasons, which you can customize as needed.
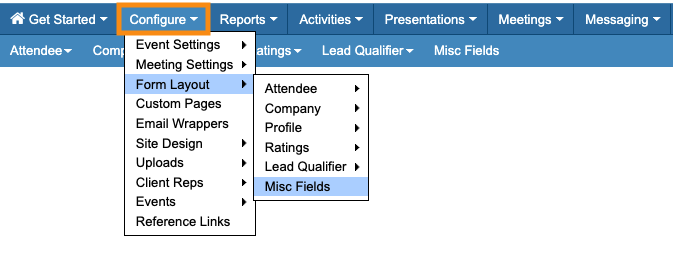
- Step 1. Head to the Configure tab. Choose Form Layout, then Misc Fields:

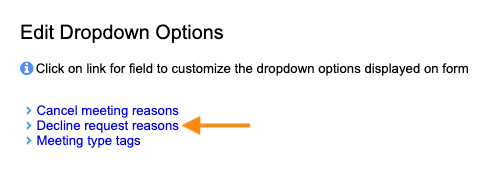
- Step 2. Click the Decline request reasons link:
- Step 3. Delete any of the default reasons and add your own.
- For each reason, you’ll add a Value (internal, no spaces) and a Label (publicly visible):
- If you want to add more reasons, click Add Row:
- Step 4. Click Submit to save.
Declining a meeting request
In this example, Bank of Colorado has received more meeting requests than it has available time slots. As an Admin, you need to decline the unfillable meeting requests and notify those Attendees.
- Step 1. We’re declining requests a Company has received here, so we’ll start on the Company List:

-
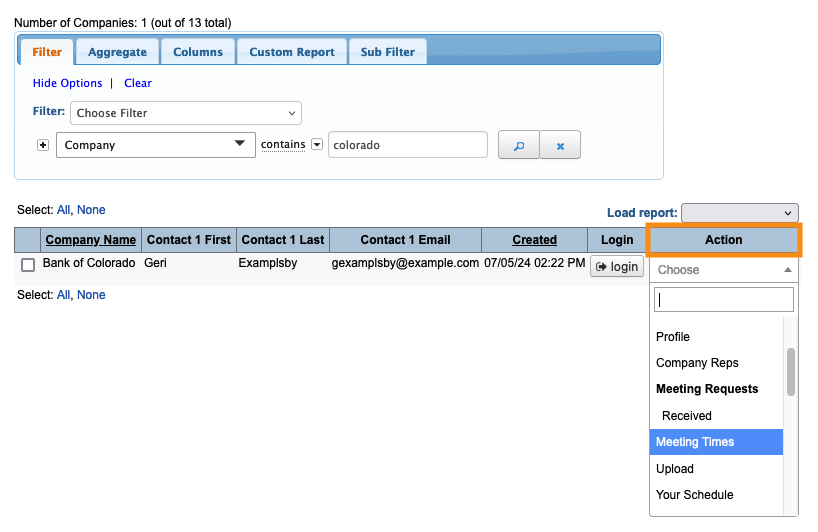
If you’re running an Unmoderated meeting program, you’ll start in the Attendee List instead. - Step 2. Filter the list to locate the Company you need. Then use the Action menu to choose Meeting Times:

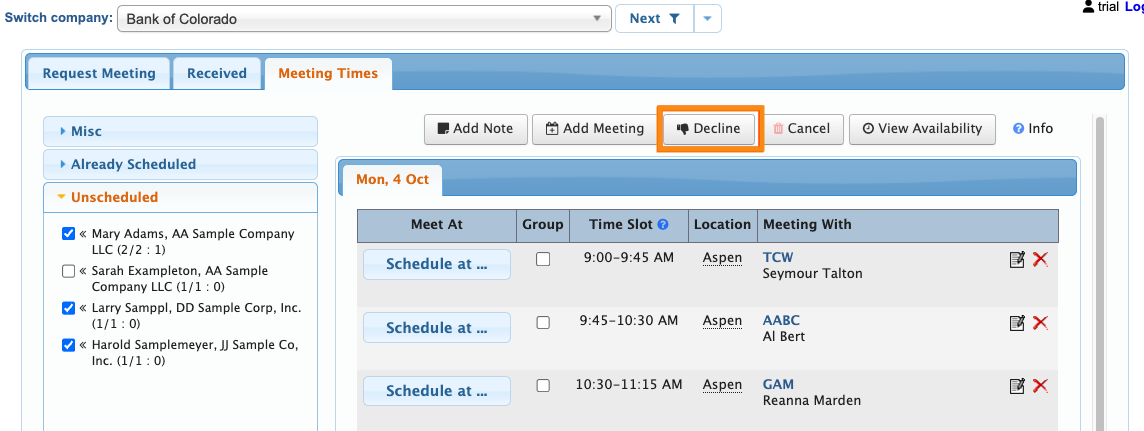
- Step 3. On the Meeting Times page, you’ll see the unfilled requests in the left sidebar.
- You can decline multiple requests at one time, as long as they’ll all have the same decline reason. Here, we’ll choose several requests:
- Step 4. Once you've chosen some requests, a Decline button appears. Click that:
- Step 5. In the pop-up, choose one of your event’s decline reasons. As an option, you can also add a note.
- If you want MeetMax to email these requestors, choose Yes from the Send Email menu. Then click Submit:
- These requests are now declined, with a reason assigned. You can access details of declined requests in several places. See the sections below for details.
-
You can also reinstate a declined meeting request.
What requestors see
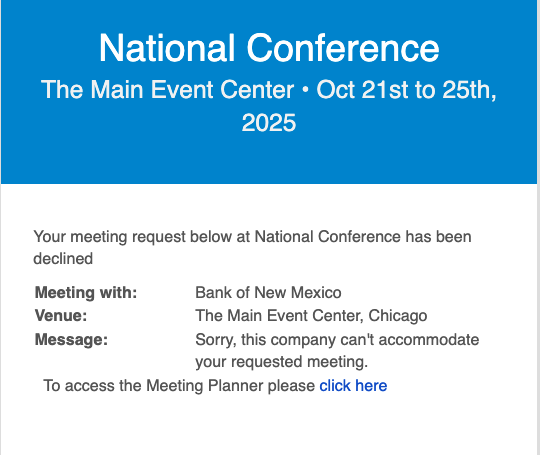
If you opted to email the requestor as shown above, they’ll get an email notice of the declined request. It looks something like this:
If you’d also like to have declined requests appear on the requestors’ schedules, you can also enable them via the Schedule Settings:
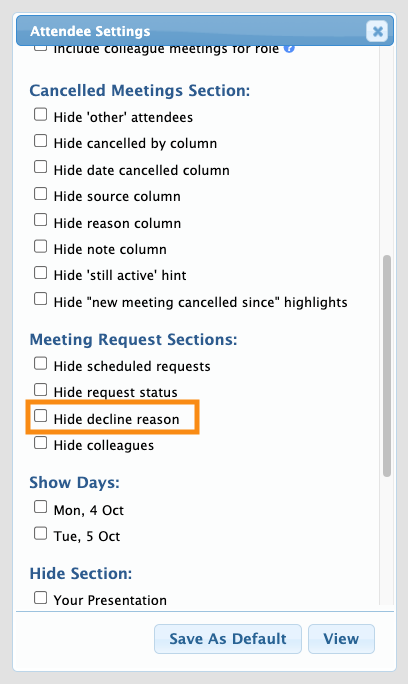
The requestor can then log into MeetMax and head to the Your Schedule page to see the decline reasons:

What recipients see
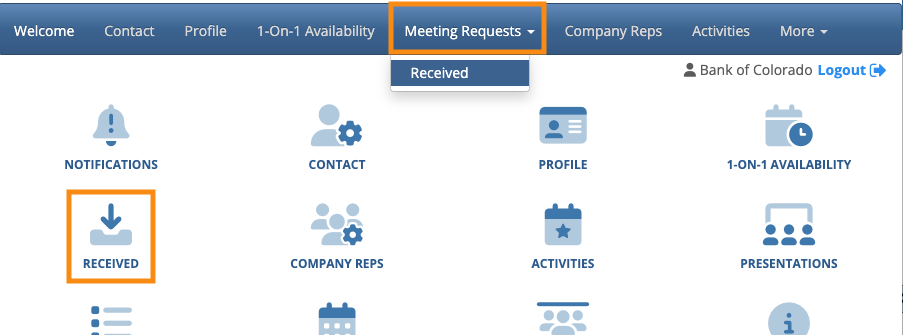
The recipient of the request can log into MeetMax and head to the Meeting Requests Received page:
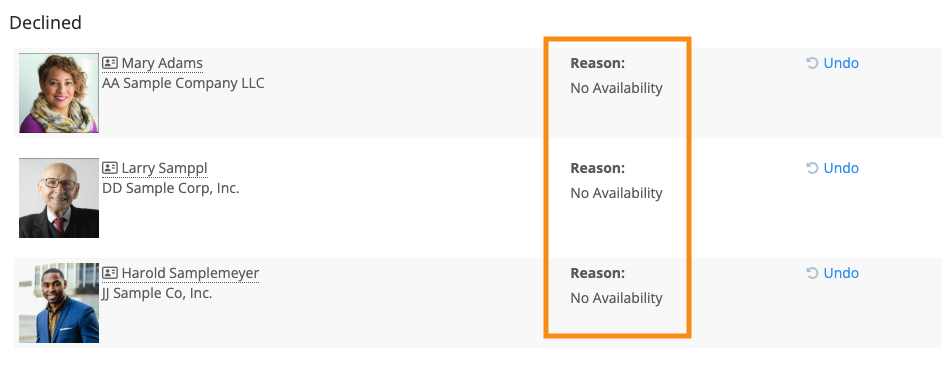
In the Declined section of the Meeting Requests page, they’ll see the decline reasons:
Declined request reports
To run reports that include declined request reasons, head to the Meeting Requests List:
In the Columns tab, you can add the Decline Reason column for reporting:
In the Filter tab, you can also filter for any of your decline reasons: