
In this article:
- Where is it?
- Tracking in-person check-ins
- Virtual events: Defining and marking attendance
- Updating attendance status in bulk
Where is it?
For all of the processes below, you’ll work in the Attendee List:

Head to the Columns tab, and add the Attending and Checkin columns. That lets you see current attendance statuses.
Be sure to click Apply!
Tracking in-person check-ins
MeetMax offers multiple ways to structure your event’s registration and check-in. Our team will help you set things up.
During event check-in your team can use the Attendee List to manually mark Attendees as they check in:
![]()
If you’re using our on-site check-in and badging services, the Attendee List will update automatically as people check in and collect their badges.
| However you track attendance for your event, you can set custom email alerts to let you know when certain participants check in. |
Virtual events: defining and marking attendance
For virtual and hybrid events, you’ll decide which actions constitute “attendance.” For example, you might consider someone as having attended if they:
- Log into MeetMax
- View a specific presentation
- Participate in a virtual 1x1 meeting
Depending on how you define attendance, you might mark Attendees individually as shown above. For virtual events, it’s often simpler to use the bulk update feature shown below.
| Our Event Services team can also help with tracking virtual attendance. Reach out to your TWST Events Sales representative for details. |
Updating attendance status in bulk
As an option, you can update the attendance status of multiple participants at once. This is helpful for:
- Filling in gaps in your attendance tracking.
- Simplifying attendance tracking.
Here’s an example. Let’s say you’re hosting a virtual event, and there’s one key presentation. You’re considering everyone who logged in to view that presentation as an event Attendee.
- Step 1. In the Attendee List, use the Filter tab to narrow the list down to these participants:
-
This is the most important step of this process. MeetMax offers many ways to filter the Attendee List, so you can narrow this list to exactly the group you need to update. - Step 2. When you're displaying the list you need, head to the top right corner of the page. In the Bulk Actions menu, choose Update Attending:
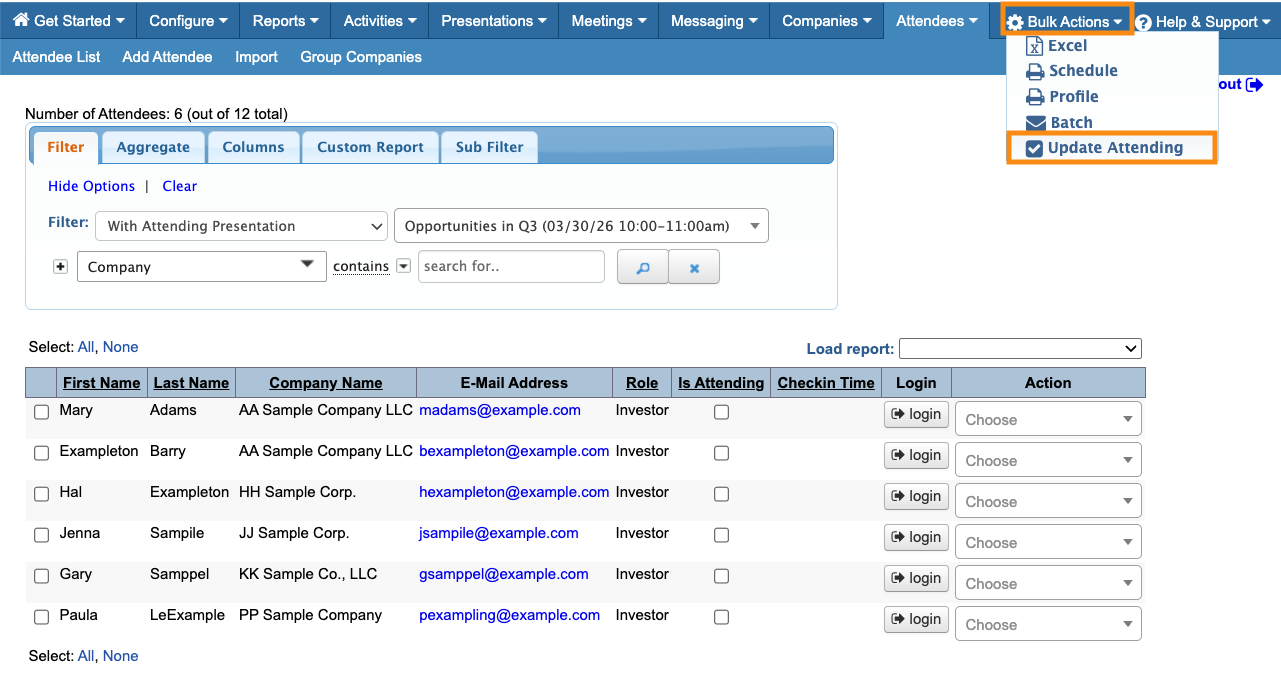
- Step 3. In the pop-up, you’ll see how many Attendees you’re updating.
- Click the checkbox to show the attendance status you need. Here, we’re marking our group as Is Attending. (Uncheck the box if you want to mark a group as not attending.)
- Click Submit to save:
- Step 4. This group of Attendees is now marked as attending, and they all have the same check-in time:
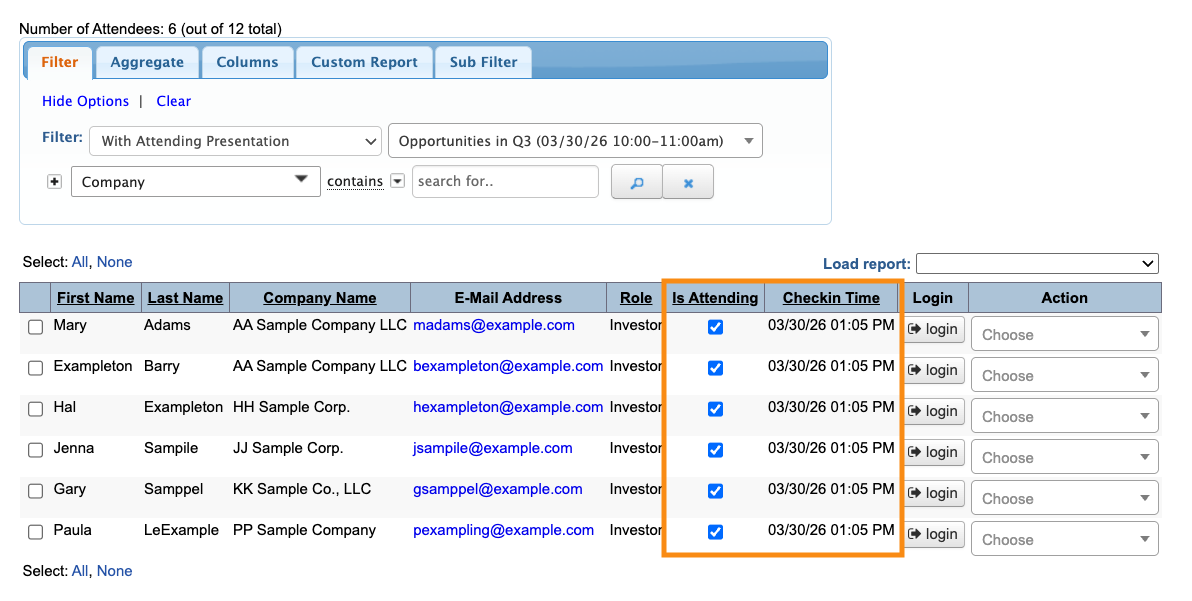
-
If you’re updating a very large group that spans multiple pages of the Attendee List, this update applies to all pages at once. If you’re bulk updating a group, and some Attendees in that group already show a check-in time, this bulk update won’t override that. They’ll still display their original check-in time.

