Using Permission Overrides

This setting enables or disables specific permissions for all participants at your event.
In this article:
Where is it?
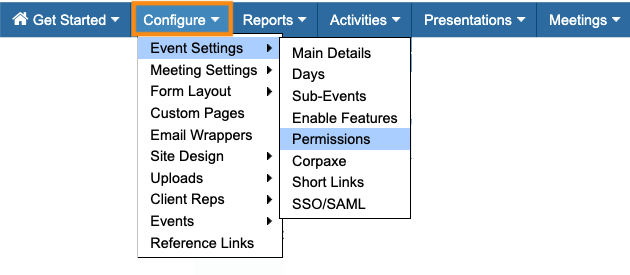
You’ll find this setting in the Configure tab:

Why is it useful?
Throughout your event, you might want to temporarily show or hide certain features to your participants.
Some common examples:
- You might set a deadline for participants to enter their availability for meetings. After that deadline, you want to prevent anyone from changing their availability.
- When you’re ready to start scheduling meetings, you might want to close or lock further meeting requests.
- You might want to hide everyone’s event schedules until you’ve finished scheduling meetings.
The Permission Overrides feature is useful when you want to make a global change. You can add or remove access to a feature for everyone at your event, all at once.
The Menu Editor: a more customizable option
You can also add and remove access to features using the Menu Editor.
With the Menu Editor, you have much more flexibility:
- You can handle Company, Attendee, and Company Rep permissions separately.
- You can hide any feature for as long as you need, and make it visible again any time.
- You can show any feature to some user roles or groups, and hide it from others.
| We recommend the Menu Editor option for most events. If you’re not sure which option is best for your event, reach out to our Support team. |
Updating specific permissions
Keep in mind that when you take the steps below, you are changing access for every user at your event, regardless of their role.
- Step 1. Head to the Configure tab. Choose Event Settings, then Permissions:
- Step 2. Click the checkboxes for any features you want to disable for everyone.
- You’ll see a red X, indicating that the permission is globally disabled. The change saves automatically:

-
If you’ve set restrictions for any individual Attendee, or our Support team has helped you customize permissions for user roles, that will override any change you make here on the Permissions page. - Step 3. If you want to restore a permission for everyone later, return to this page and check the box again. A green checkmark means it’s enabled.

