How do I remind Attendees to submit their meeting requests?

Many events set a deadline for submitting meeting requests. As that deadline nears, you might need to see who hasn’t taken action yet, and send them a reminder email.
Finding the Attendees who haven’t submitted requests
- Step 1. Head to the Attendee List:

- Step 2. As an optional step, head to the Columns tab. Add the column for Last Login. Then click Apply.
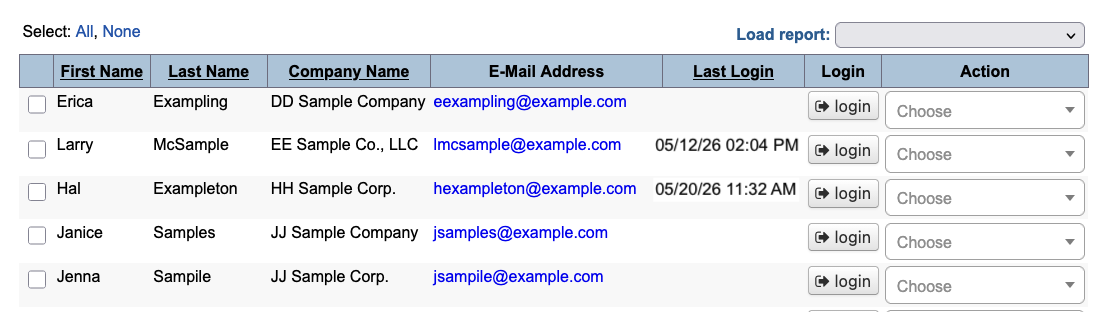
- This way, you’ll be able to see who has and hasn’t logged into MeetMax. It’s helpful data when you’re sending this reminder:
- Step 3. In the Filter tab, apply the Without Requests filter. It narrows the list to those Attendees who haven’t submitted anything:
- In the filtered list, no one has submitted any meeting requests. We can also see which Attendees have and haven’t logged into their MeetMax accounts:
Your email content
MeetMax offers several ways to set up a reminder email:
- You can add a custom message to the top or bottom of another batch email you’re sending out to Attendees. (As an example, you could re-send everyone’s login credentials, and add a message about submitting requests.
- You (or our team) can create a Custom Page email. It can then be sent as a batch email.
- You can also type a simple message, and send that out in a batch (see below for details).
| If you’re not sure which option is best for your needs, our Support team is happy to help. |
Sending the email reminder
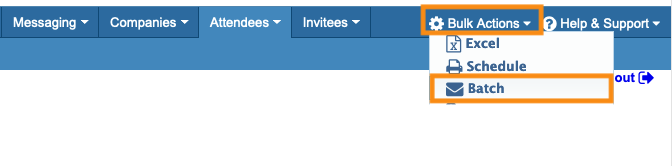
- Step 1. When you have the Attendee List filtered, head to the top right corner of the page. In the Bulk Actions menu. Click Batch:
- Step 2. You’ll be taken to the batch emailer. Learn more about batch email settings here.
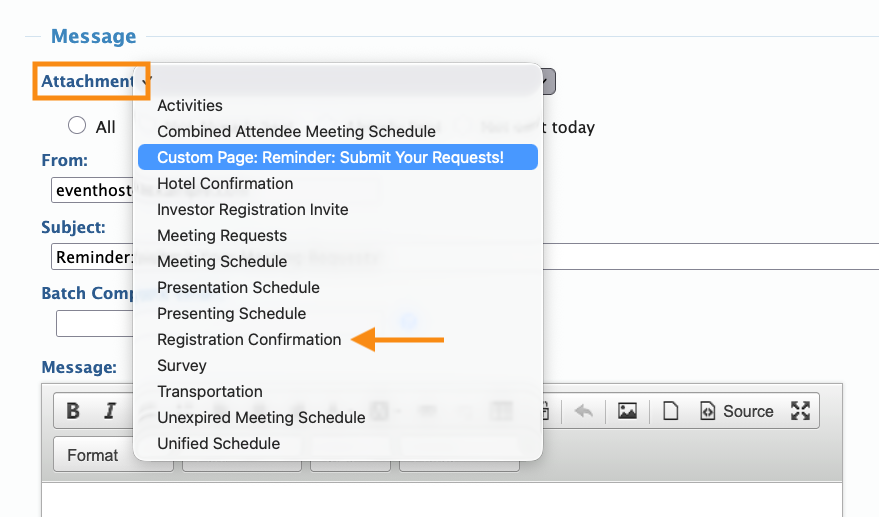
- Use the Attachments menu if:
- • You’ve added a custom message to an existing batch email (For example, the Registration Confirmation attachment shown below.)
- • You’ve created a Custom Page email.
- As a simpler option, you can skip the Attachments menu, and head to the Message field instead. Type in a reminder message there:
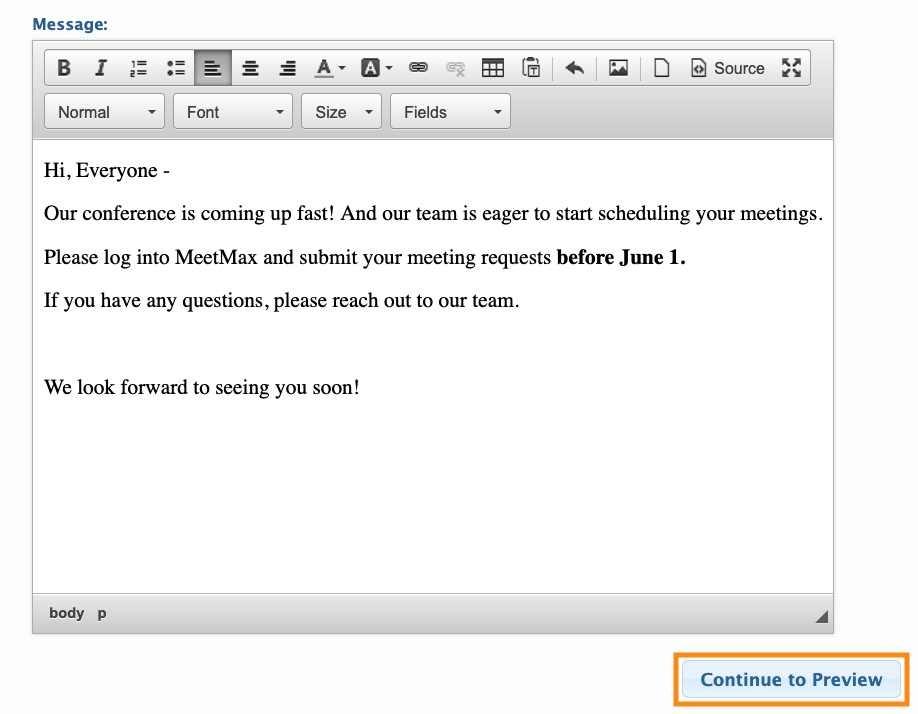
- Step 3. Click Continue to Preview as shown above.
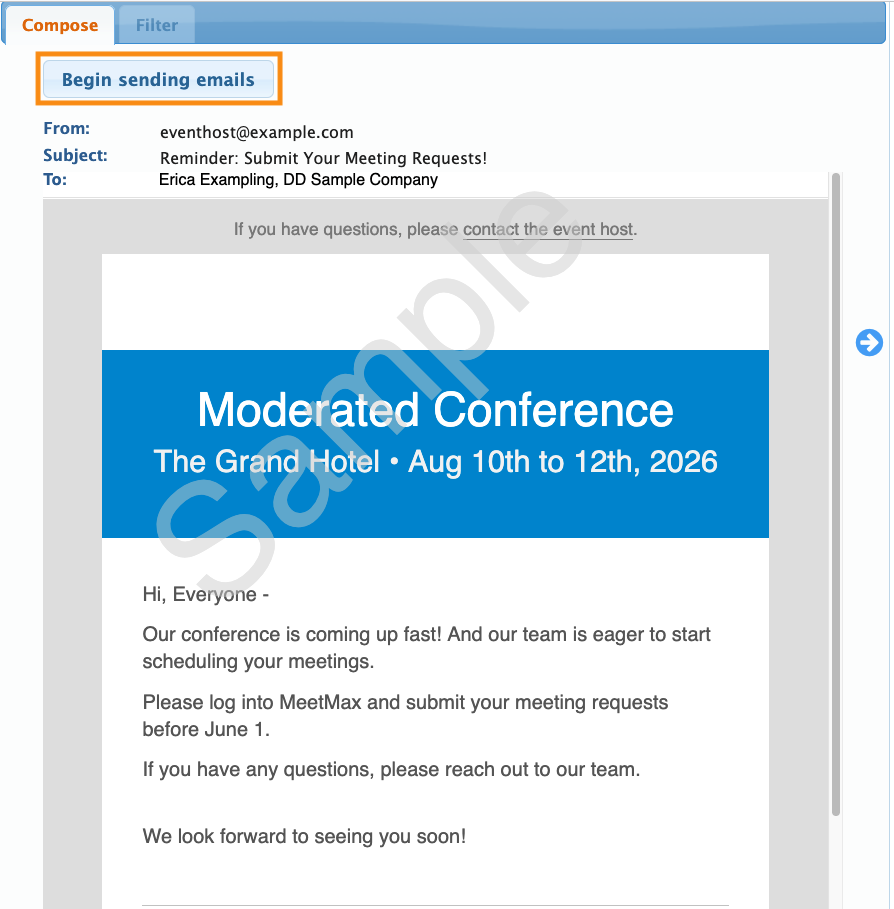
- You’ll see a preview of your batch email message, with your event’s email wrapper.
- Step 4. If all looks correct, click Begin sending emails: