In this article:
Where is it?
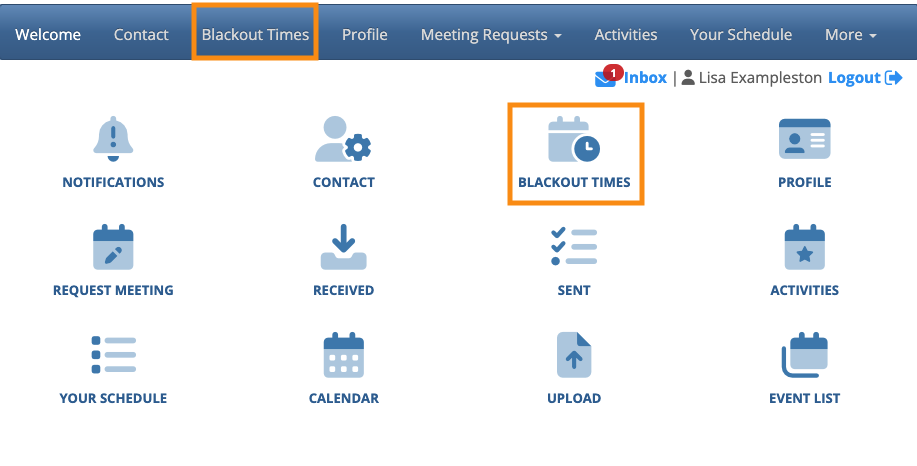
When an Attendee logs into MeetMax, they’ll head to the Blackout Times page:

| This page will be branded for your event, and contain the menu options you’ve enabled. |
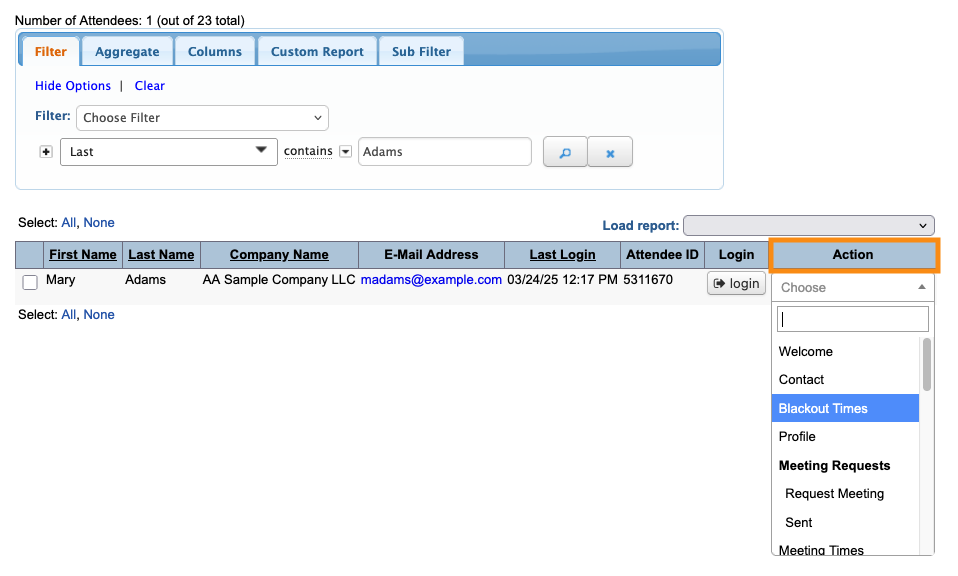
As an event Admin, you can also set blackout times for any Attendee, using the Attendee List:

How an Attendee sets blackout times
Once they’ve logged into MeetMax, the Attendee will see the Blackout Times tab:

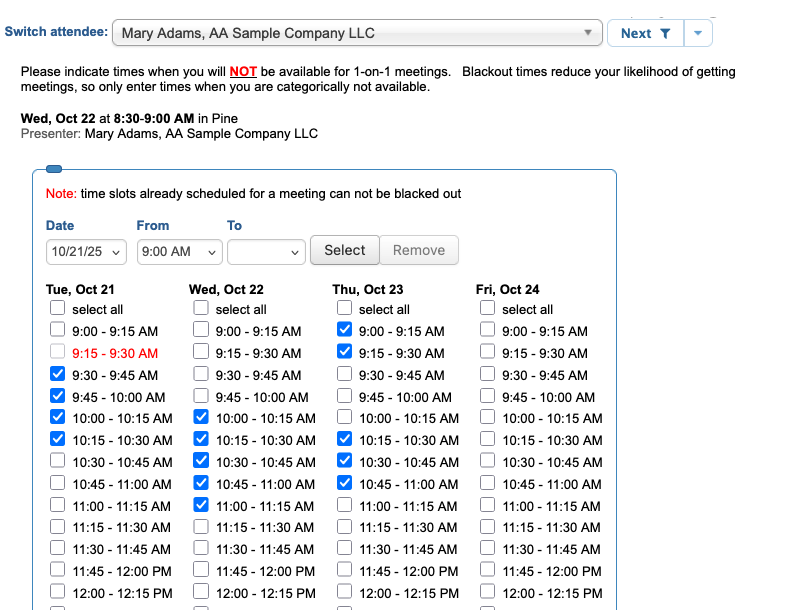
On the Blackout Times page, the Attendee can click individual checkboxes to remove any time slots from their availability.
If they want to remove a block of time slots at once, they can use the tools at the top of the page.
All changes save automatically:

How an Admin sets blackouts for an Attendee
Your Admin team can add or remove blackout times on behalf of any Attendee.
- Step 1. Head to the Attendee List:

- Step 2. Filter the list to locate the Attendee you need. Then use the Action menu to choose Blackout Times:

- Step 3. You’ll now see the Attendee’s Blackout Times page, along with any blackouts they’ve already set.
- • Check any box to set a blackout time.
- • Uncheck any box to make the Attendee available.

- Changes save automatically. Admins have access to the same tools shown in the Attendee section above, for choosing blocks of time slots at once.
Showing or hiding the Blackout Times page
As an Admin, you can leave the Blackout Times page available to Attendees throughout your event. But if an Attendee updates their blackout times, that could affect scheduled meetings.
So as an alternative, you can designate a deadline for entering blackouts, and then use the Menu Editor to remove the Blackout Times page from view.


