In this article:
- Where is it?
- Why is it useful?
- Creating a Client Rep Group
- Assigning a group to your team member
- Adding the Client Rep Group field to registration forms
- Adding participants to Client Rep Groups
- What the Client Rep sees
- Batch emailing Client Rep Groups
Where is it?
You’ll create and edit Client Rep Groups from the Configure tab:

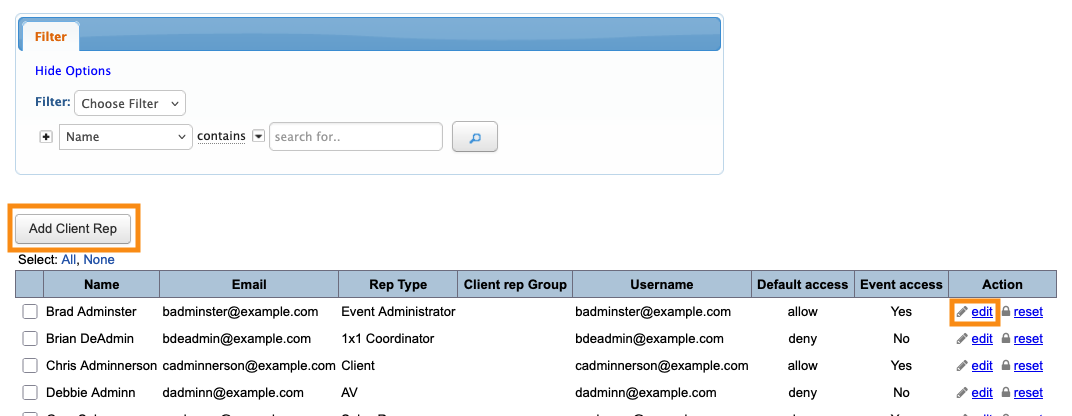
Once you’ve created your groups, you can assign them from the Add Client Rep form:

Why is it useful?
In MeetMax, a Client Rep is a member of your internal team. Client Reps can have a range of responsibilities.
For some events, each Client Rep is assigned to a specific group of event Attendees. That allows two things to happen:
- Visibility: The Client Rep’s view of MeetMax is restricted to only their assigned Attendees. That makes it easier to monitor registrations, meetings, and engagement.
- Communications: The Client Rep can be cc-ed on any batch email that’s sent to their assigned Attendees.
If your internal team is structured into specific groups (such as sales territories), the Client Rep Group field lets you assign one group to each Attendee.
| If your Client Reps aren’t organized into groups, use the Contact Name field instead. It lets you assign one Client Rep to each Attendee. | |
| If you need to flexibly assign multiple Client Reps to the same Attendee, use the Client Reps field instead. |
Creating a Client Rep Group
It’s usually simplest (but not required) to set up your groups before you create your Client Rep accounts.
- Step 1. Head to the Configure tab. Choose Client Reps, then Client Rep Groups:

- Step 2. The first time you visit this page, you’ll see the form to create your first group.
- Add a name and optional description. Then click Submit:

- Step 3. To create subsequent groups, you’ll click the Add Group button:

- From this page, you can also edit or delete any group.
Assigning a group to your team member
Once you’ve created your groups, you can assign them to your team of Client Reps. You can do this while adding a new Client Rep, or editing an existing one:
In either case, you’ll open the Client Rep form. Use the Attendee Access Group menu to choose a Client Rep Group.
Be sure to click Submit to save:

| You can assign more than one Client Rep group. That means this Client Rep can send communications to multiple groups. |
Adding the Client Rep Group field to registration forms
Now that you have your Client Reps assigned to their groups, you'll add the Client Rep Group field to the Admin version of your Attendee and/or Company registration forms.
Learn more about using the Form Editor here:
Assigning participants to Client Rep Groups
Now, Admins can choose the right group for each Attendee or Company.
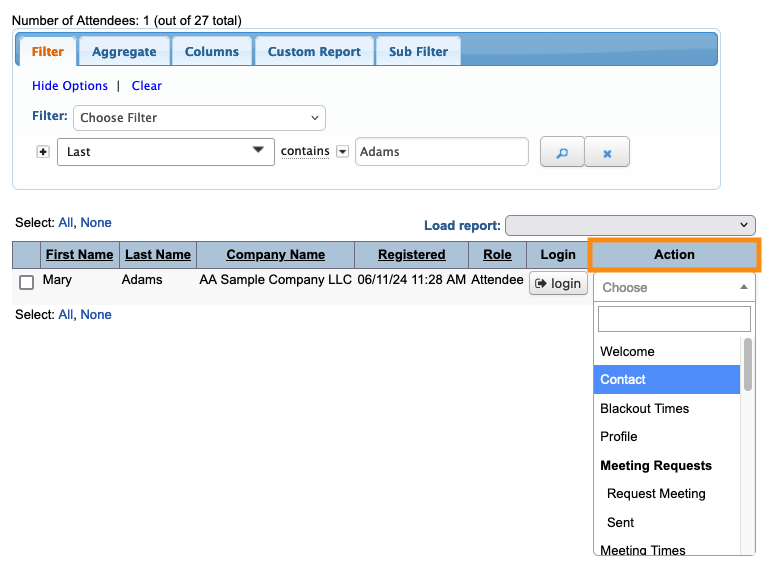
- Step 1. Head to the Attendee List:

- Step 2. Filter the list to locate the Attendee you need. Then use the Action menu to choose Contact:
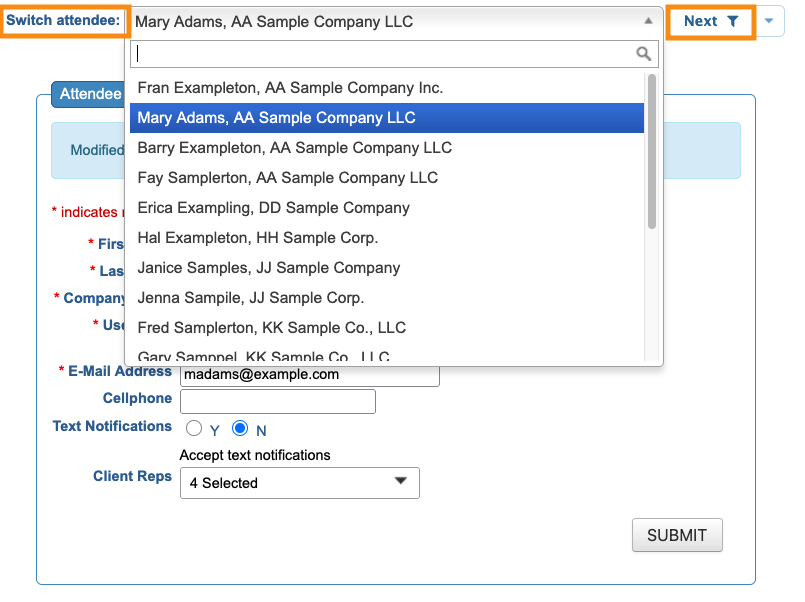
- Step 3. In the Client Rep Group field, choose a group to assign to this Attendee. Click Submit to save:

- Step 4. To change to another Attendee’s record, use the Switch Attendee menu.
- Or, if you’re making this change to all Attendee records, click the Next button to move to the next person:
What the Client Rep sees
Once you’ve assigned Attendees to groups, that updates what a Client Rep sees in their MeetMax account.
- A Client Rep who has an assigned group will see only those Attendees.
- A Client Rep who has multiple assigned groups will see the Attendees from all of those groups.
- A Client Rep who has no assigned groups will see all Attendees.
You can return to any Client Rep’s record to update their Client Rep Group setting.
Batch emailing Client Rep Groups
With your participants assigned to Client Rep Groups, you can start directing communications to them.
Any member of your team can filter the Attendee List to show the specific group they want to email.
For anyone who has access to multiple Client Reps Groups, the Contact Rep Group filter is handy for narrowing the list:
Learn more about sending batch emails from the Attendee List here.
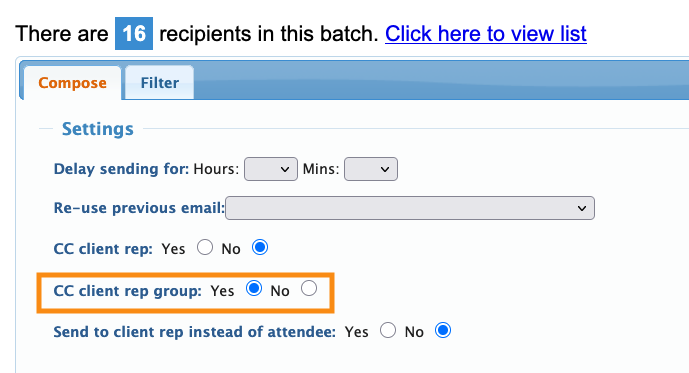
When your team is sending batch emails, MeetMax can automatically copy all assigned Client Rep Groups: