Using a Custom Page as an email

You can create Custom Pages in MeetMax, and then use them as content for batch emails.
- Step 1. Create a new Custom Page. To enable it for Email use, click the Yes button:

- Step 2. Complete the page, adding any content you need. Then click Submit to save:
-
If you need to use a dollar sign ($) in your content, be sure to put a backslash in front of it, like this: \$. A dollar sign by itself could cause the page not to work. If you’re fluent in HTML, click the Source button to edit that code directly. The branding on this email comes from the Email Wrapper you select when you’re sending it out. - Step 3. Now you’re ready to use this page as email content. Learn more about sending batch emails here.
- If you’re emailing Attendees, head to the Attendee List:

- If you’re emailing Companies, head to the Company List:

- Step 4. From either list, filter to locate the participants you need to email.
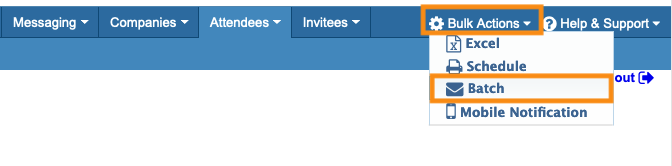
- Then head to the top right corner of the page. Click on Bulk Actions, then choose Batch:
- Step 5. You’re now in the email editor. Head to the Attachment menu. You’ll see your new Custom Page here. Click to select it:

- Step 6. Complete the rest of the email form.
- When your message is ready, head to the bottom of the form and click the Continue to Preview button:

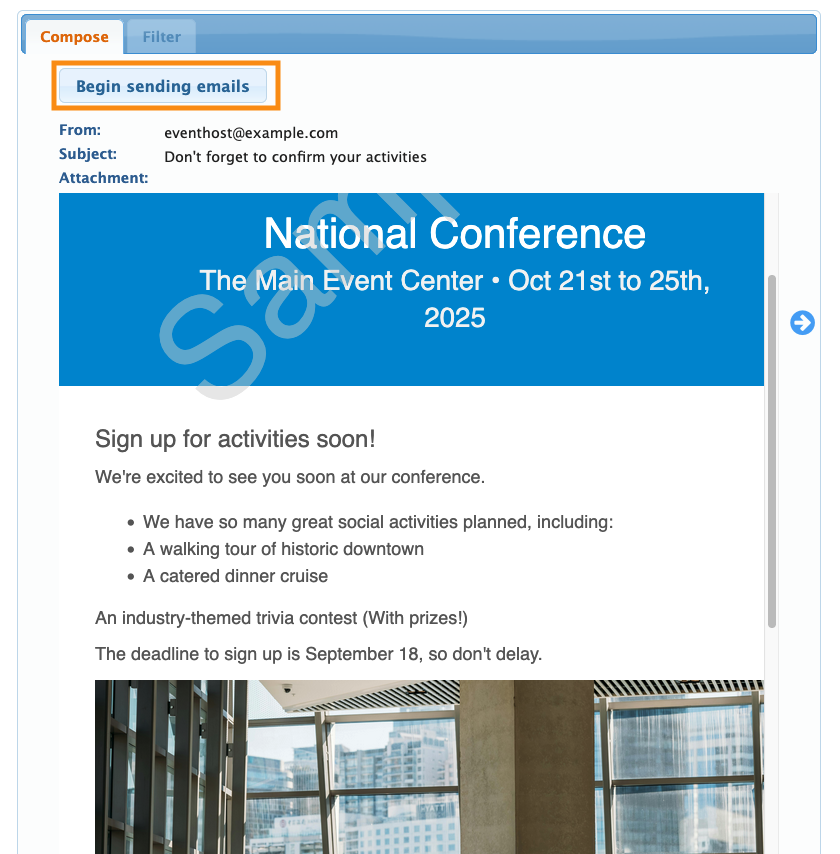
- Step 7. You’ll now see the preview email, with your Custom Page content. If all looks well, click the Begin sending emails button: