
In this article:
When you’re batch emailing schedules or confirmations, you might want to attach a PDF to each email in the batch.
Attachments can increase the risk that your emails are marked as spam. So instead of attaching, we recommend that you upload your PDF to MeetMax, and include its link in your batch email.
Uploading the PDF to your event
First, you'll upload your PDF from the Uploads page. Learn how to upload files here:
Getting the PDF’s link
Once you’ve uploaded the file, you’ll see it listed on the Uploads page.
Right-click on the name, so you can copy the link. Learn more about this here:
| You can also create a Short link from this PDF link, to give it some branding. |
Adding the link to your batch email
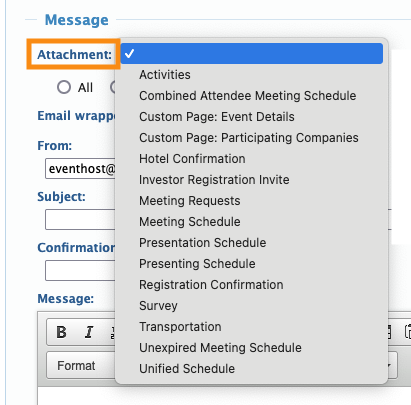
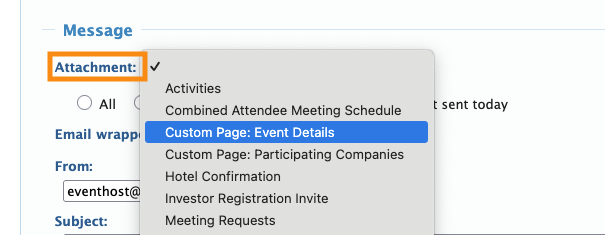
You’ll usually add your PDF link to the Attachment you’re sending in your batch email.
Attachments are custom content inserts. You'll find them in a menu in the batch emailer:
The method you use to add your PDF link will depend on the type of Attachment. Read on for details.
Attachments made from Custom Pages
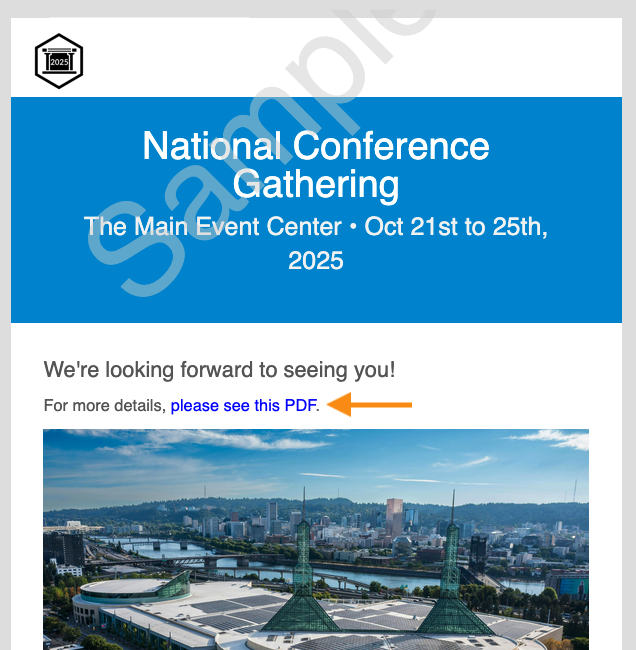
If you’ve created a Custom Page to use as email, you’ll see it in the Attachment menu, as shown above.
You can edit that page any time and add the PDF link:
Then proceed with sending your batch email, using this page as an Attachment:
Default Attachments in the batch emailer
The default Attachments in this menu can also be updated with your PDF link:
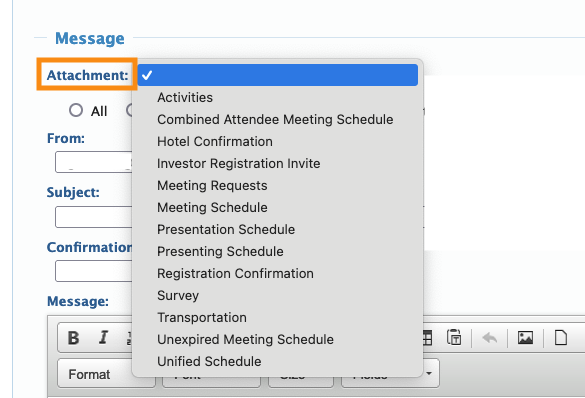
Each Attachment has customizable zones called Messages. Learn more about Messages here.
In MeetMax, each Message has a specific URL. That’s the first detail you’ll need in order to add your link.
- Step 1. To get started, use the table below to locate the Attachment you want to edit. Then copy its Page URL:
-
Attachment Name Page URL Activities Message isn’t editable Combined Attendee Meeting Schedule sched_meetings_inv_co.html Company Registration Invite entity_reg_invite.html Hotel Confirmation Message isn’t editable Investor Registration Invite investor_reg_invite.html Meeting Requests requested_attendees_summary.html Meeting Schedule investor_schedule.html Presentation Schedule list_presentations_inv.html Presenting Schedule email_presentations_in.html Registration Confirmation new_reg_investor.html Survey Message isn’t editable Transportation Message isn’t editable Unexpired Meeting Schedule investor_schedule.html Unified Schedule Message isn’t editable - In this example, we’ll use the Meeting Schedule attachment. In the table above, we can see that its Page URL is investor_schedule.html
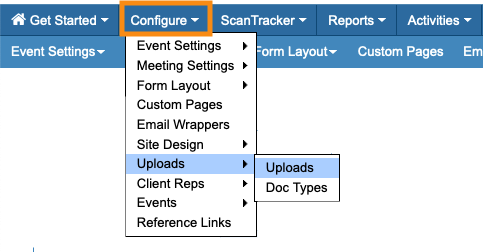
- Step 2. Head to the Configure tab. Choose Site Design, then Messages:

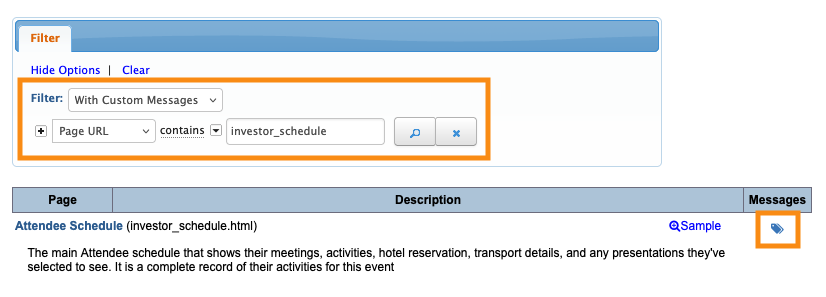
- Step 3. Next, you’ll filter to locate the Message for this Attachment. Set the filter to Page URL, and paste in the URL you copied from the table above.
- Step 4. Click the tag icon to edit this Message:
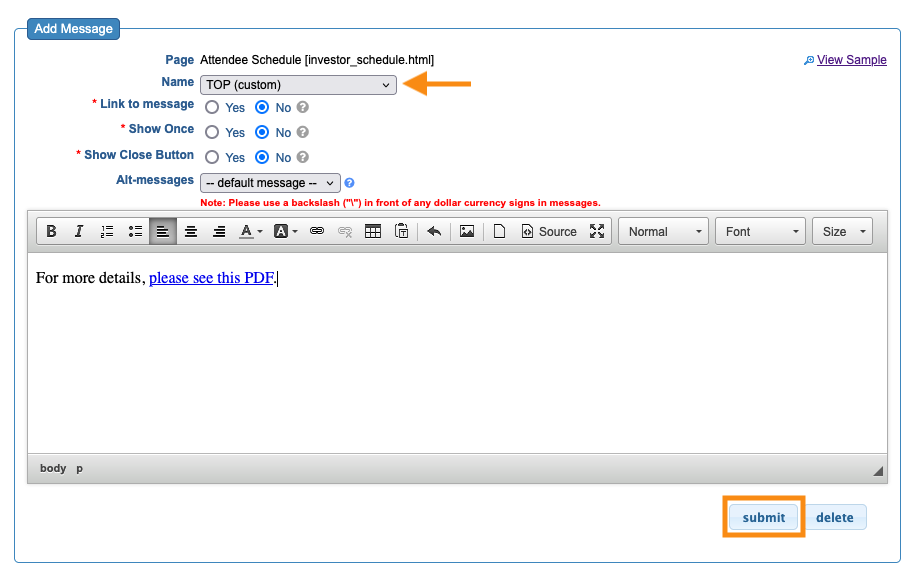
- Step 5. Choose whether your PDF link will appear at the top or bottom of the Message, and add the link.
- Click Submit to save:

Learn more:
- Sending batch emails from MeetMax
- Uploading files to MeetMax
- Adding custom content to batch email Attachments

