
In this article:
- Where is it?
- Customizing the Hotel form
- Enabling the form for participants
- What participants see
- What Admins see
Where is it?
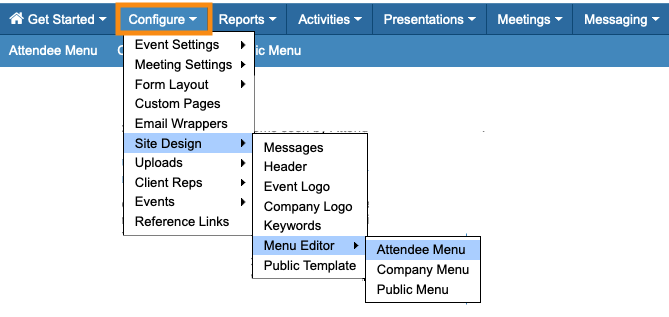
Once you’ve enabled the Hotels module for your event, you’ll see the Hotel form in the Configure tab:
You’ll make the form available to participants from the Menu Editor:

| Use this form only when you’re paying for (or guaranteeing) hotel rooms for your event. | |
| If your participants will be booking their own hotels, use this process instead. |
Customizing the Hotel form
You can add or remove form fields to meet your needs. This form works exactly like all other form editors in MeetMax.
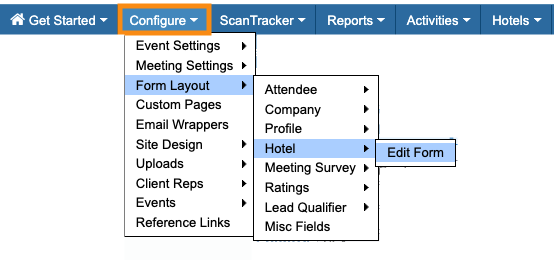
- Step 1. Head to the Configure tab. Choose Form Layout, then Hotel, then Edit Form:

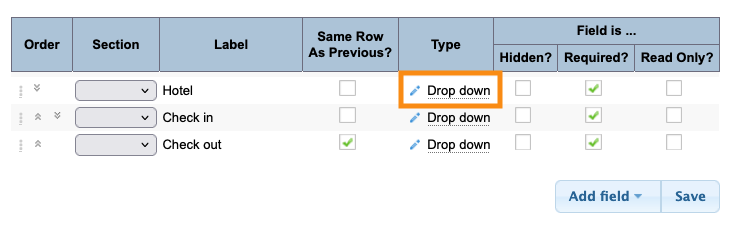
- Step 2. You’ll now see the default form.
- The Hotel field is a drop-down field by default, so you can add a choice of hotels.
- Click the Edit icon for this field:
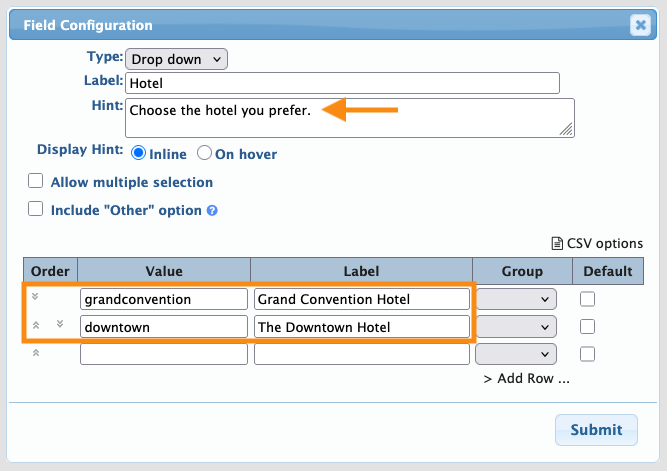
- Step 3. The field's settings will pop up. For each hotel you’re using, enter a Value (internal, no spaces) and a public Label.
- In this example, we’ve also added a Hint with instructions to the Attendee.
- Click Submit to save:
-
By default, every field in this form is a Drop down field. So you’ll need to repeat these steps for each field, to add the choices your participants will see. - Step 4. Click the Add Field button. You’ll see the other available fields you can add to this form. Be sure to click Save!
-
If there are any fields you won’t need, click the Hidden checkbox to remove them.
Enabling the form for participants
Once you have the reservation form ready, it’s time to make it visible to your participants.
Depending on your event, you might add the Hotel tab to the Attendee menu or the Company menu, or both.
- Step 1. Head to the Configure tab again. Choose Site Design, then Menu Editor. Then choose which menu you want to update:
-
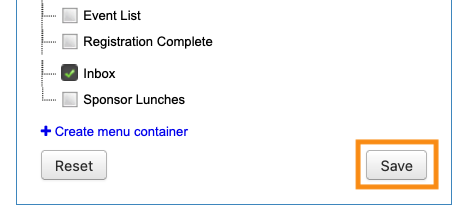
Learn more about using the Menu Editor here. We’ll work with the Attendee menu in this example. But the process is the same for the Company menu. - Step 2. On the Attendee Menu page, make sure the Hotels box is unchecked. That means it’s visible on the Attendee website.
- You can also click and drag this option to a different location in the menu:
- Step 3. Be sure to click Save!
-
For some events, you might want the Hotel form to be visible to some Attendees, but not to others. Learn how to set that up here.
What participants see
When an Attendee logs into MeetMax now, they’ll see the Hotel tab and icon:
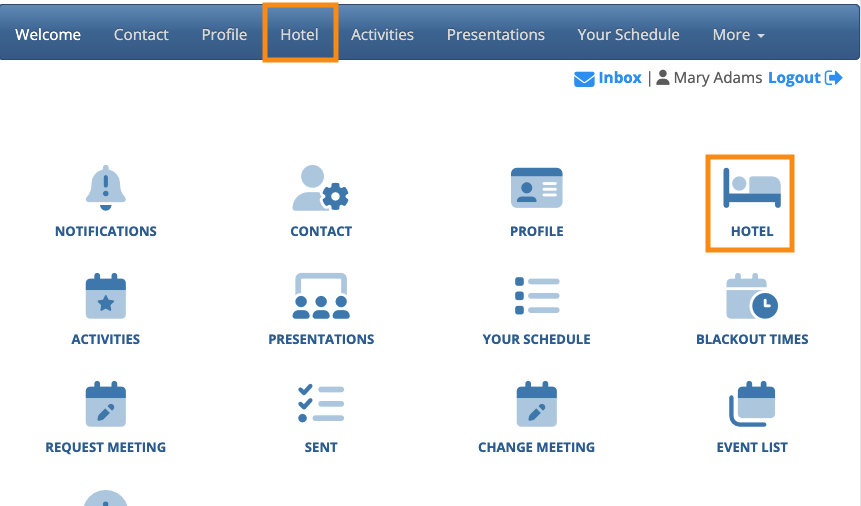
| This page will be branded for your event, and contain the menu options you’ve enabled. |
On the Hotel page, they’ll see details about accommodations. Learn how to set those up here.
If the Attendee clicks Yes as shown below, they’ll access the hotel reservation form you’ve customized:
| MeetMax’s Hotels module operates separately from actual hotel reservations. Our tools let you capture interest in accommodations while people are registering for your event. Then you’d export that list to give to the hotel, and they’d set the actual reservations. |
What Admins see
You can also access any Attendee’s Hotel page from your Admin account.
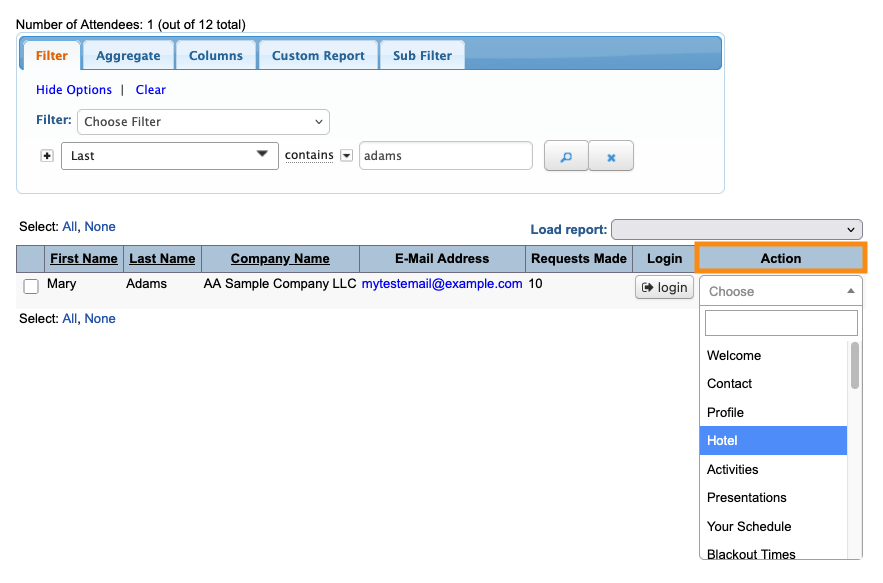
Start in the Attendee List:

Filter the list to locate the Attendee you need. Use the Action menu to choose Hotel:
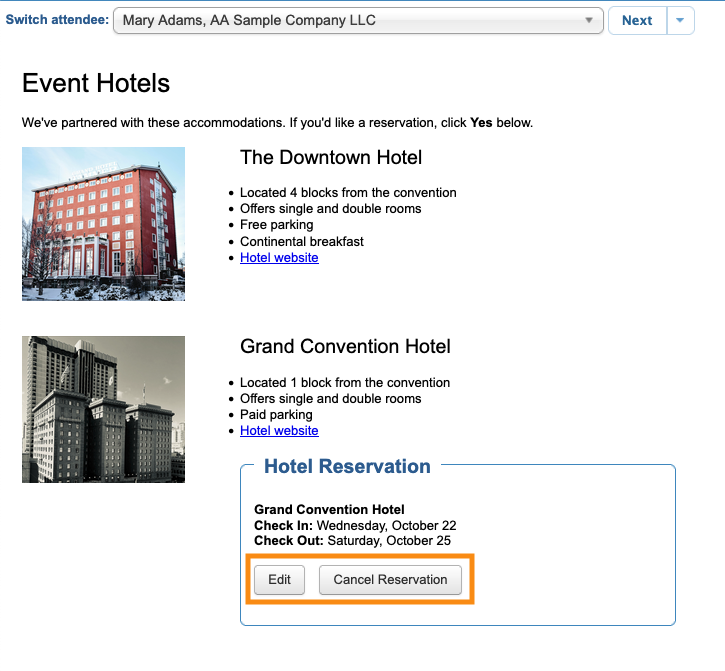
You’re now seeing this Attendee’s Hotel page. You can make new reservations, using the same steps as the Attendee uses above.
You can also edit or cancel existing reservations from your Admin view:
What’s Next?
Now that you have the reservation form in place, it’s time to:

