How do I show presentation descriptions on schedules?

When you’re adding Presentations or Table Talks to your event, you’ll add session descriptions.
These descriptions don’t appear on event schedules by default, but you can enable them any time.
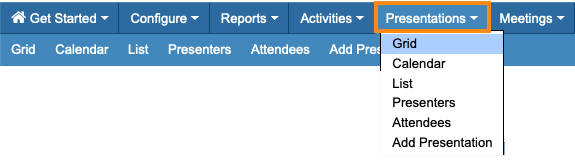
- Step 1. Head to the Presentations tab. Then choose Grid:
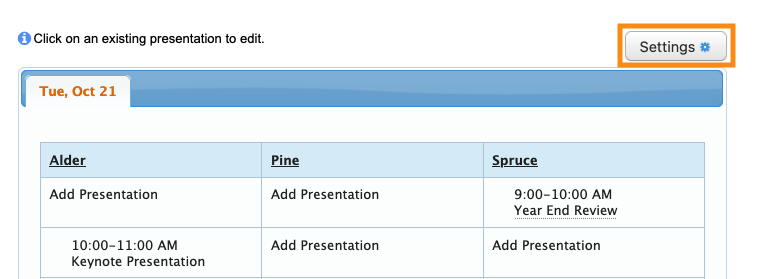
- Step 2. Click the Settings button:
- Step 3. In the Settings pop-up, click the checkbox for Show Description. Then click Submit:
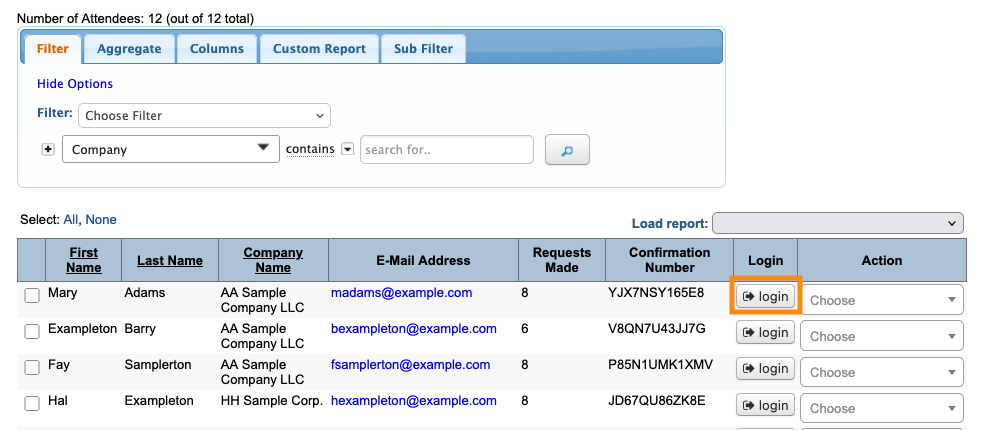
- Step 4. To see this change, head to the Attendee List or Company List:


- Step 5. Use the Login button to login as any participant (or test user):
-
Presentation descriptions appear for both Companies and Attendees. You won’t see any descriptions in your Admin account, however. They only appear in the participants’ logged-in views. - On the participant’s Presentations page, you’ll see the descriptions in place:

-
This page must be in Rows format for the descriptions to appear. Participants can toggle between this view and the Grid view, as shown above. Participant pages will be branded for your event, and contain the customizations and menu options you've enabled.
Using Presentation Profiles
If you want to show even more detail, use the Profile tab of the Add Presentation form:
There, you can add formatted text and images. They’ll display in a pop-up when someone clicks on the presentation title. Learn more about this here.

