
In this article:
- Where is it?
- Tile view vs. Table view
- Customizing the Table layout’s columns
- Accessing the display settings
- Show up to
- Hide thumbnails
- Hide bookmark
- Hide categories and Hide empty categories
- Separate message action
- Default layout
- Open slots display
- Enable calendar slideout
- Suppress end used notifications
- Meetings maxed
Where is it?
Participants see the Request Meeting page when they log into MeetMax:
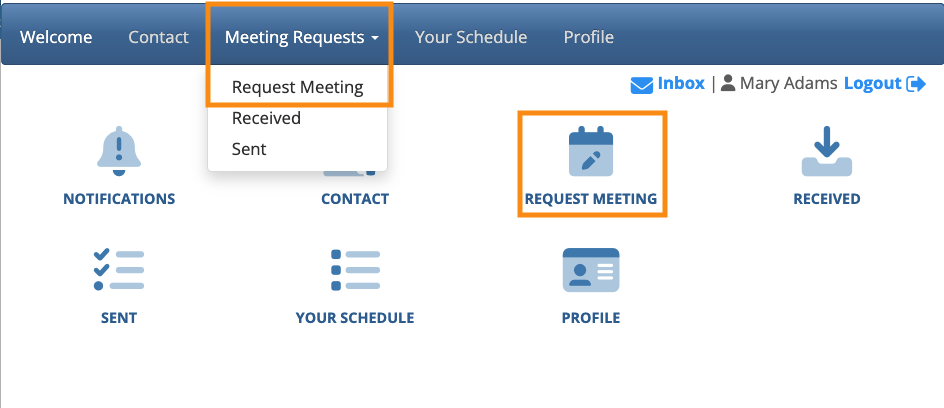
| This page will be branded for your event, and contain the menu options you’ve enabled. |
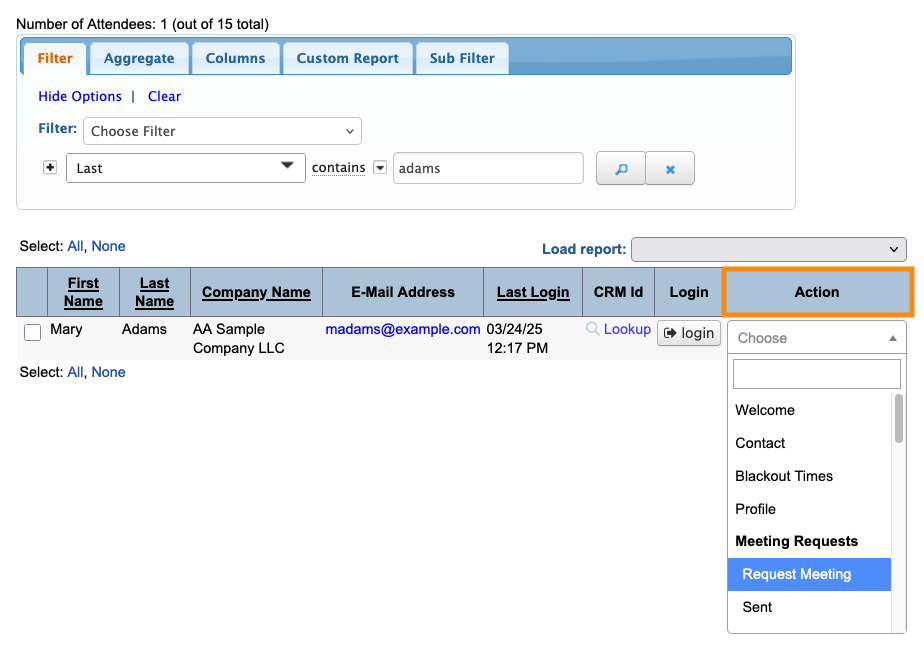
As an Admin, you’ll access the settings for this page from the Attendee List:

Choose any Attendee record. Use the Action menu to choose Request Meeting:

| You can also customize the Requests Sent and Requests Received pages. Learn more about that here. |
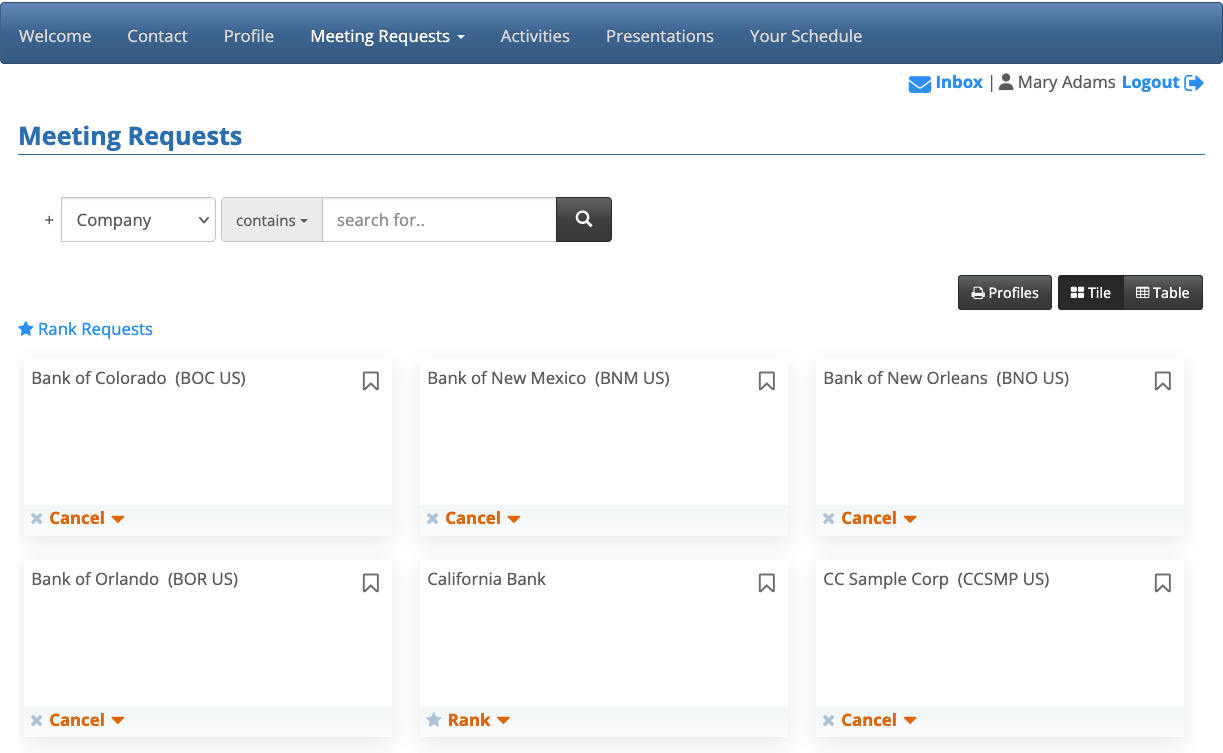
Tile view vs. Table view
The Request Meeting page has two layouts. Your participants can access both of these, but you’ll choose one of them to be the default view.
- Tile View: This is a more visual layout, that makes space for profile headshots and company logos:

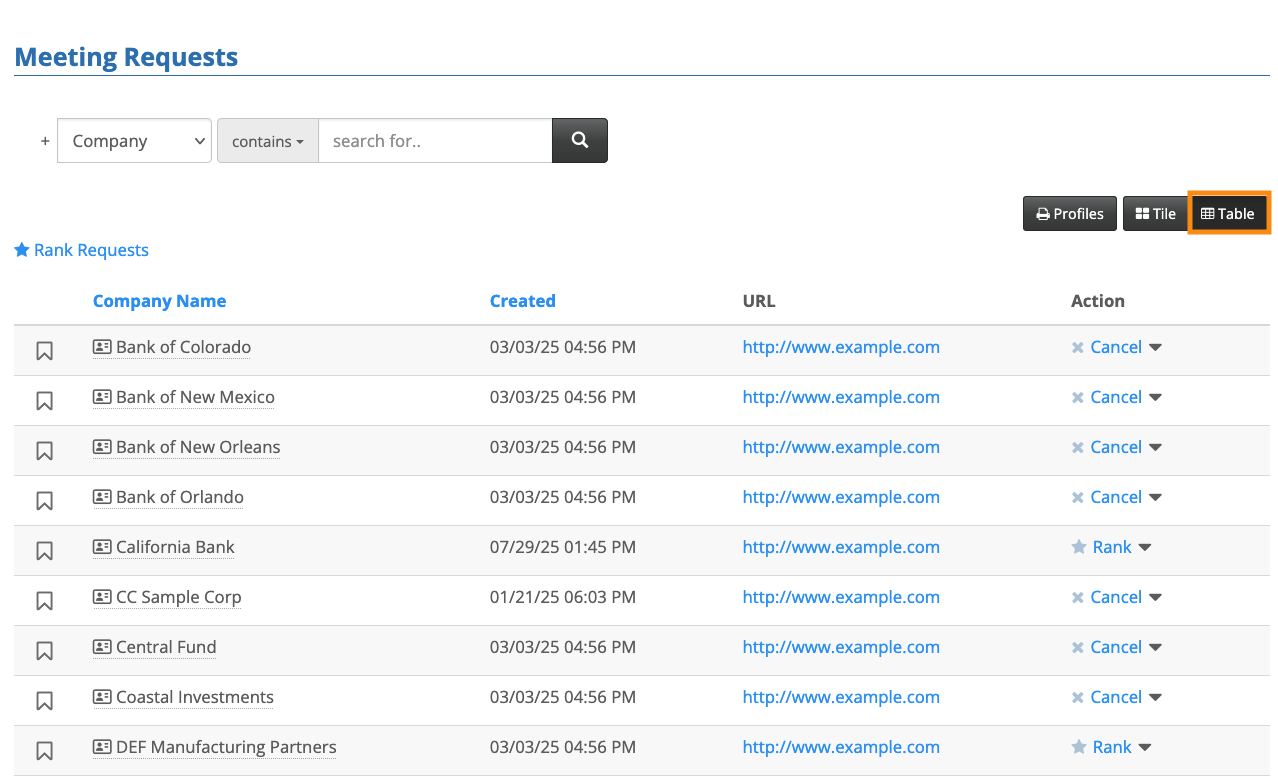
- Table View: This view is more like a spreadsheet. The information is compact, with no headshots or logos. Participants can click on any Company name to open its Profile:
Your participants can use these layouts interchangeably.
Customizing the Table layout’s columns
For the Table layout, here’s how to show or hide certain details.
- Step 1. Head to the Attendee List:

- Step 2. Choose any participant - changes you make here will apply to everyone. Use the Action menu to choose Request Meeting:
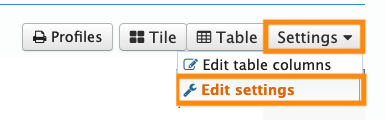
- Step 3. On the Request Meeting page, click the Settings button. Then choose Edit Table columns:

-
You can access this setting no matter which view is currently displaying. - Step 4. You can now add and remove columns from the Table view - it’s the same process as changing the columns on the Attendee List.
- Click Save as default:
- The Table view now displays your chosen columns, along with the default Action column:

Accessing the display settings
All of these settings are optional, and you likely won’t need them all. They represent small adjustments that might make the Request Meeting page more useful to your event’s participants.
Head back to the Settings button. Choose Edit settings:
You'll then see a pop-up with many settings. Details on each one are below.
| Every setting applies to both the Tile and Table views, except where noted. |
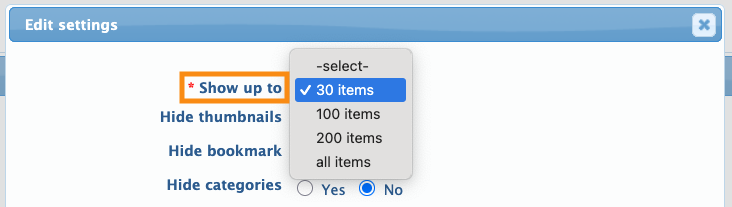
Show up to
By default, MeetMax displays 30 participant records per page. If your event is large, you might want to increase that page size.
Longer pages save your participants some navigation, but they can take longer to load in some browsers:
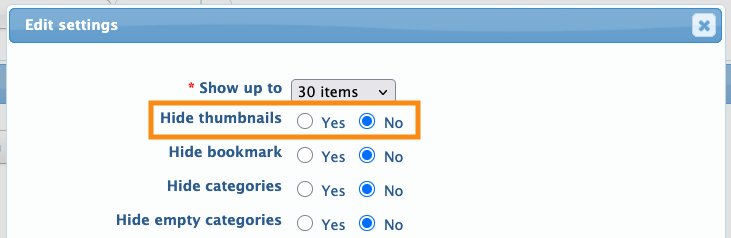
Hide thumbnails
The Tile view displays headshots or logos by default. If you want to hide them, choose Yes:
The page will look something like below:
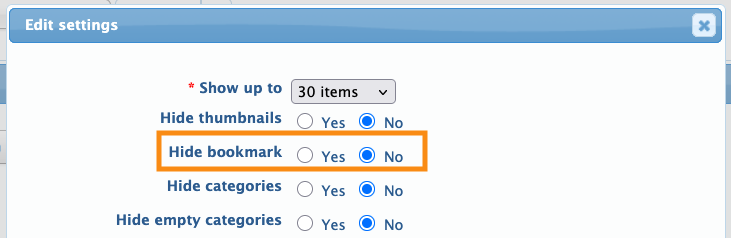
Hide bookmark
By default, each participant has a bookmark icon (shown below in both views). Learn more about bookmarking here.
These icons can be useful for marking the people you might want to request a meeting with:

If you’d rather hide the bookmark functionality, choose Yes:
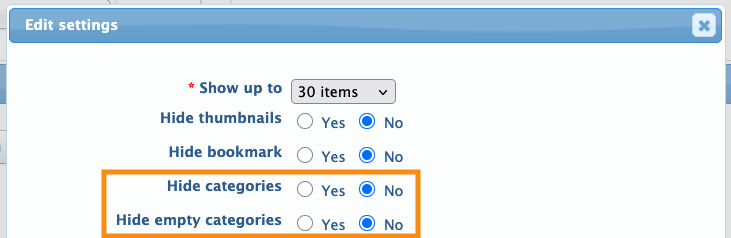
Hide categories and Hide empty categories
For events with many participants, our team might have helped you set up a category sidebar to sort the list of participants, like this:
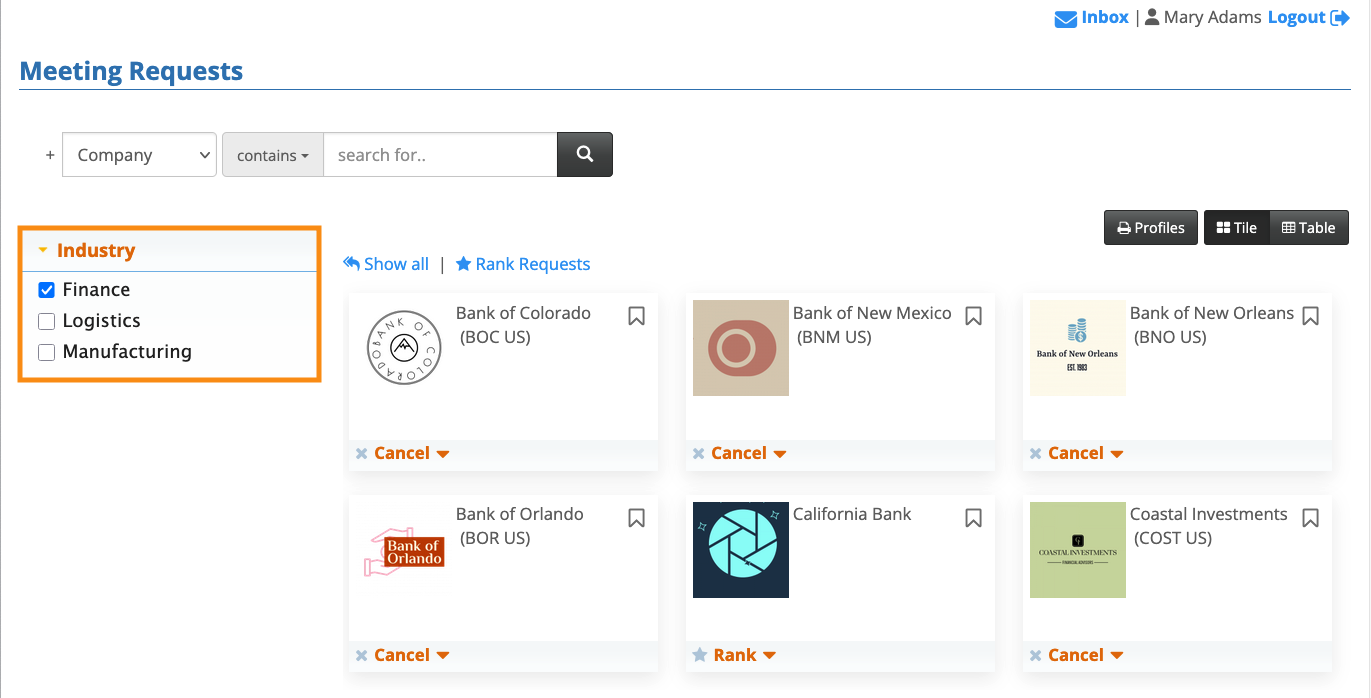
Use these settings to either hide that list, or hide only the categories that have no participants in them:
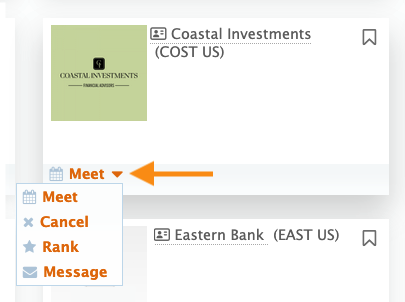
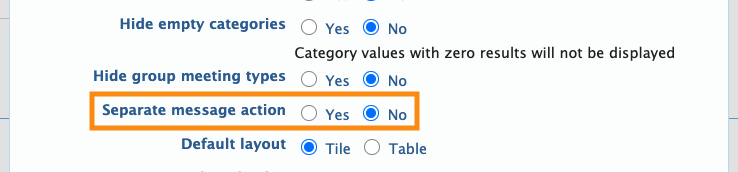
Separate message action
By default, the Meeting Request page places a single menu of actions on each participant record. If your event has messaging enabled for participants, it appears in this default menu:
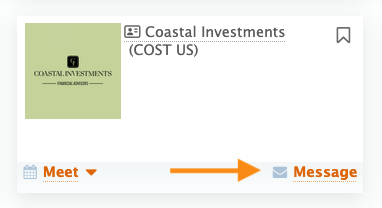
If you’d like to display the Message option separately to make it more visible, choose Yes:

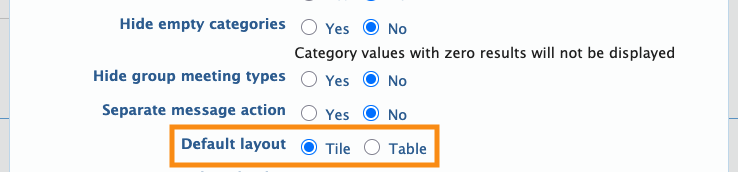
Default layout
By default, MeetMax displays the Tile layout until a participant changes it. You can also choose to have the Table layout appear first:
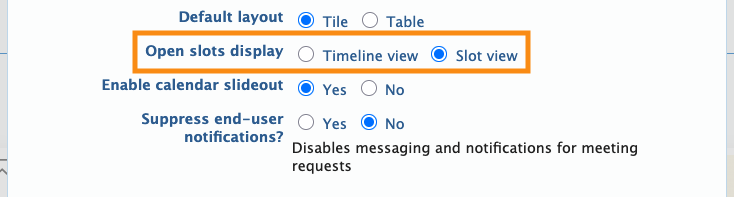
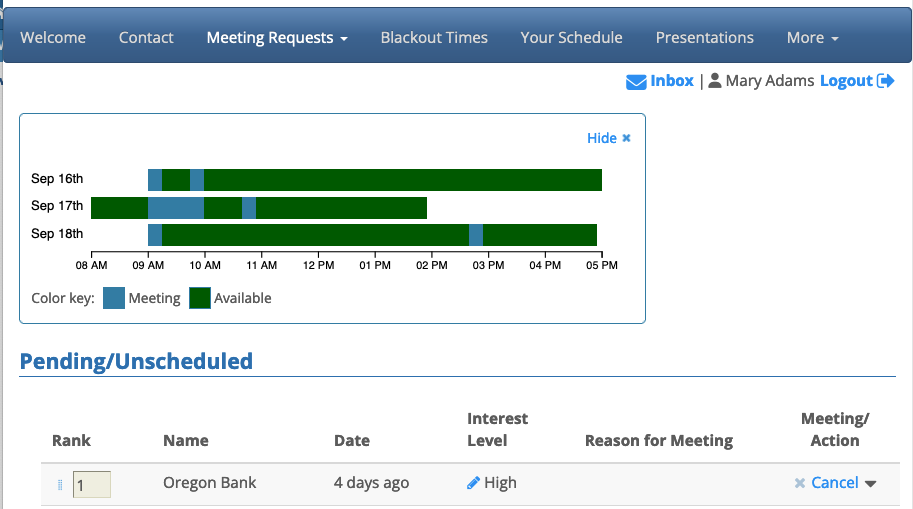
Open slots display
By default, each participant can open a display of their available time slots at the top of the page. There are two display options:
The Timeline view looks like this:
The Slot view looks like this:
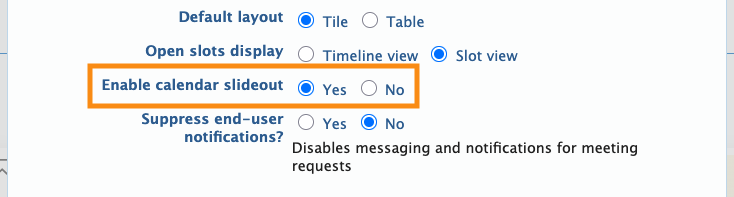
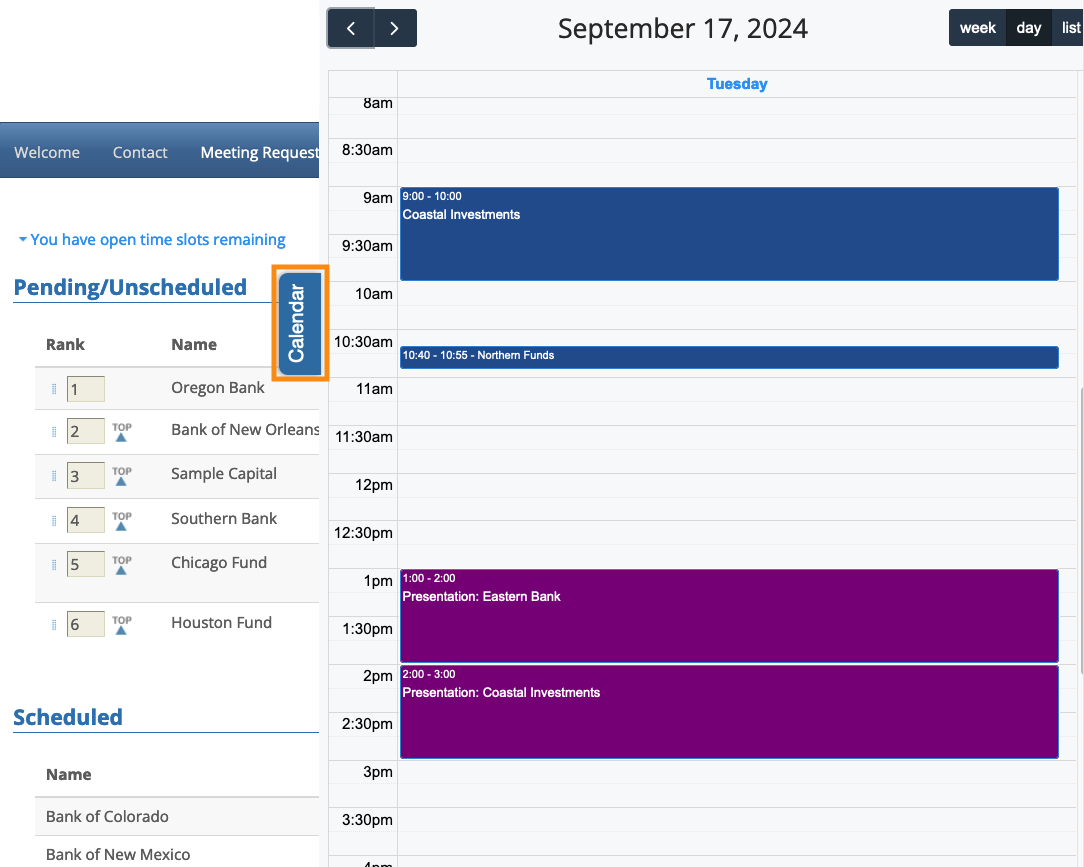
Enable calendar slideout
As an option, you can give participants a Calendar tab along the side of their requests list. Clicking it opens their event calendar as an overlay:
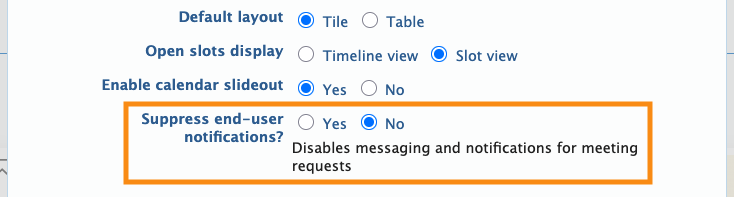
Suppress end user notifications
By default, MeetMax sends email and Inbox notifications of new meeting requests.
For events with a high volume of meeting requests, you might want to choose Yes. That disables these notifications:
Meetings maxed
This is handy when your event has meeting limits for participants.

