

In this article:
- Reserving during registration
- Reserving while adding a Company
- Reserving for an existing Company
- Having Companies reserve booths
- What participants see
| We’re assuming here that you’ve already created your Floor Plan, and made any updates you need to the booths. |
Reserving during registration
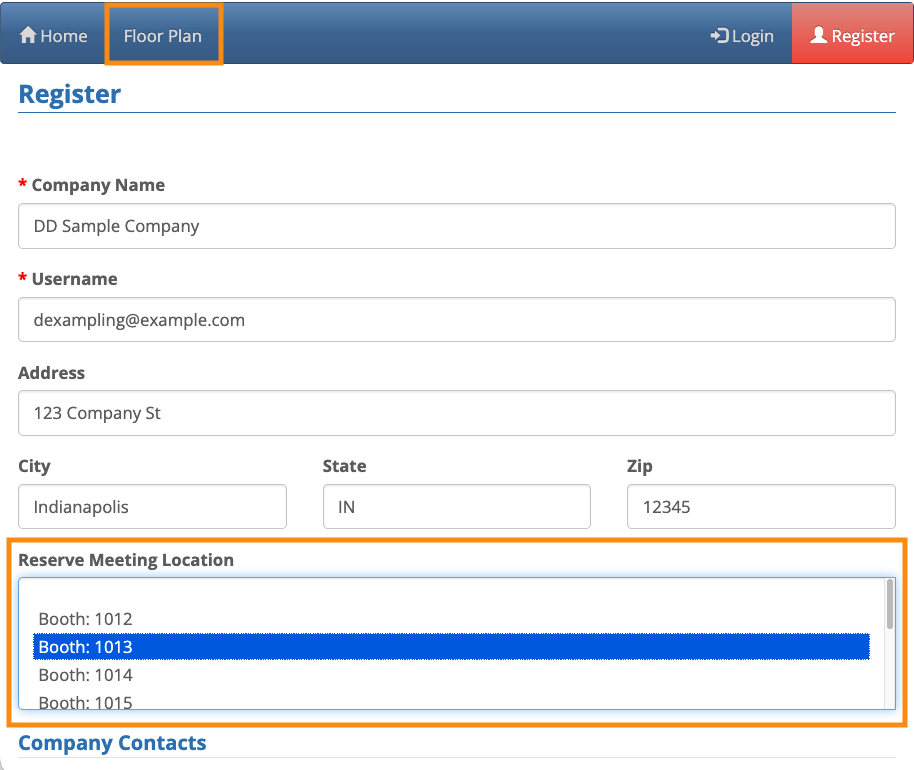
As soon as you enable the Floor Plan for your event, MeetMax adds a new field to your registration forms: Reserve Meeting Location.
- Depending on your needs, this field can be visible on the public registration form, or only in the Admin version of the form.
- You can also show it only on the Company form, only on the Attendee form, or both.
If you make the field public, then a participant can reference the Floor Plan alongside their registration form, and choose a specific booth:
| If you’d like to tie payments into this process, our Support team is happy to help set that up. |
Reserving while adding a Company
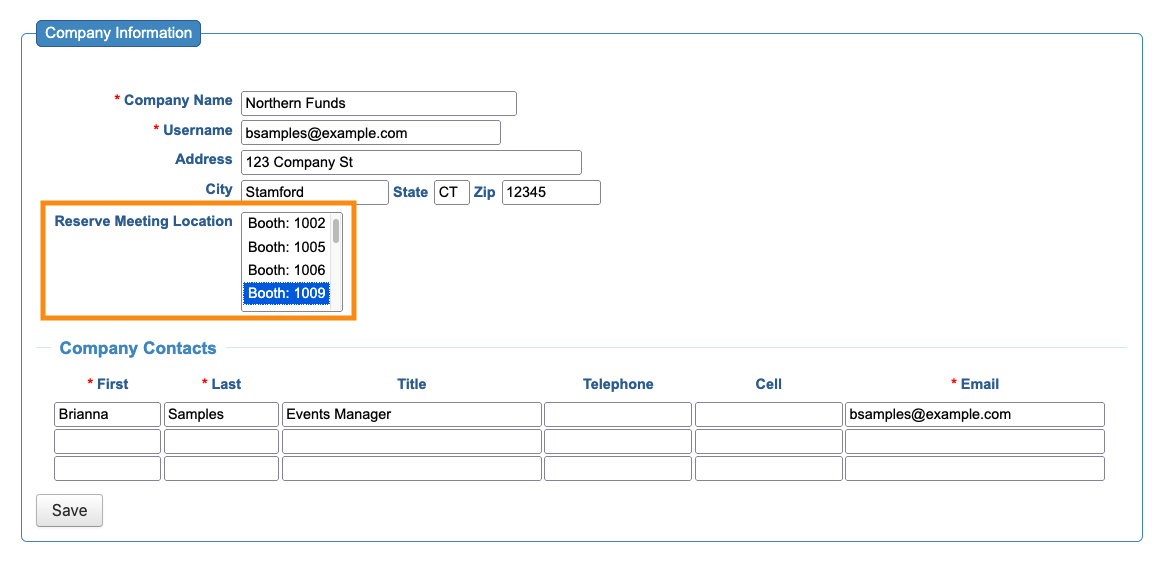
If your Admin team will be adding Companies to MeetMax, they’ll see the same menu of booths.
They can choose one to reserve it for the Company they’re registering:
Reserving for an existing Company
If you’ve already added your event’s Companies, you can add booth reservations later.
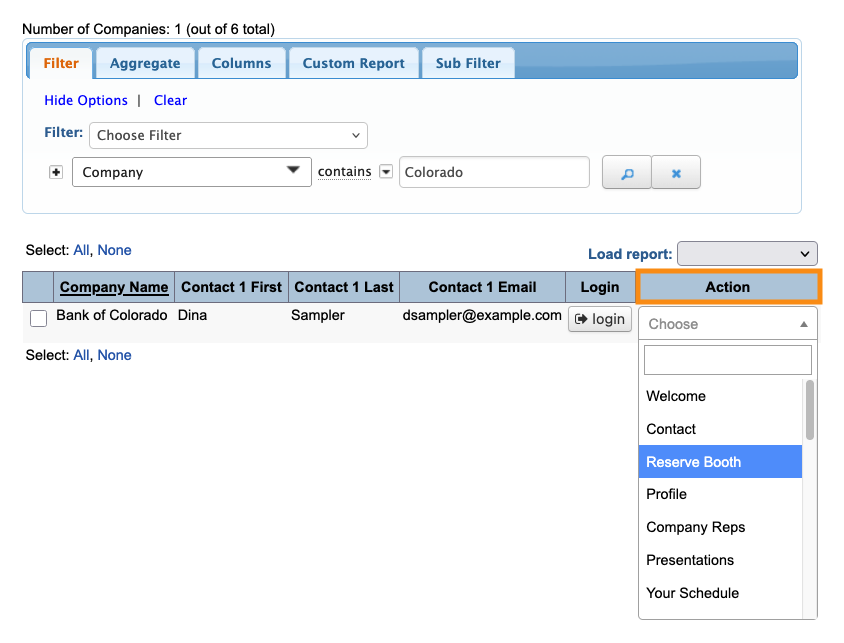
- Step 1. Head to the Company List:

- Step 2. Filter the list to locate a Company who needs a booth reserved.
- Use the Action menu to choose Reserve Booth:
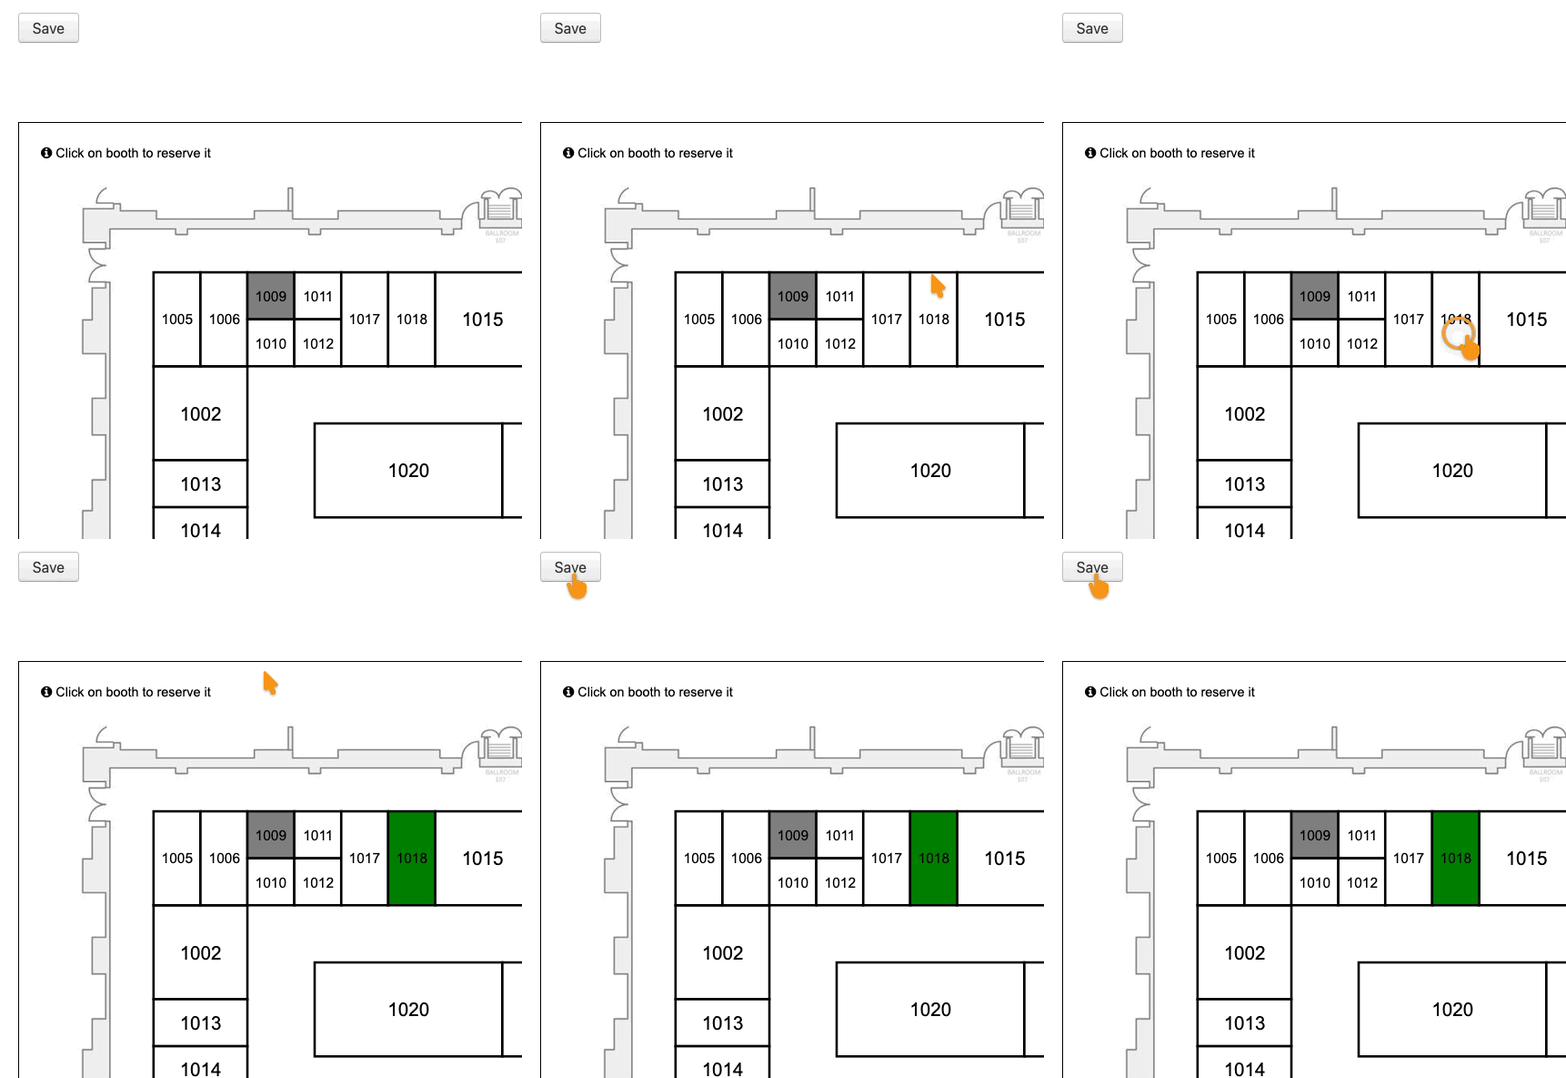
- Step 3. You’ll then be taken to the Floor Plan. Click on a booth to reserve it for this Company.
- Be sure to click Save!
Having Companies reserve booths
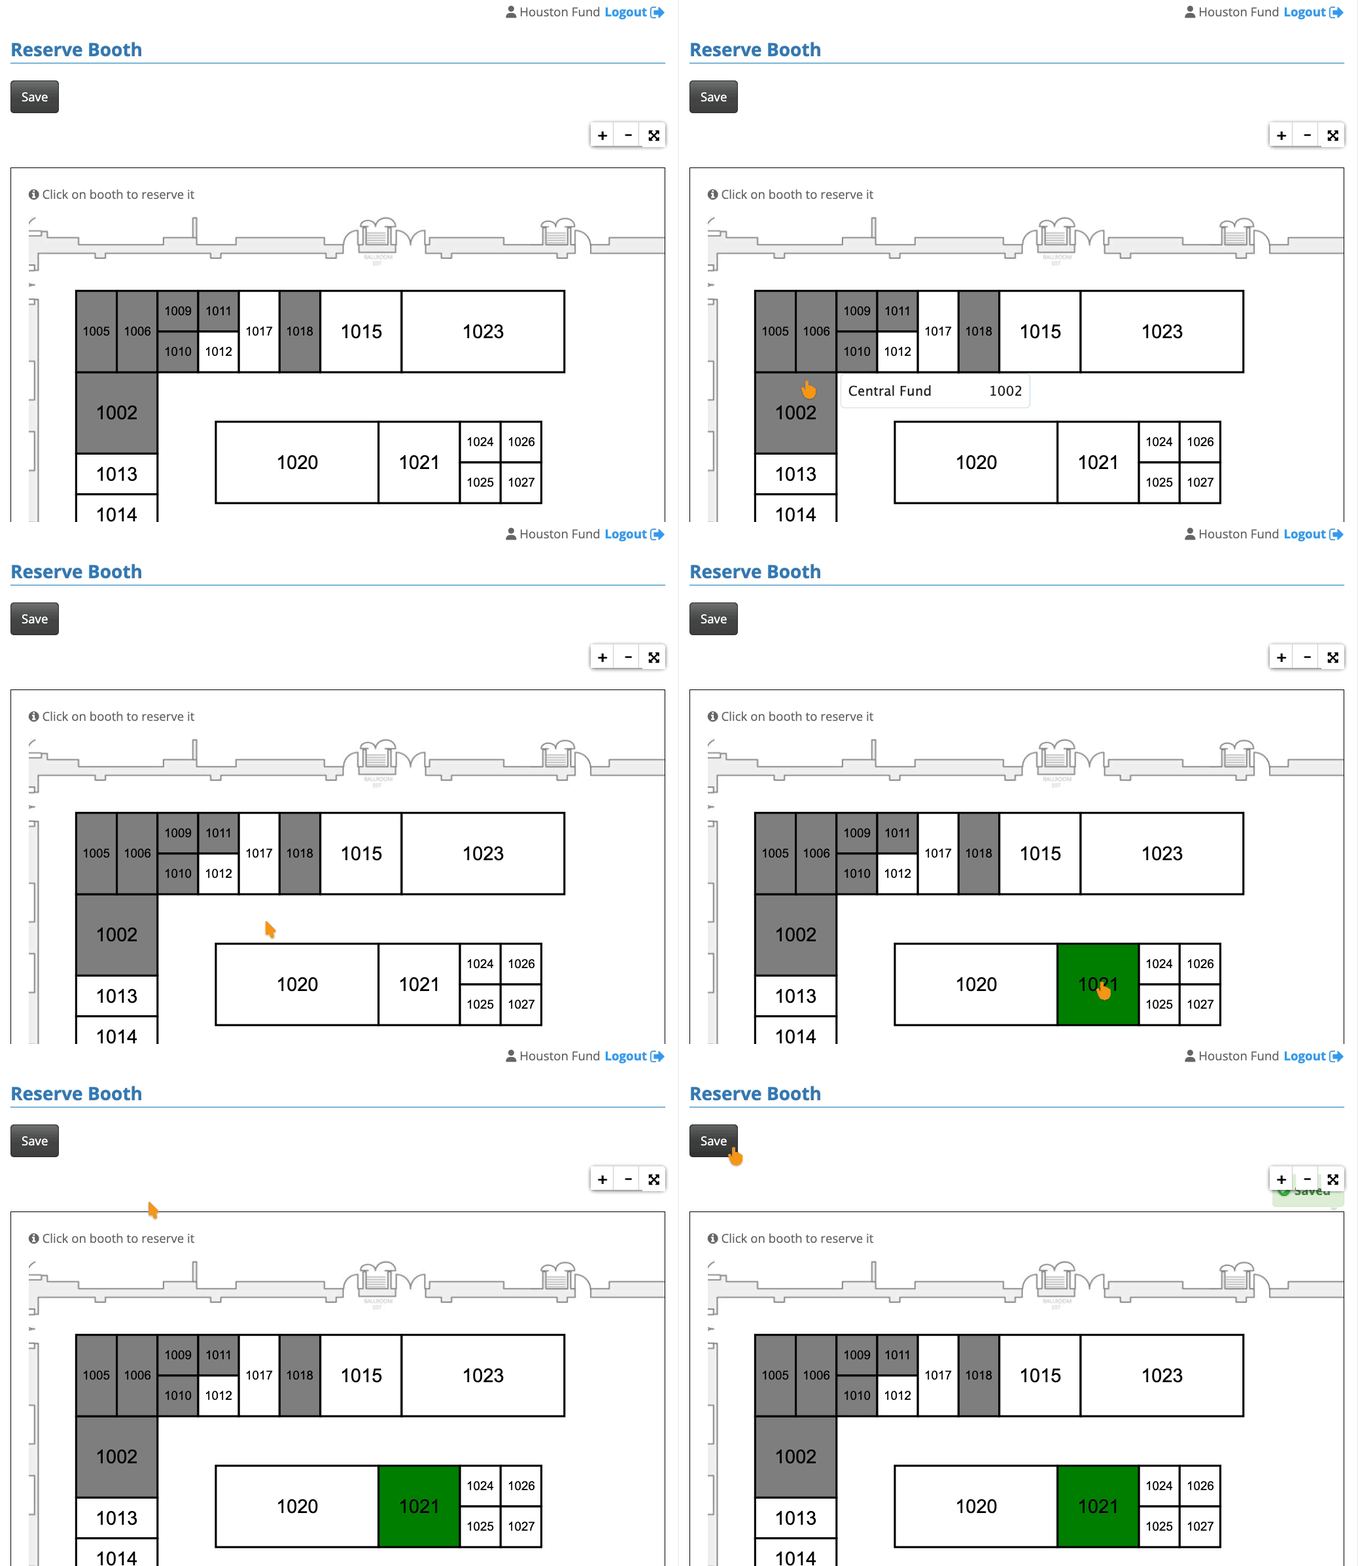
If you’d rather have Companies reserve their own booths, you can enable the Floor Plan in the menu bar.
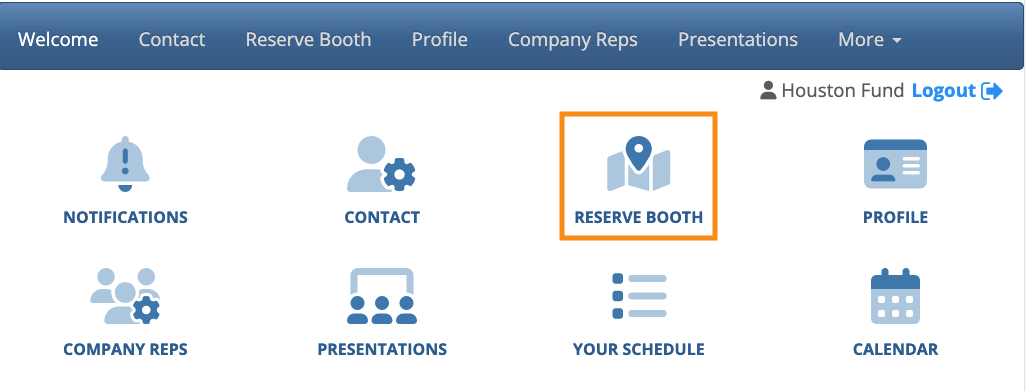
Then, a Company Contact can log into MeetMax and choose Reserve Booth:
What participants see
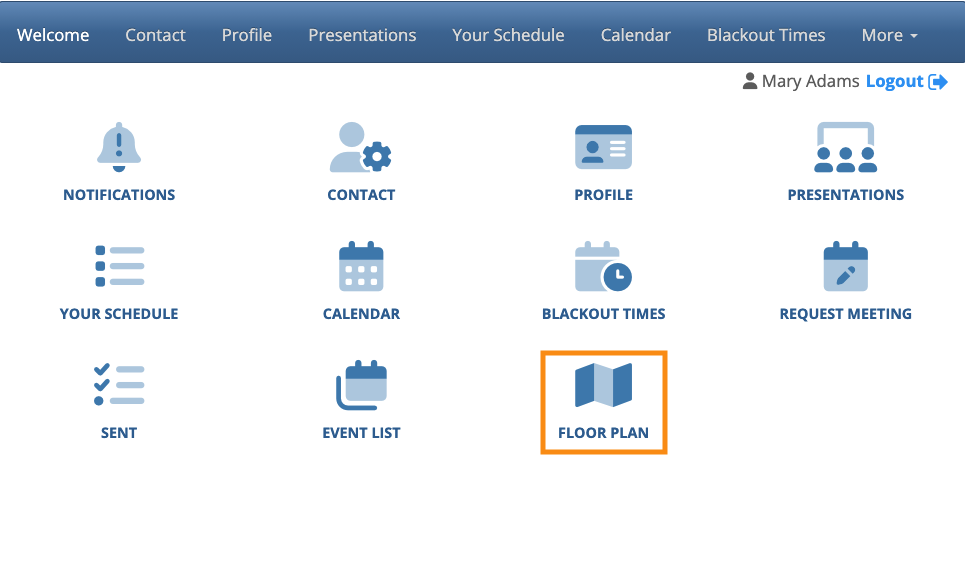
Once your Floor Plan is ready, all participants can view it using the the Floor Plan icon:
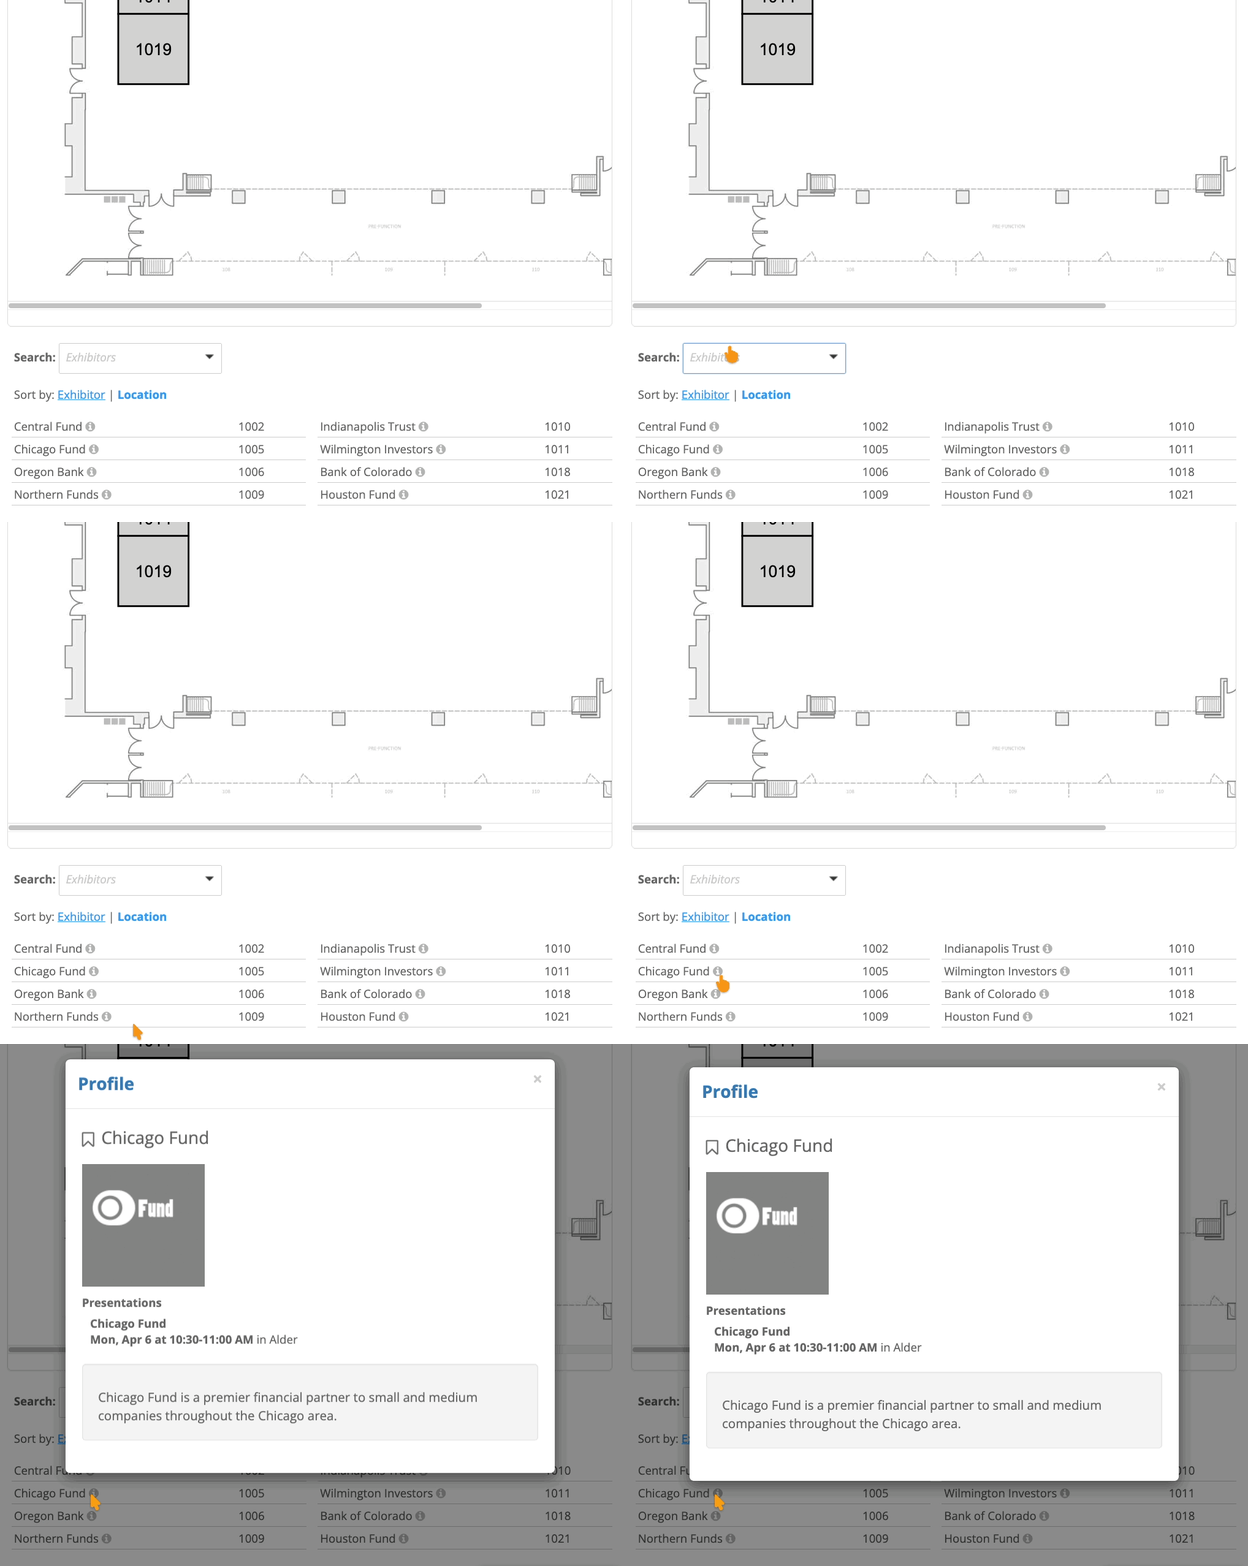
Below the Floor Plan map, they’ll see a list of exhibitors who’ve reserved booths. Click on any name to bring up their Profile pop-up:
What’s next
Now that your Floor Plan is ready, you can:

