

Badging Express: Adding your registrants to MeetMax

Before your event, you’ll import a list of registrants to MeetMax. From that data, you’ll generate badges.
In this article:
- Where is it?
- Your registration form
- Importing your list of registrants
- Adding a last-minute attendee before the event
- Setting the Attendee List up for check-in
| The first time you use our Badging Express service, our team will walk you through the steps below. |
Where is it?
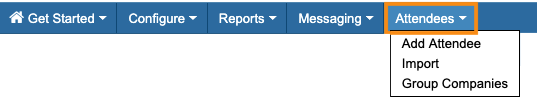
When you add registrants before your event, you’ll be working in the MeetMax Attendees tab:
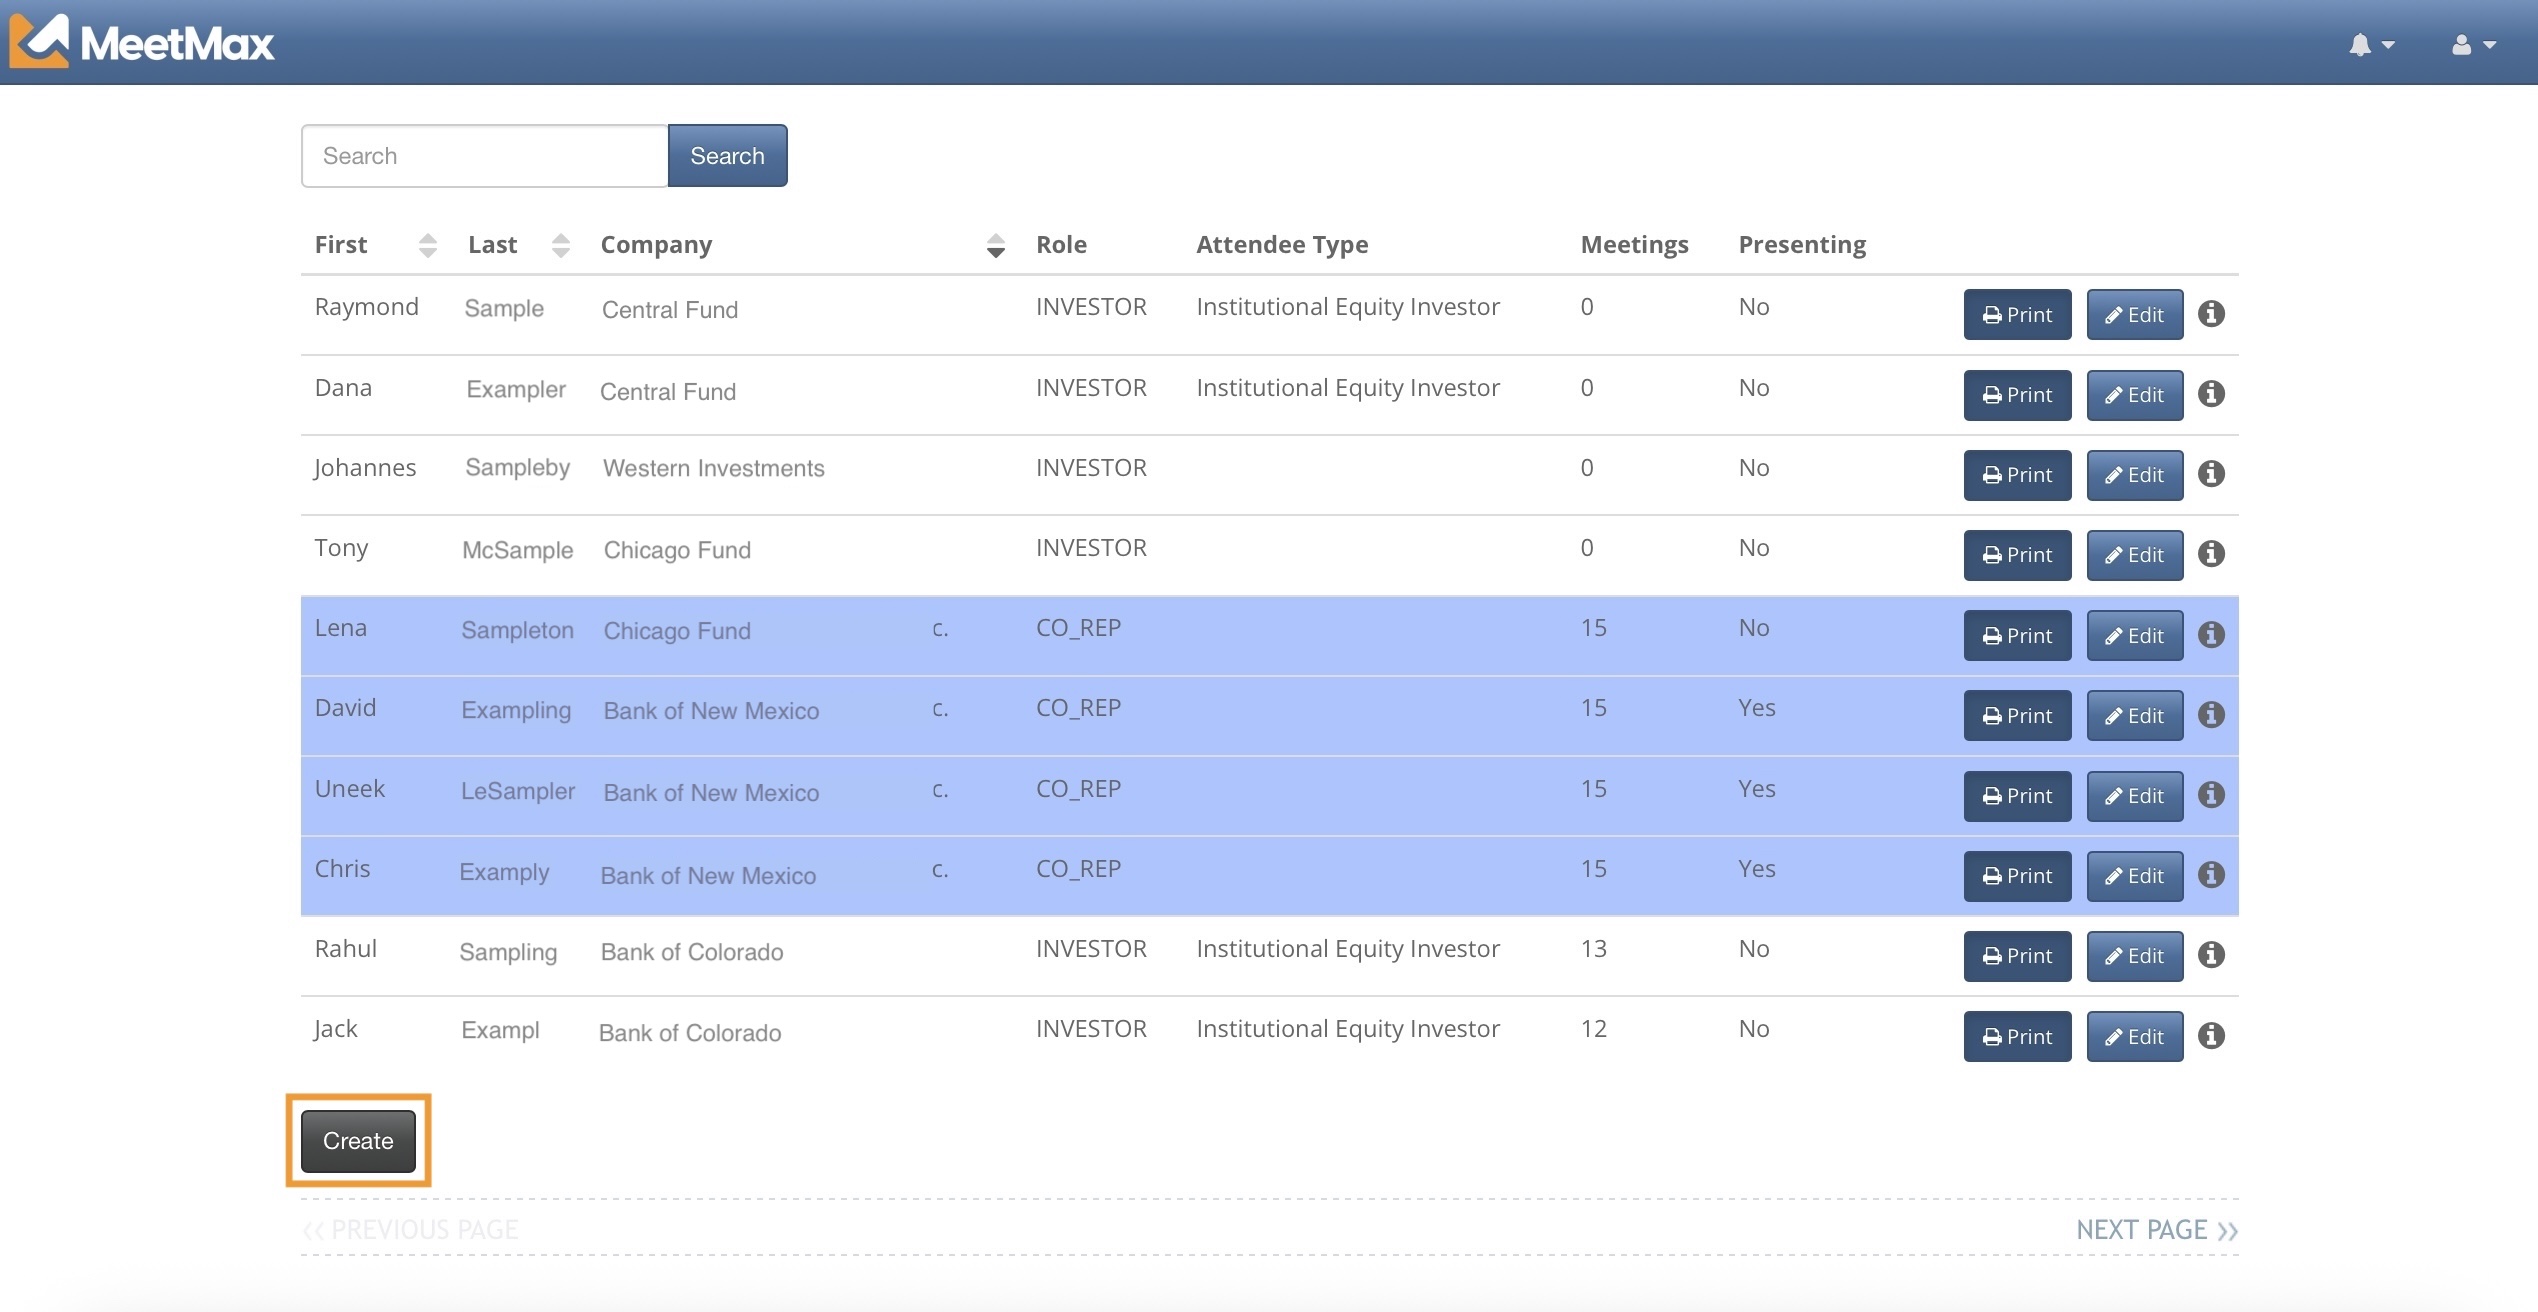
Once you’re onsite at your event, you’ll use the MeetMax Check-In interface to:
- Print badges
- Register walk-ins
Your registration form
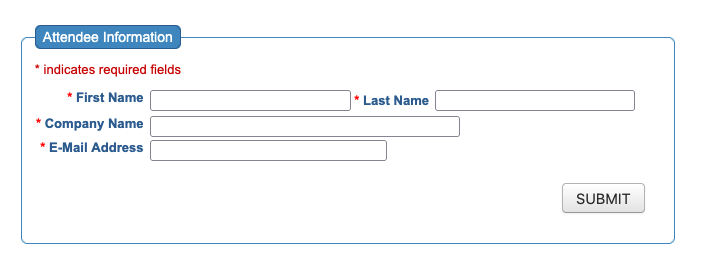
Our team has already configured your event registration form. You’ll use this form as a basis for:
- Importing attendees
- Adding late registrants individually
- Adding walk-ins at your event
More details:
- Once check-in is over, you can edit any Attendee’s registration from MeetMax.
- You can change your registration form any time.
Importing your list of registrants
You’ll add most of your Attendees to MeetMax by importing a list.
- Step 1. Create a spreadsheet, with a column for each field in your registration form.
- The sample spreadsheet below is based on the sample registration form above:

- Step 2. Export the spreadsheet as a CSV file. Be sure to use UTF-8 encoding.
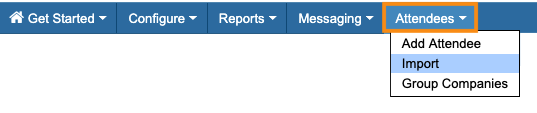
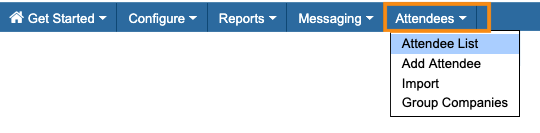
- Step 3. In MeetMax, head to the Attendees tab and choose Import:
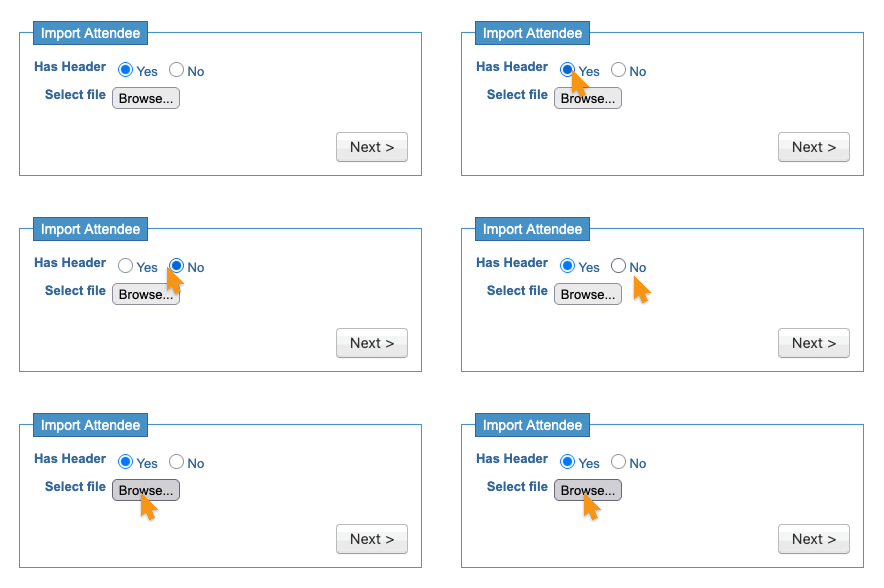
- Step 4. Indicate whether your spreadsheet has a header row or not. Then click Browse to locate your CSV file on your computer:
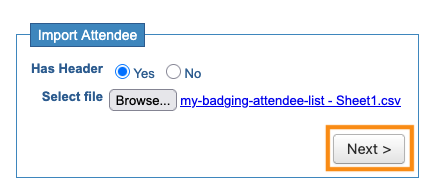
- Step 5. Once you’ve chosen your CSV file, you’ll see it here. Click Next to proceed:
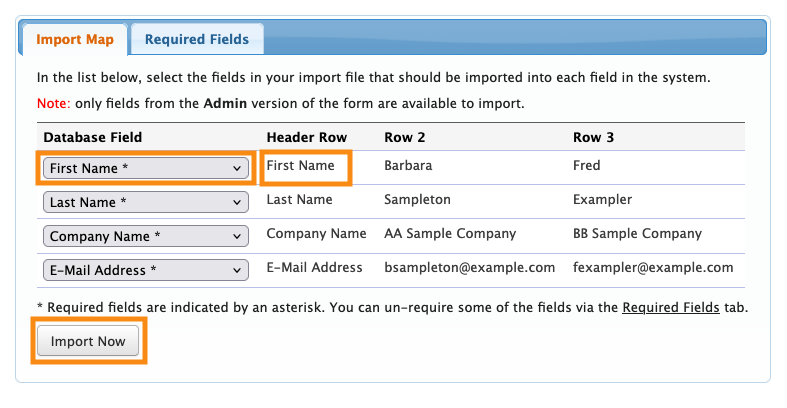
- Step 6. You’ll now be taken to a mapping page. Make sure the Database Field matches the sample data in each row.
- When everything matches, click Import Now:
- Step 7. The import process takes about 30 seconds. Once it’s complete, you’ll see a new item in your Attendees tab: the Attendee List:
- On that page, you’ll see all the attendees you just imported.
Adding a last-minute attendee before your event
After your import is done, you might need to add a few extra people before check-in begins.
- Step 1. Head to the Attendees tab, and choose Add Attendee:
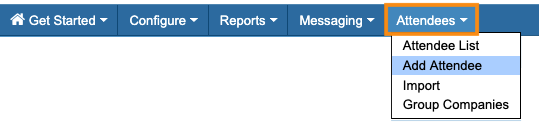
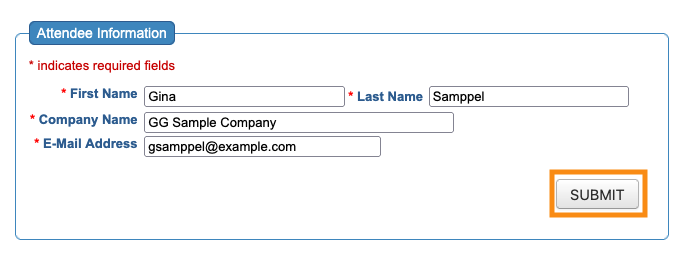
- Step 2. Fill out the registration form. Then click Submit:
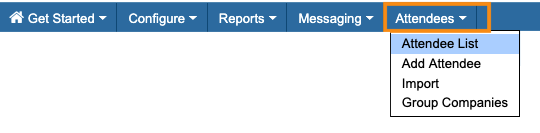
- Step 3. You’ll now see the new registrant on your Attendee List:
-
You can also add walk-in attendees at your event. See this article for more details.
Setting the Attendee List up for check-in
During your event, you might have a laptop handy, logged into your MeetMax account. Here’s where you can use the Attendee List to keep track of who’s checked in.
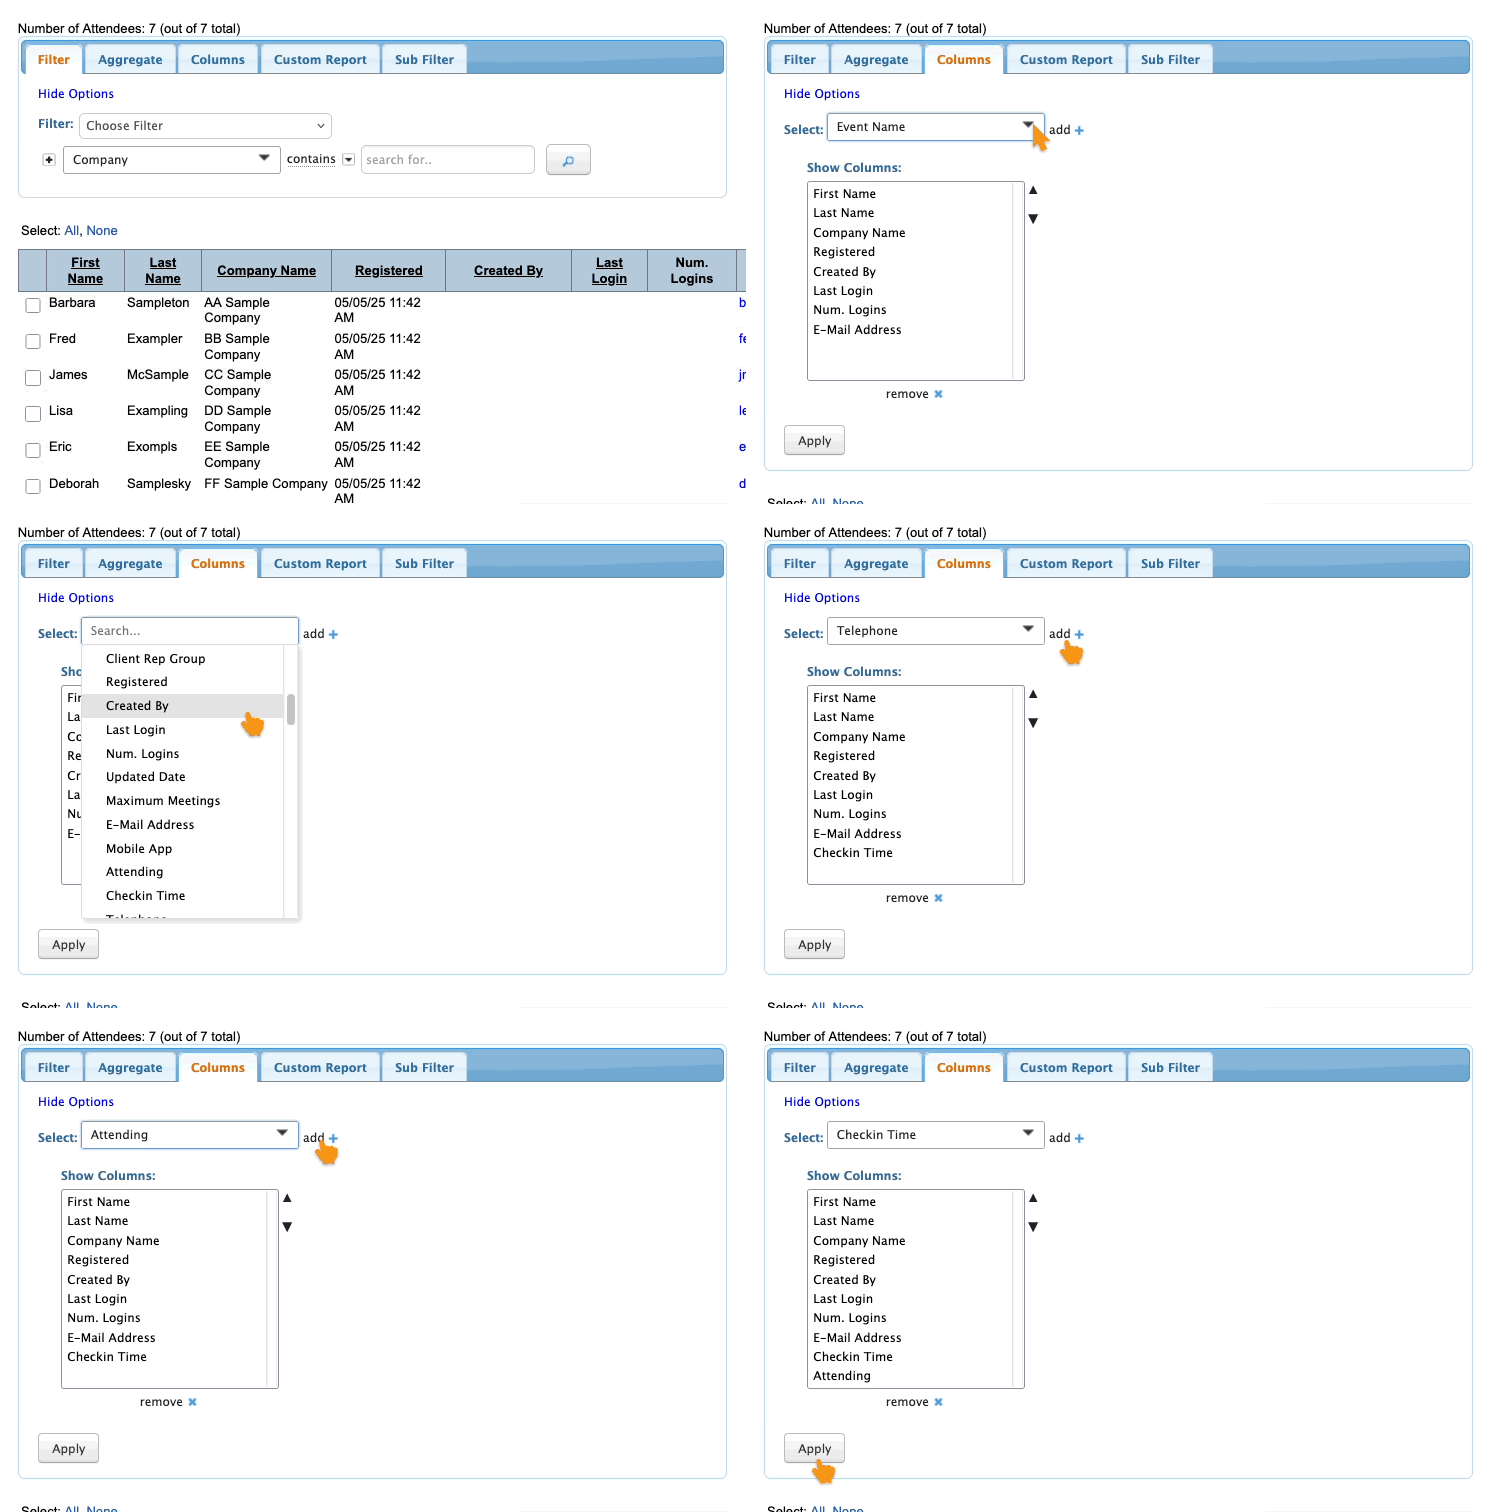
Let’s add two columns to the list, so you can easily see everyone’s status.
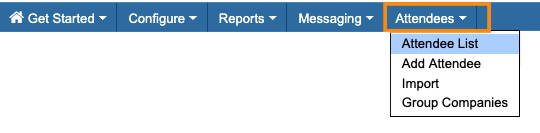
- Step 1. Head to the Attendee List:
- Step 2. Click on the Columns tab.
- Use the menu to choose Checkin Time. Then click Add.
- Do the same to add the Attending column.
- Click Apply to save:
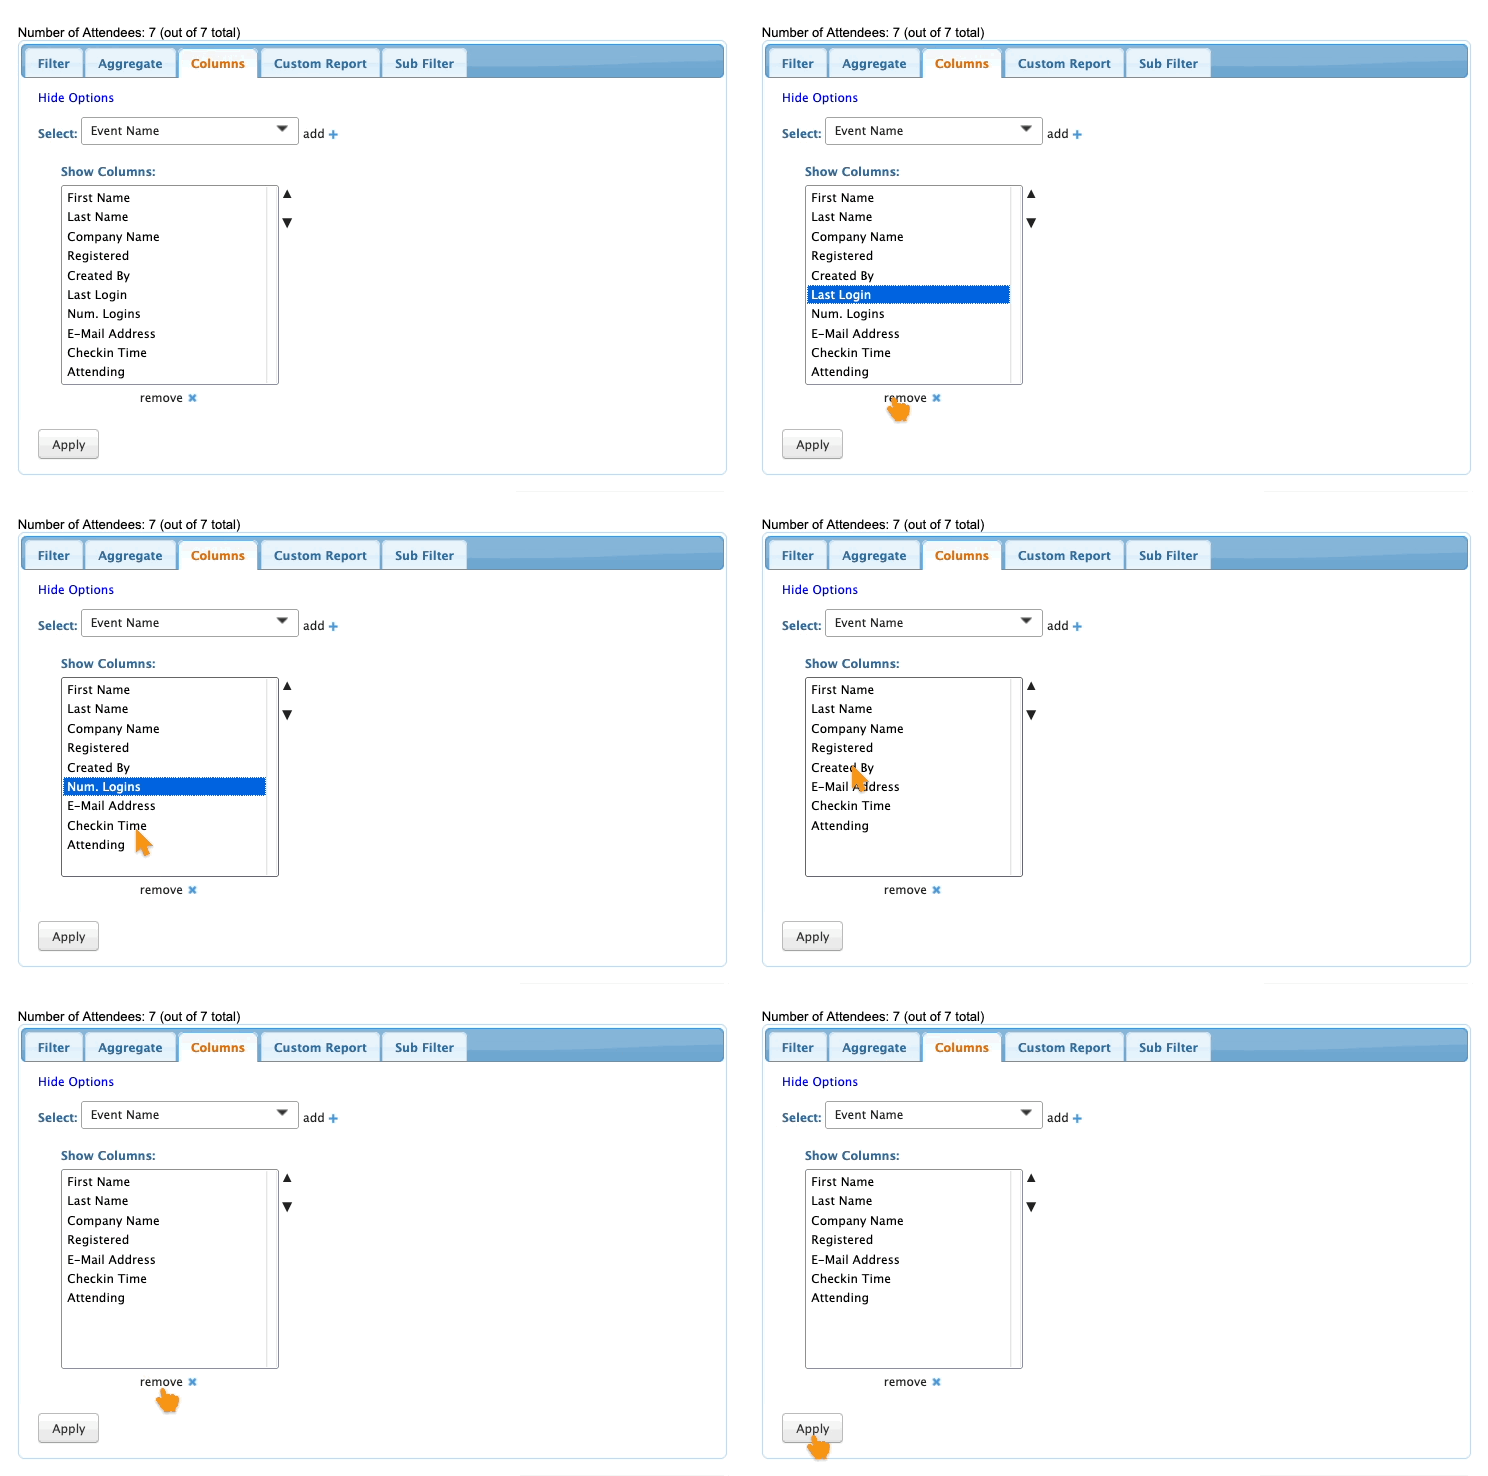
- Step 3. You might also want to remove some default columns, if you don't need their data.
- Here, we’re removing Last Login, Num Logins, and Created By. Click Apply to save:
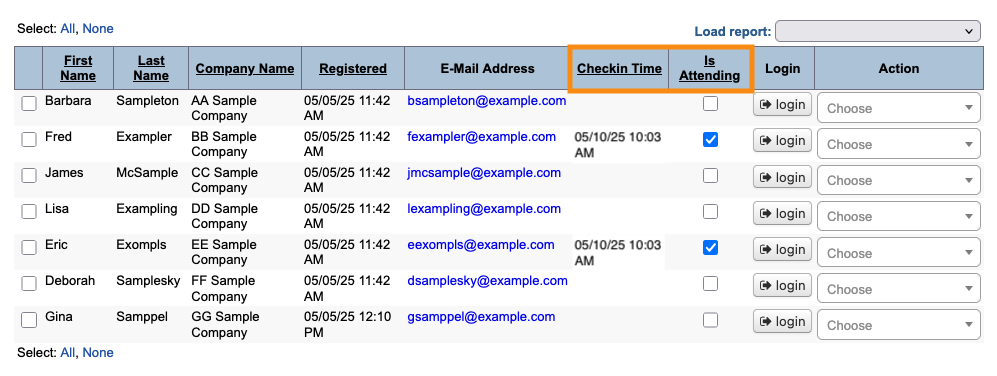
- Step 4. You’ll now see these new check-in columns on the Attendee List.
- As each person checks in, you’ll see these columns update:
More details:
What’s next
Now, it’s time to unpack the Badging Express equipment.

