In this article:
- Where is it?
- Showing Attendee request details
- Organizing meeting requests into buckets
- Showing meeting tags
- Showing current scheduling status
- Including declined meeting requests
- Hiding Attendee names
- Adding internal notes
Where is it?
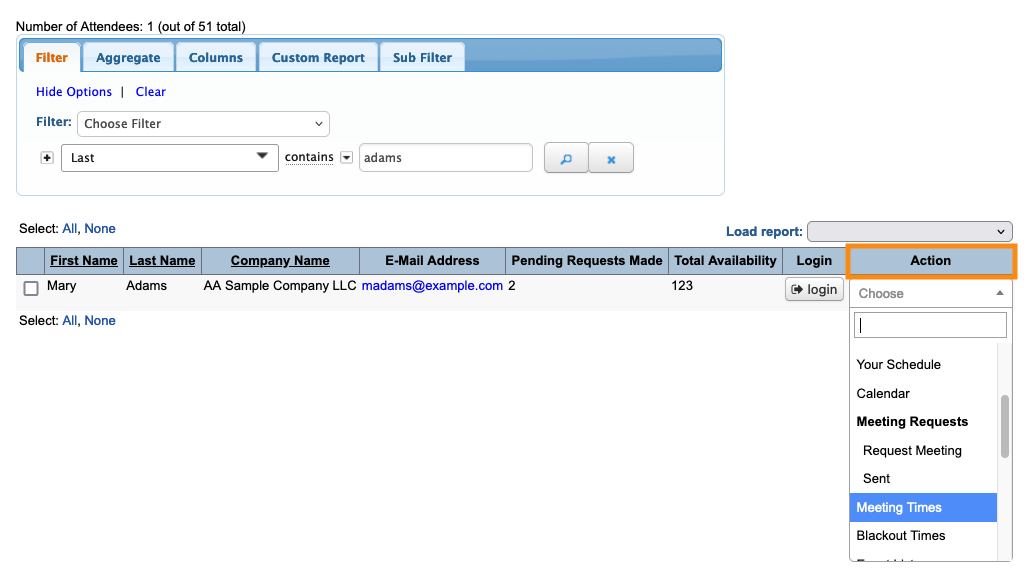
You’ll access the Meeting Times page from both the Company List and Attendee List:


| You can update settings from any participant’s Meeting Times page. The changes apply to everyone in the event. | |
| When you customize the Meeting Times page in one event, those changes won’t apply to other events. | |
| You can use as many or few of these options as you need. |
Showing Attendee request details
This setting can be helpful if you’re scheduling multiple, unaffiliated Attendees into group meetings.
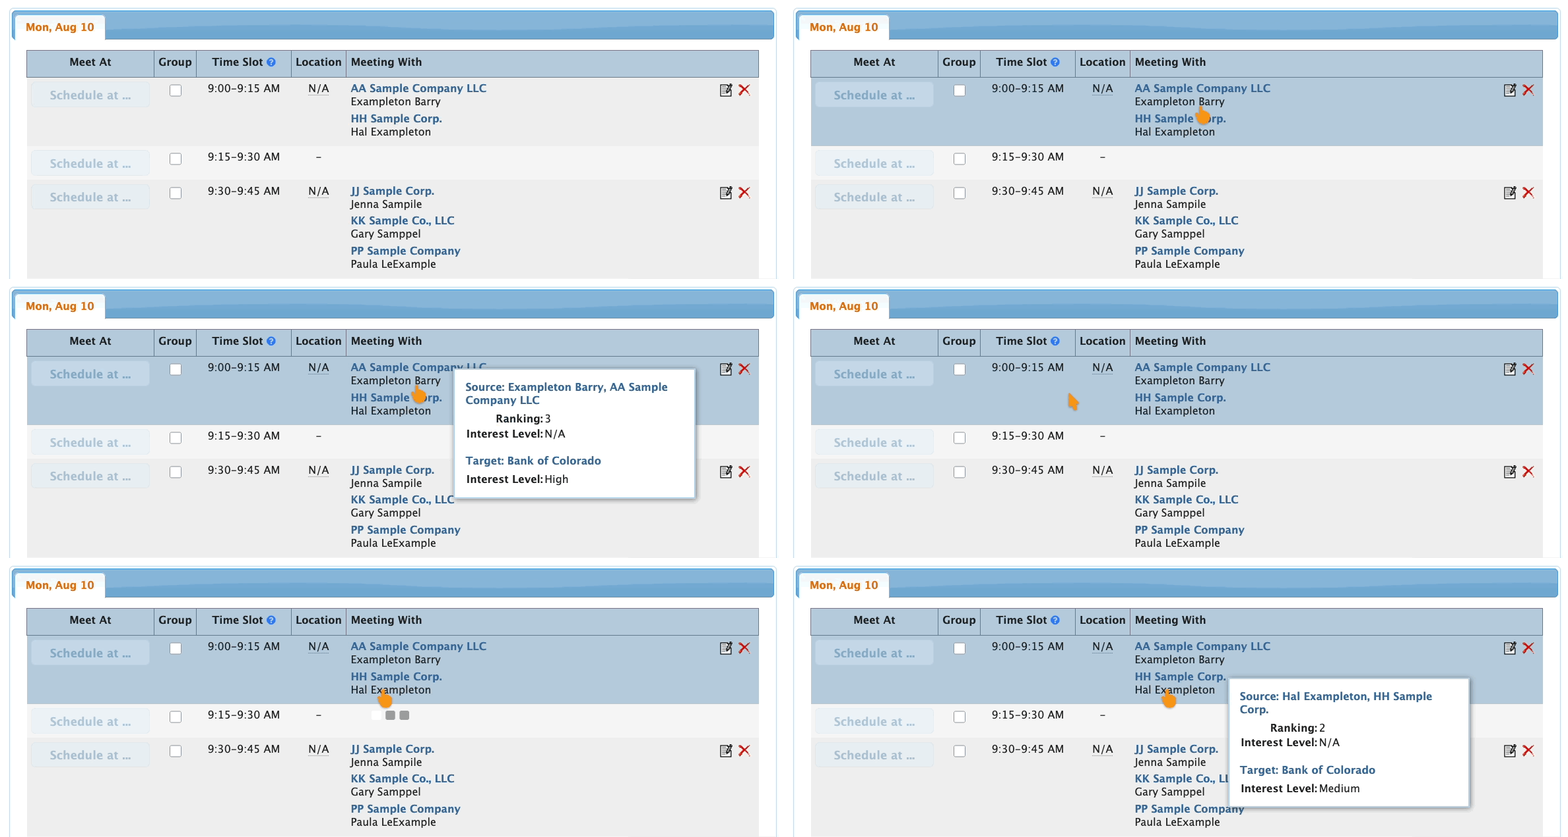
By default, you can hover over the name of any unscheduled meeting requestor, and see the details of their request:
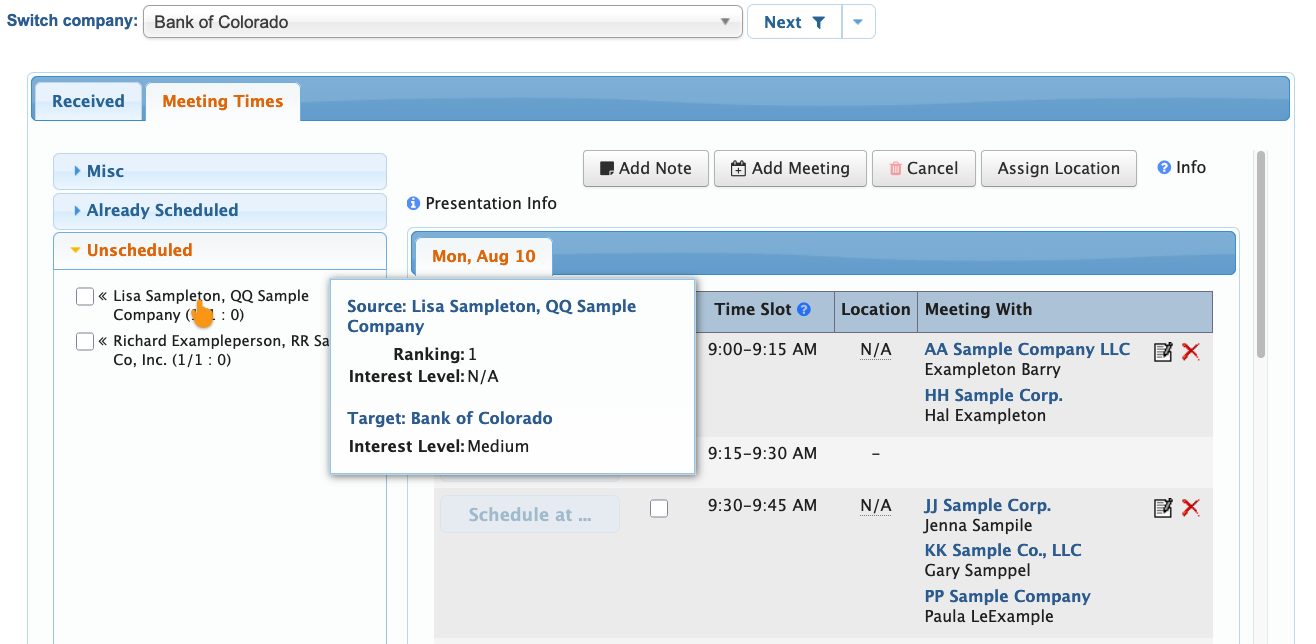
You might also want to see those details for other people who’ve already been scheduled into a meeting:
Organizing meeting requests into buckets
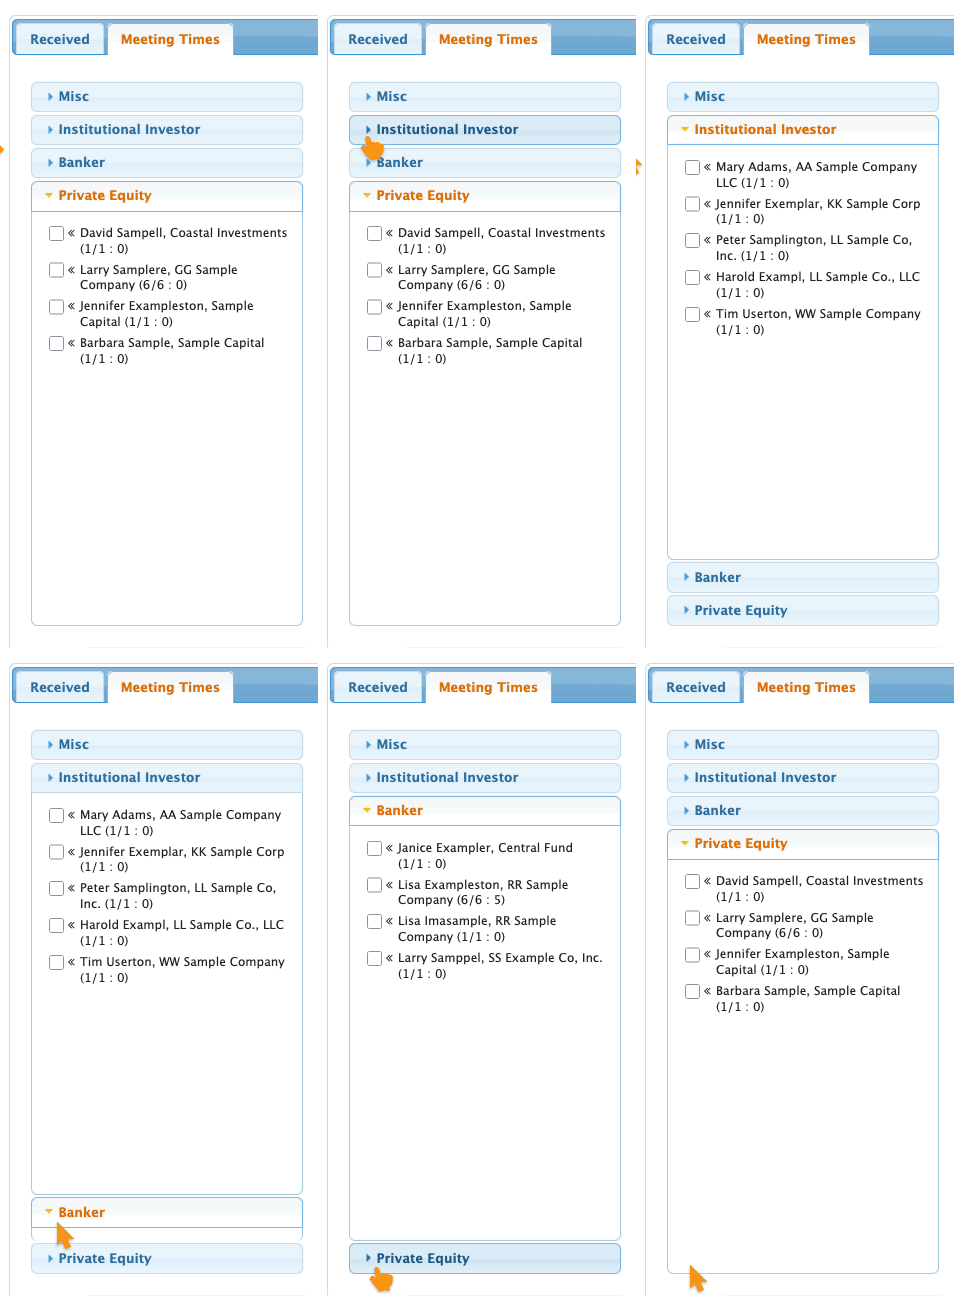
If your team has a lot of meeting requests to schedule, it can be helpful to create categories, or “buckets.”
That way you can deal with requests by urgency, participant type, or other themes. Create as many buckets as you need:
Showing meeting tags
For large events with complex scheduling, it can be helpful to add informational tags to your meetings. You can display the tags on your Meeting Times page, so everyone on your team has current details.
Your tag system can be anything at all. Some common examples:
- Different types of meetings
- Different priority levels of meetings
- Restrictions for certain meetings
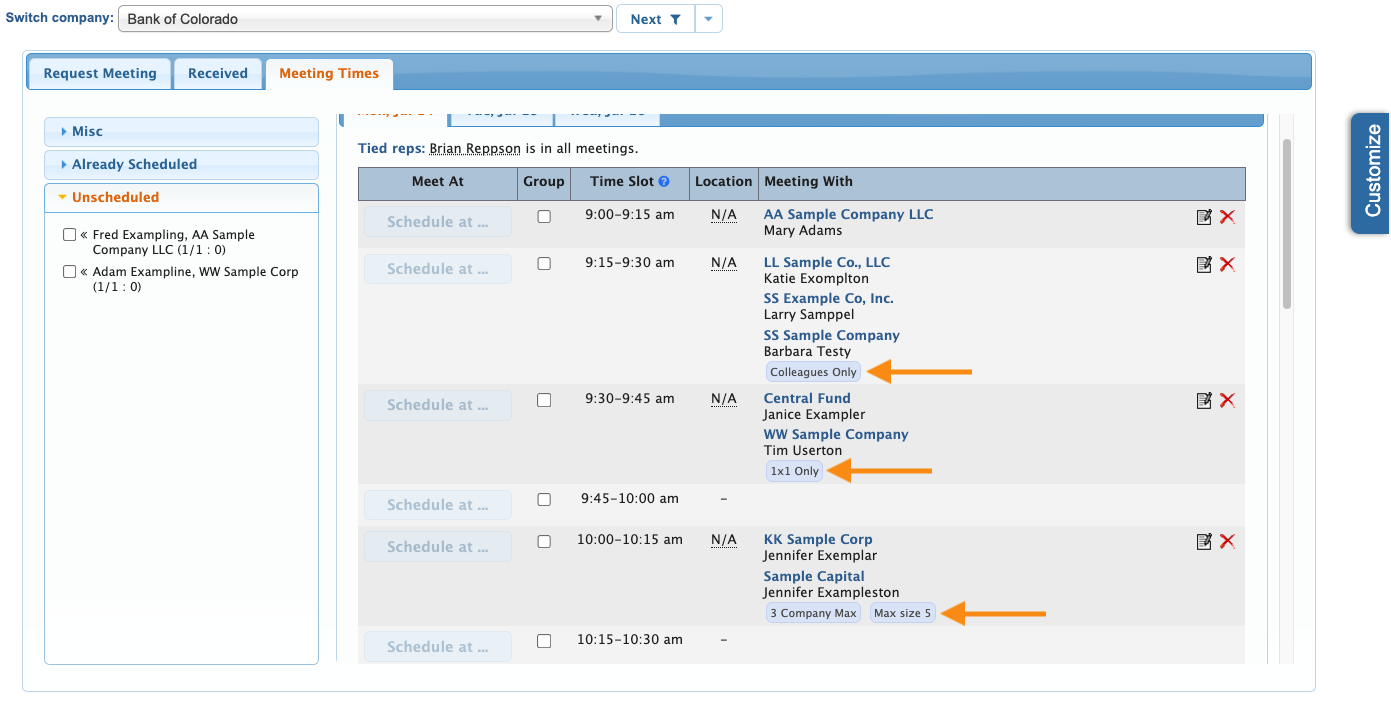
| Learn how to create Meeting Tags and display them on the Meeting Times page. | |
| If you want to make tags like these visible to participants, check out our Meeting Keywords feature. |
Showing current scheduling status
This is a helpful option for large events with a lot of group meetings. As you’re scheduling, you might want to see how many companies and participants are currently in each meeting:
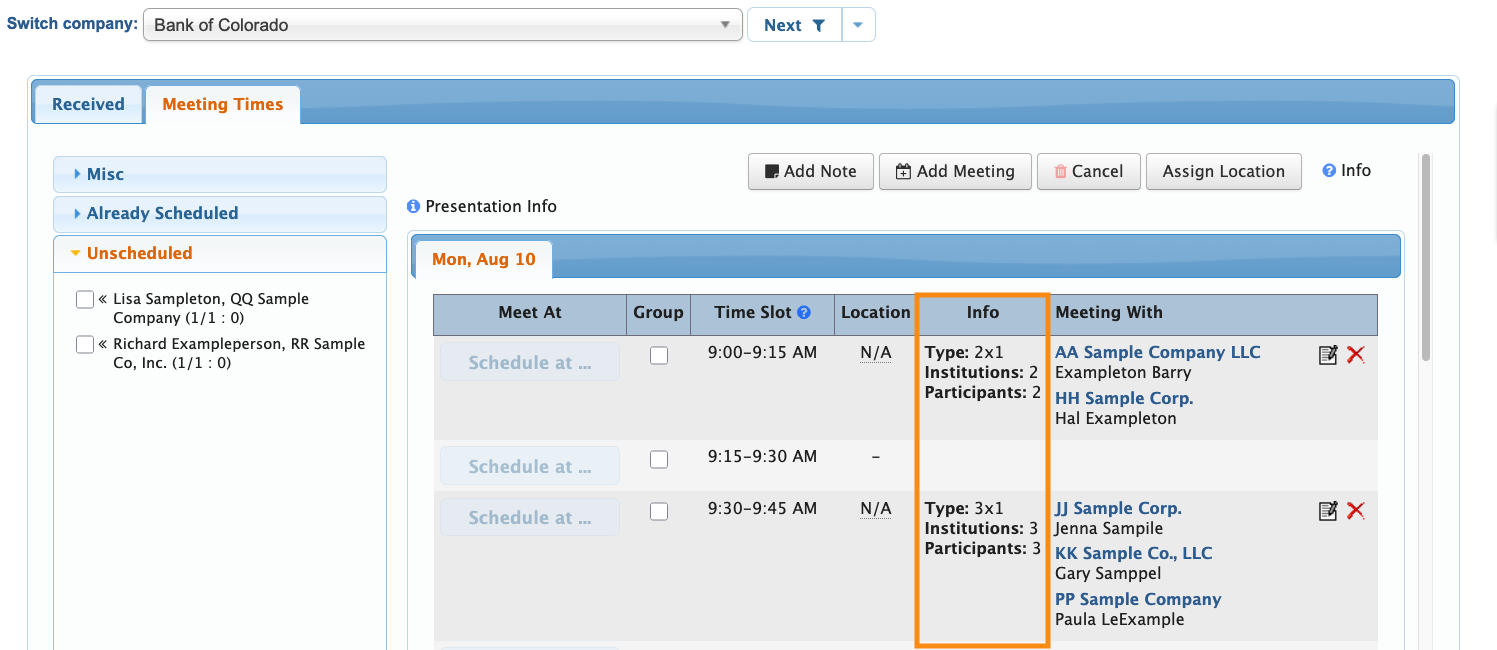
The Info column shows:
- The current meeting Type (based on your event’s Meeting Type Rules)
- How many Institutions are part of the meeting (not including the Company hosting the meeting)
- How many Participants are part of this meeting (including the Company hosting the meeting, and all Attendees)
These counts will update automatically as you make changes to scheduling.
Including declined meeting requests
In some events, you might need to decline certain meeting requests. MeetMax tracks the reason for each decline.
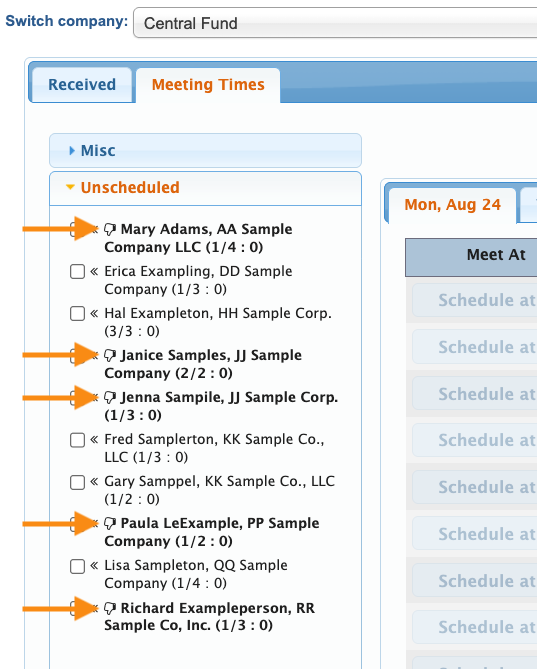
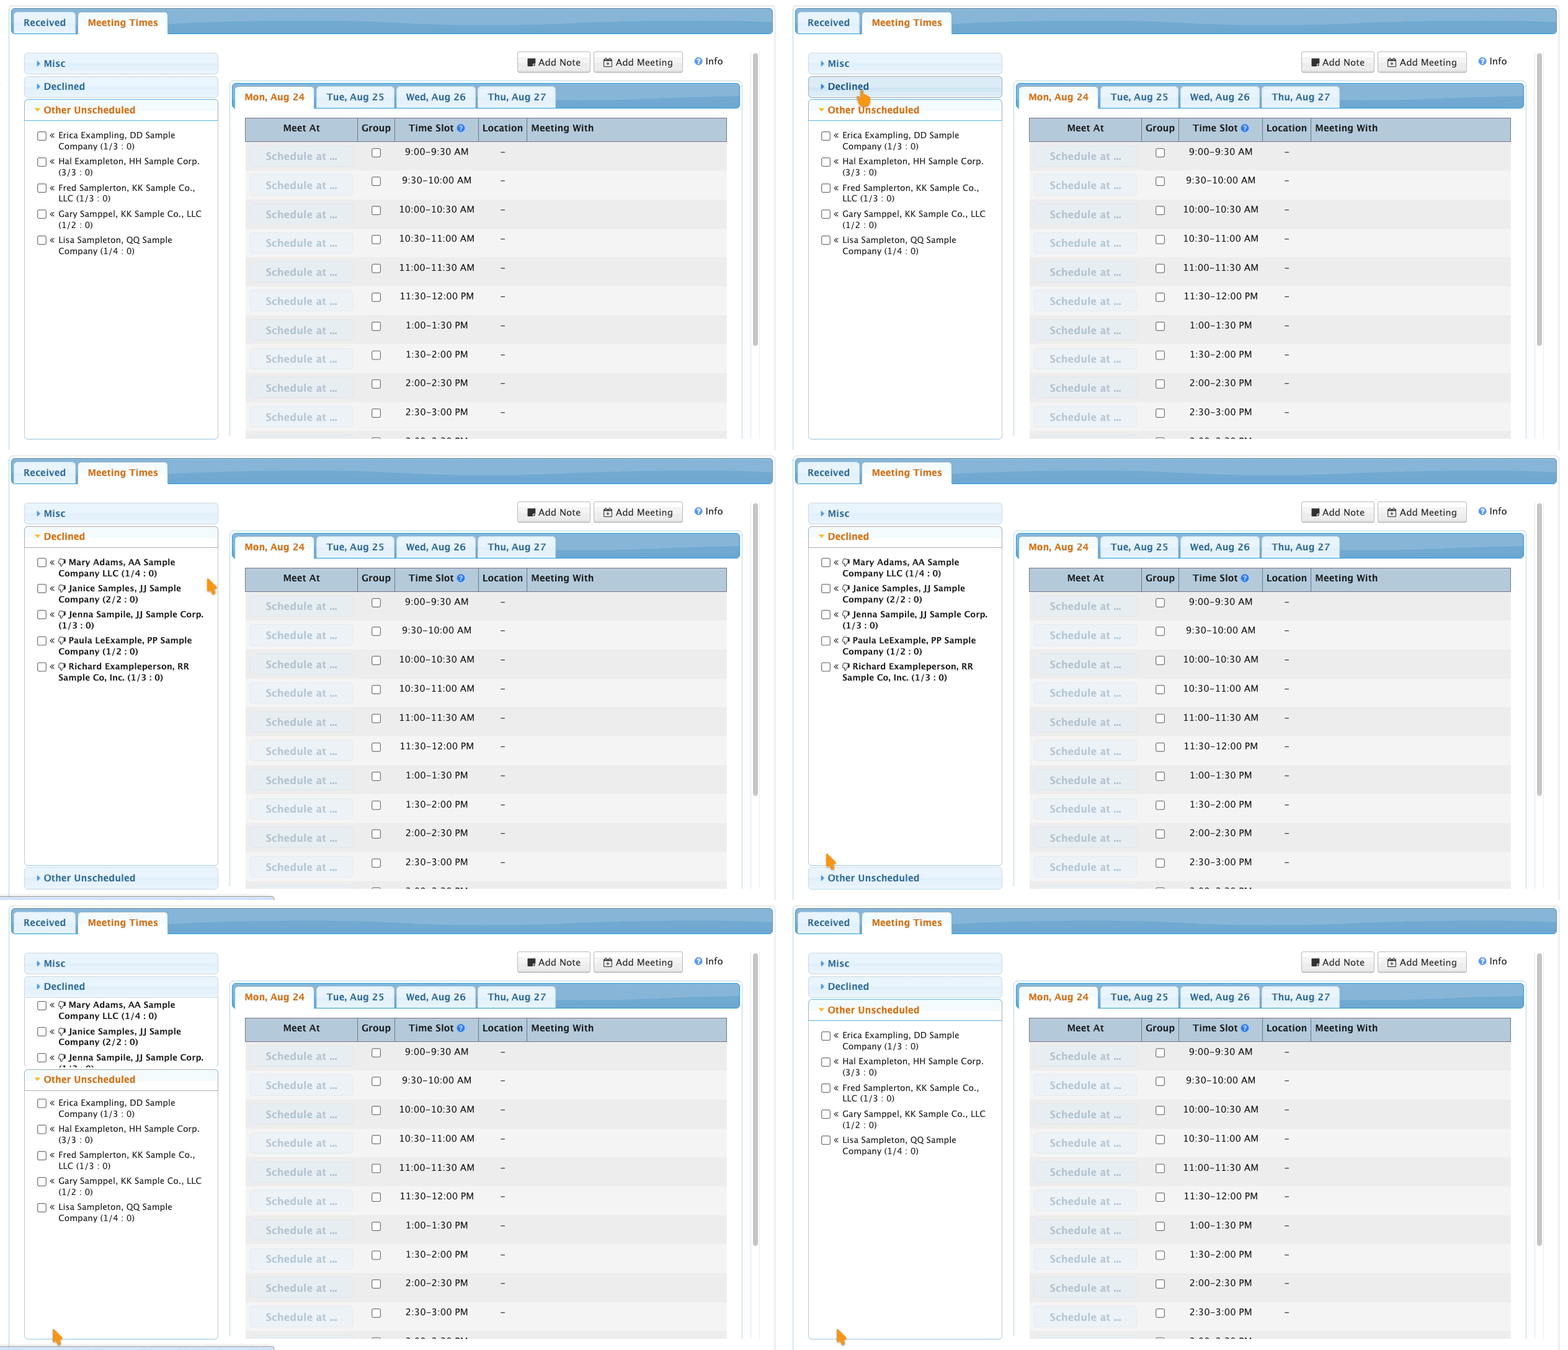
You can display your declined meeting requests on the Meeting Times page. That way you can track how many you’ve declined, and have access in case you decide to schedule them later.
You can use a simple, interspersed display like this:
You can also organize your declined requests into buckets, by decline reason or any other categorization you need:
Hiding Attendee names
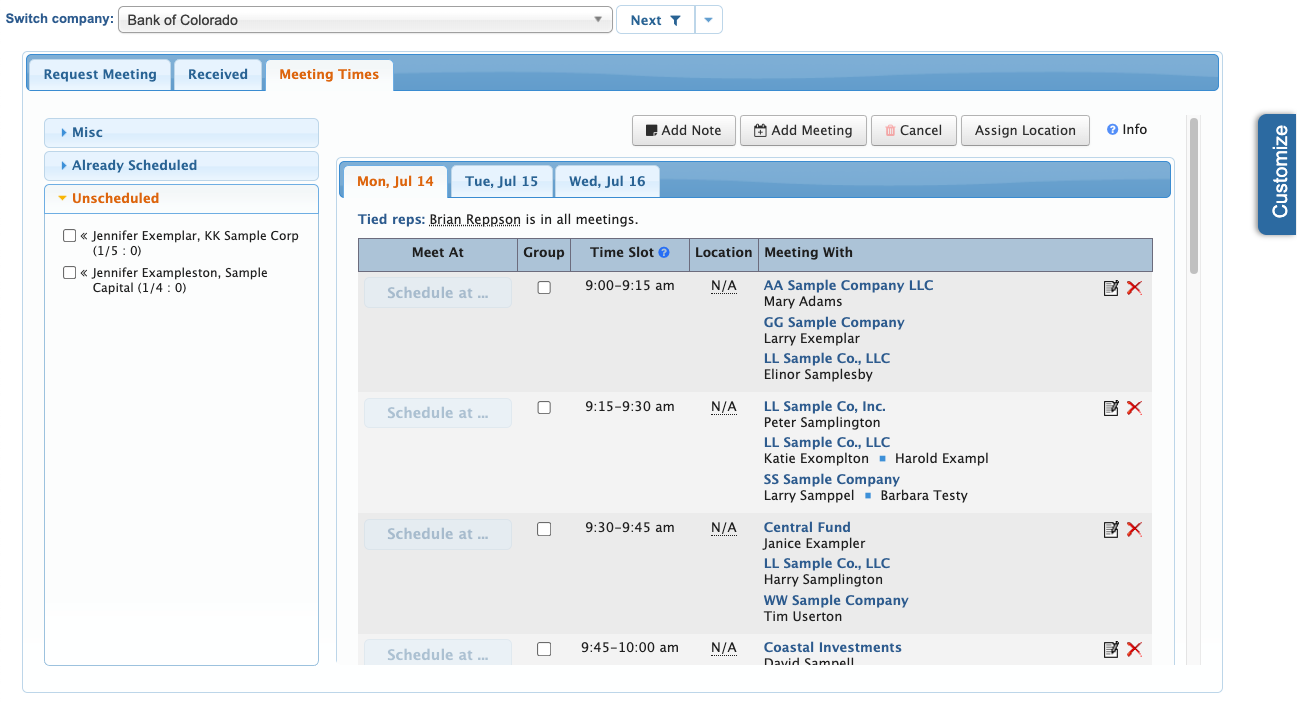
For events where you’re scheduling multiple group meetings, the Meeting Times page can become a bit cluttered, like this:
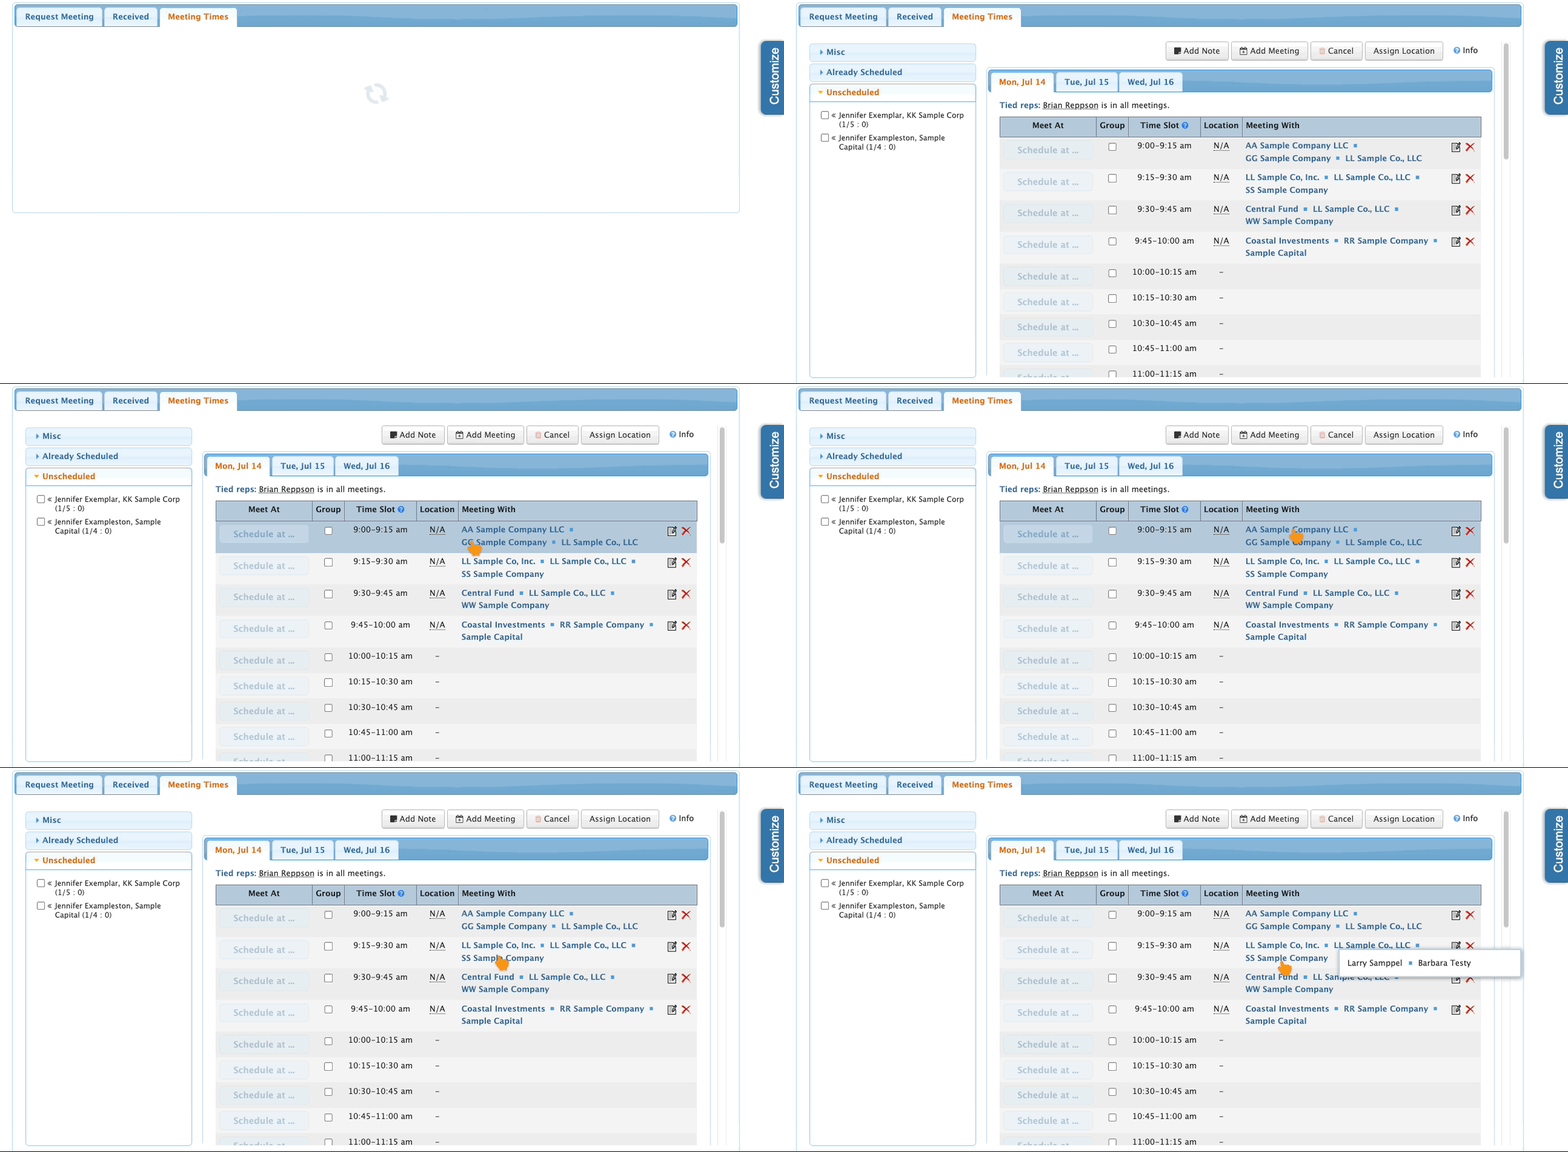
You can simplify the Meeting With column so it only shows Company names. This reduces scrolling and makes it easier to locate specific meetings on the page:
Adding internal notes
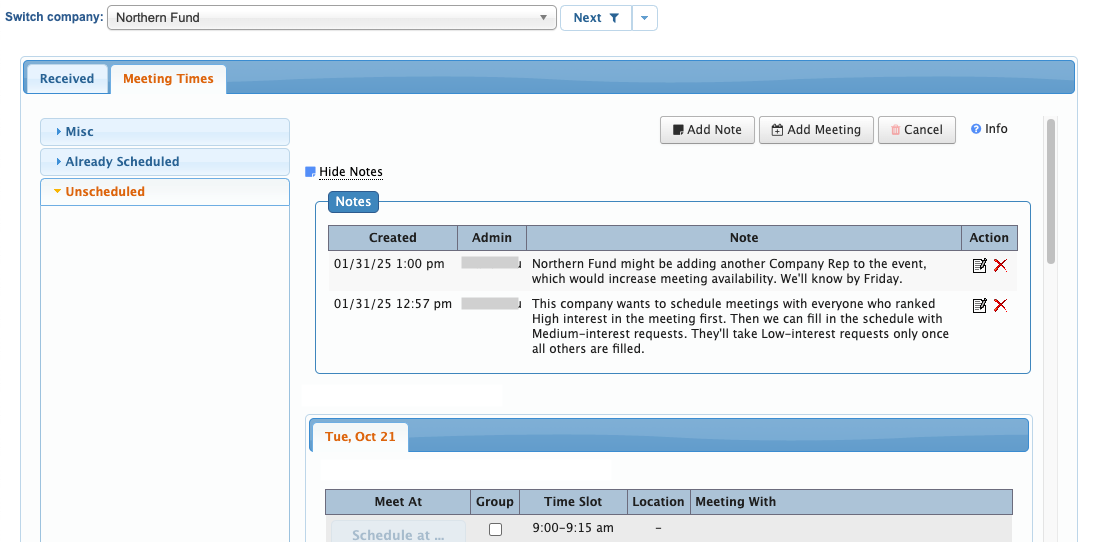
If you have multiple people scheduling meetings, internal notes keep everyone informed of needs, last-minute changes, or requests.
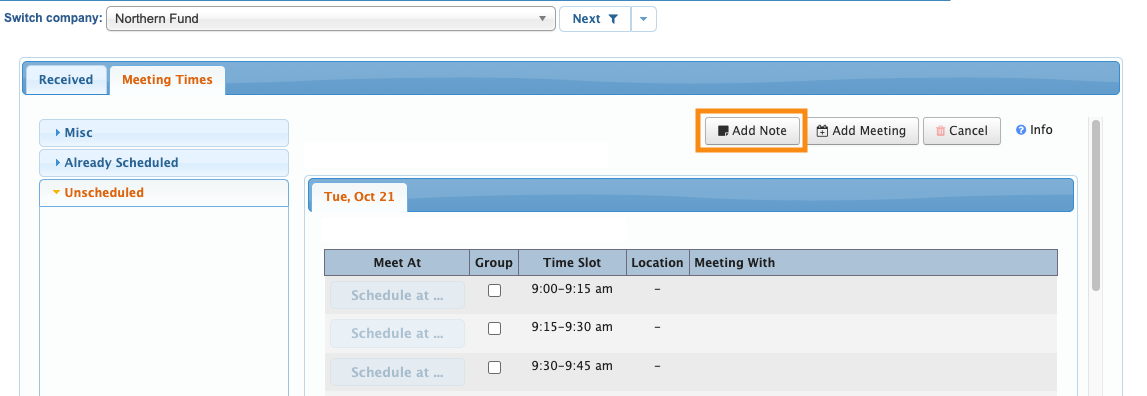
Click the Add Note button to insert a note your whole team can see: