

In this article:
- Where is it?
- Why is it useful?
- Creating the Custom Page
- Showing or hiding the page
- What participants see
- Replacing the PDF
Where is it?
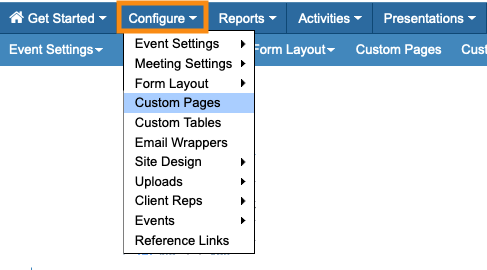
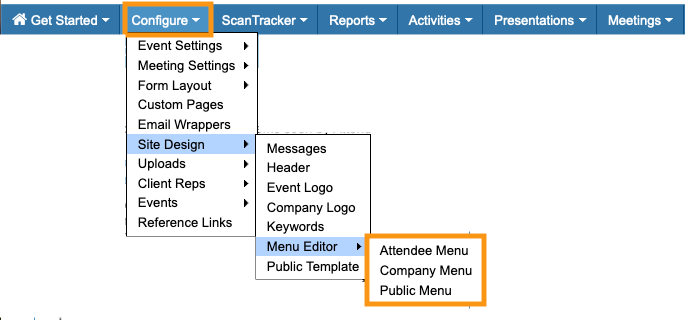
You’ll add and manage PDF Custom Pages from the Configure tab:
Why is it useful?
Custom PDF Pages are great for information you want your participants to see, but you also might need to update often. Event agendas are a great example.
There are several ways to add custom content to the web pages MeetMax generates for your event, but this type of Custom Page can be created and updated by your team any time. It’s as easy as building the PDF document.
| We’re assuming here that you’ve already created the PDF you want to display. It can have any number of pages, and be in either portrait or landscape orientation. |
Creating the Custom Page
You’ll first create a page to contain your PDF. Learn more about Custom Pages here.
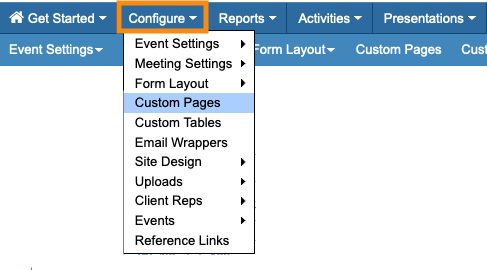
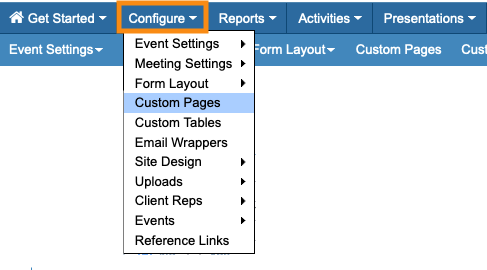
- Step 1. Head to the Configure tab. Choose Custom Pages:
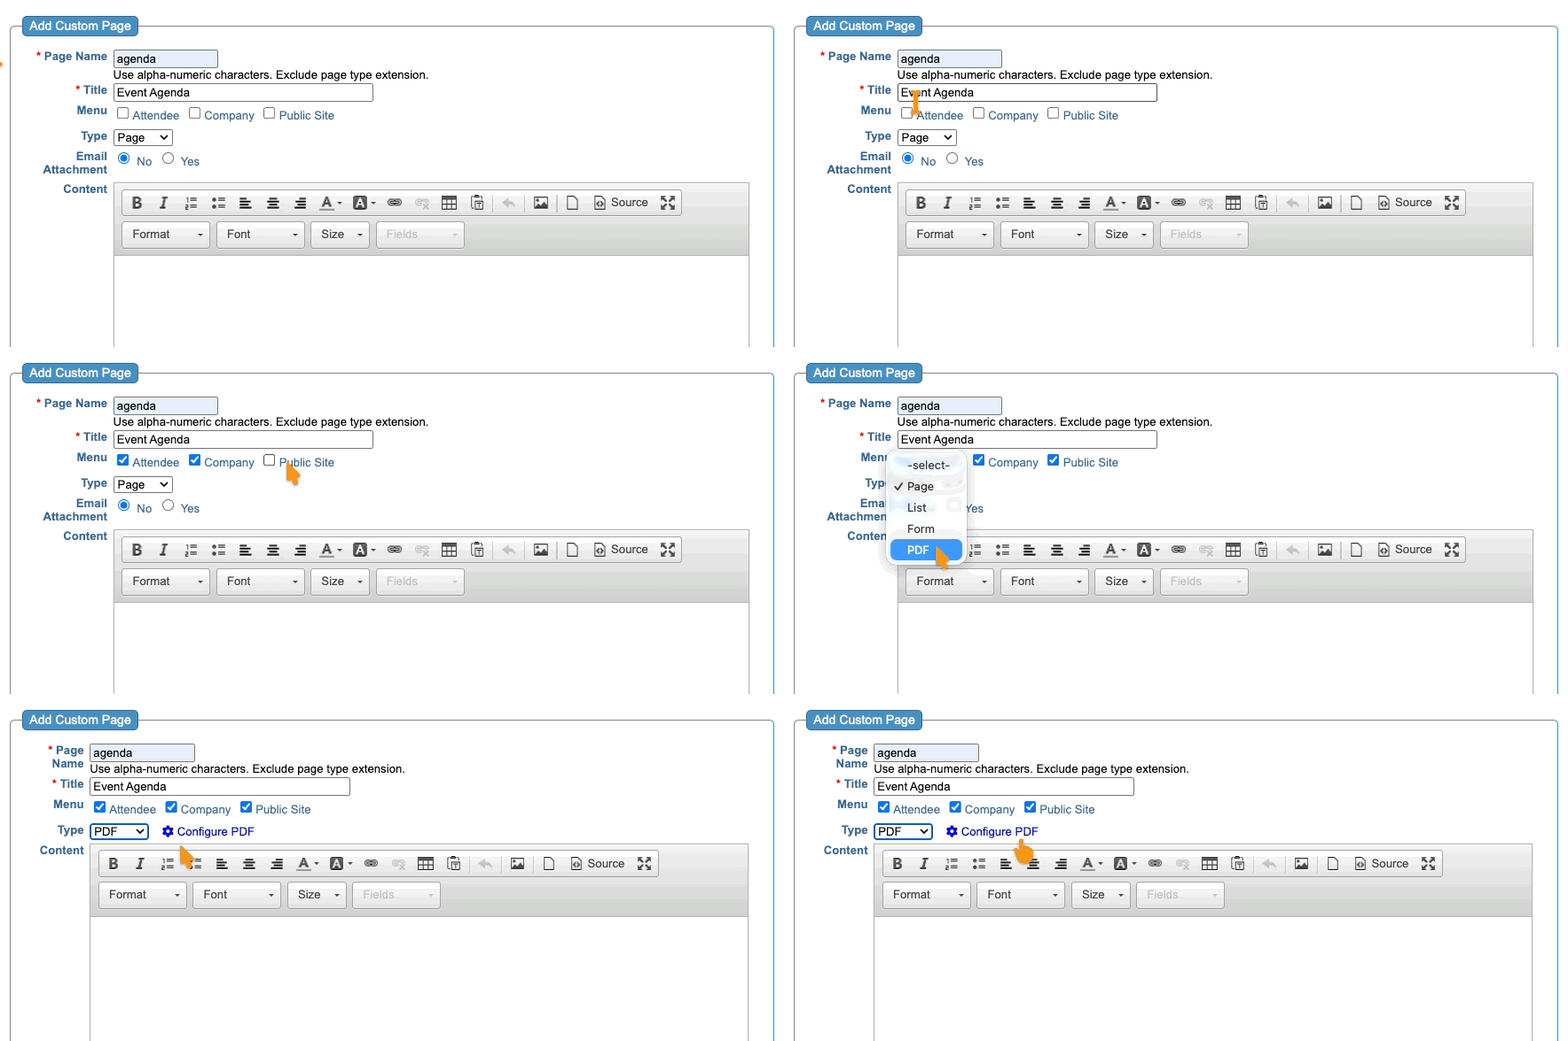
- Step 2. If this is your first Custom Page, you’ll be taken directly to the Add Custom Page form, as shown below.
- (If you’ve created Custom Pages before, click the Add button to start a new one.)
- Fill out the fields:
- • Page name: An internal label, no spaces.
- • Title: The publicly-visible page name.
- • Menu: Do you want this page to be visible to Attendees and/or Companies? Check those boxes. If you want to be able to share this page’s link with people outside of MeetMax, check the Public box.
- • Type: From this menu, choose PDF. You’ll then click the Configure PDF link:
- Step 3. You’ll be taken to an upload page. Click the Browse button, then locate the PDF on your computer:

- Step 4. When the upload completes, you’ll be back in the page editor.
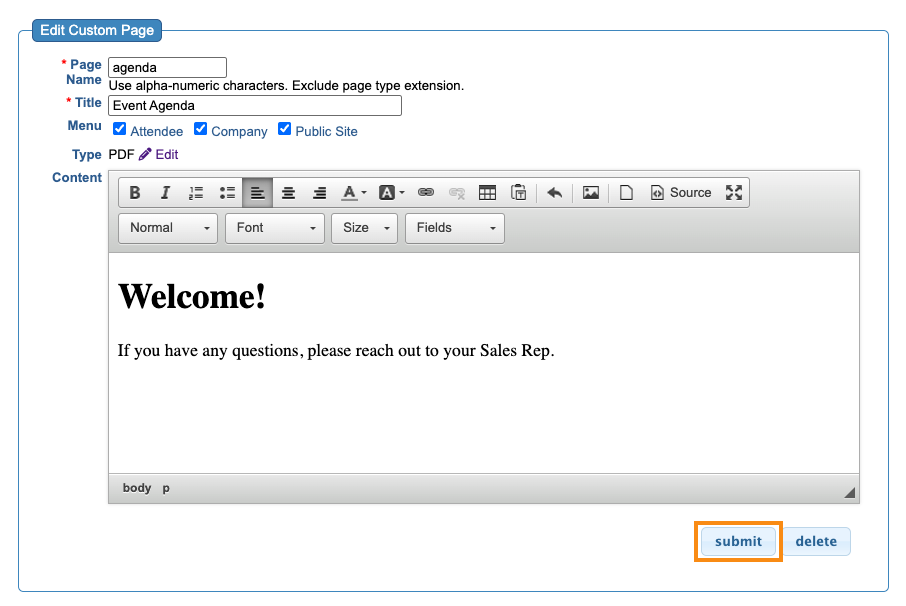
- As an option, in the Content field you can add some custom text to appear above your PDF, as shown below.
- Click Submit to save the page:
Showing or hiding the page
MeetMax automatically adds your new page to the Menu Editor. Depending on the choices you made while creating the page, it’ll be visible on the Attendee, Company, and/or Public menus.
Head to the Menu Editor of your choice:
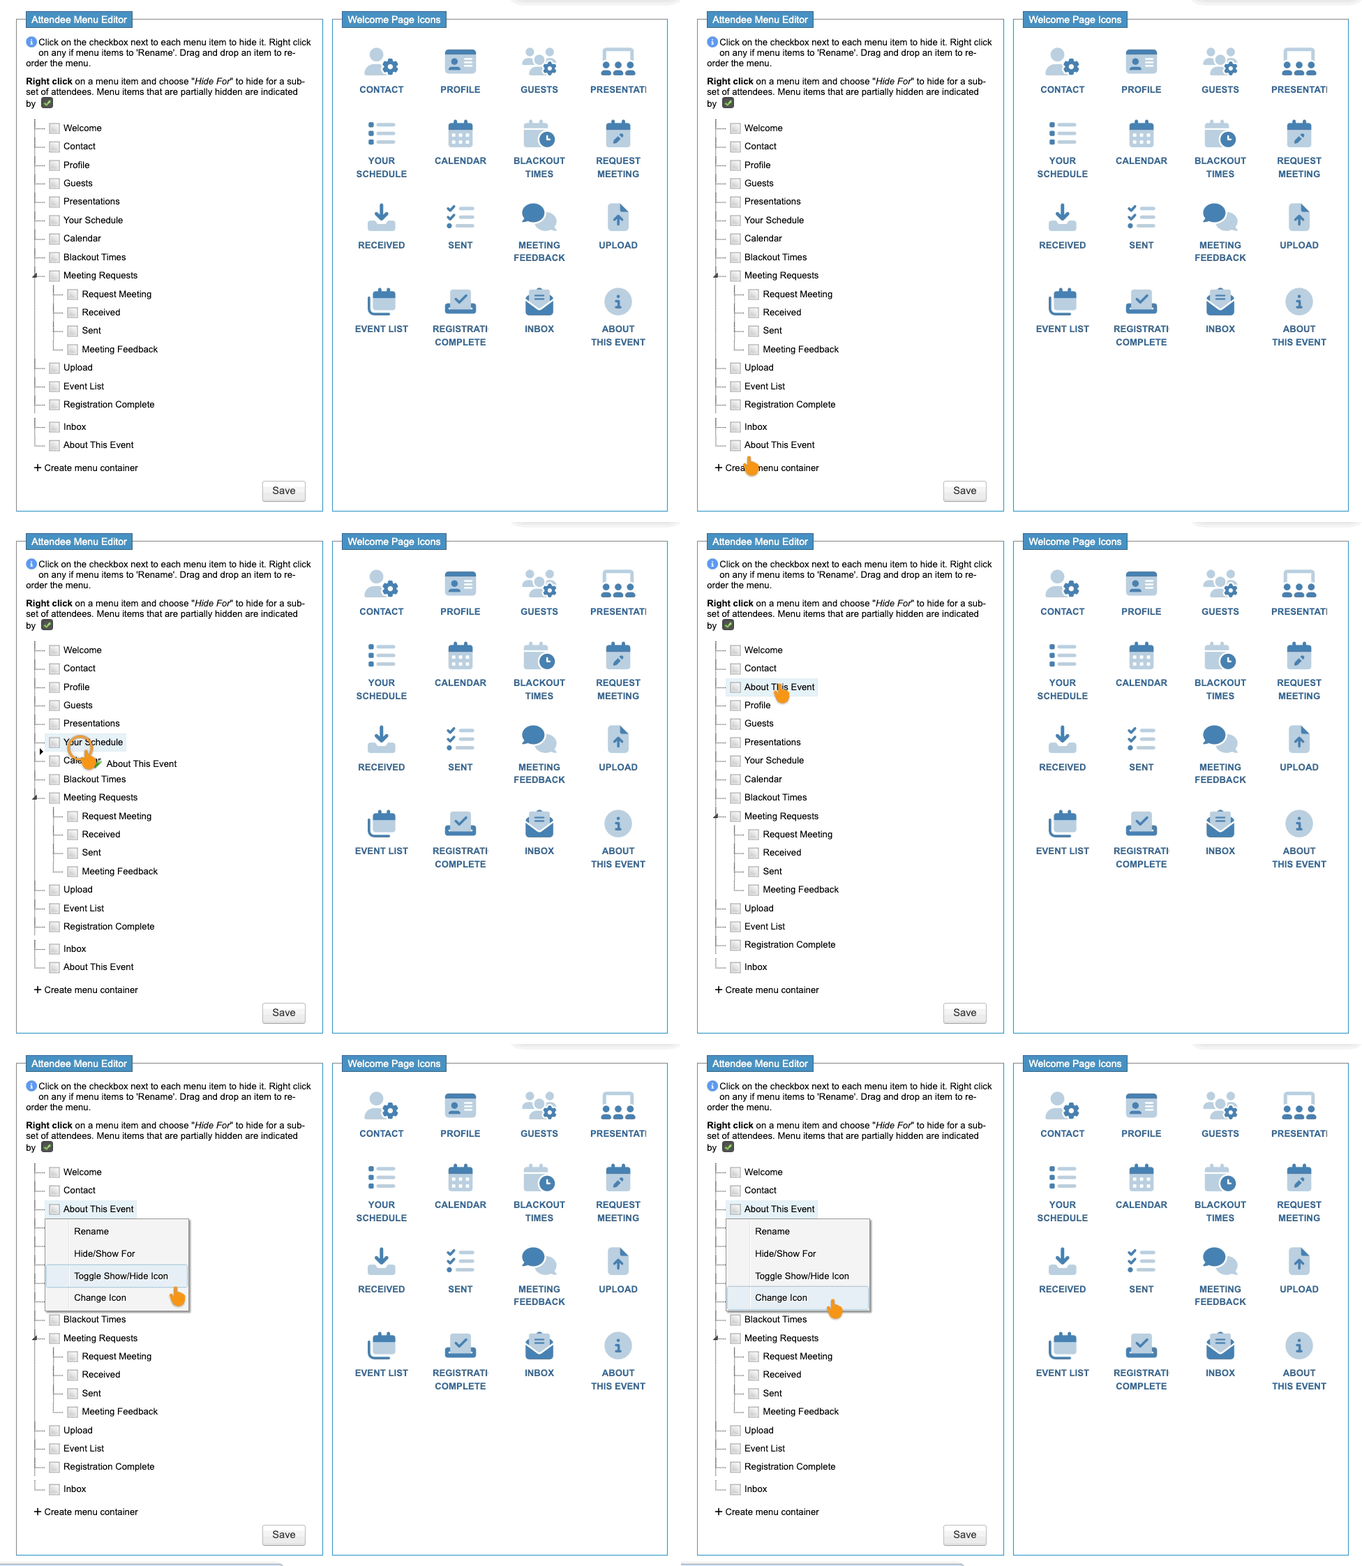
Your new page is already enabled for view, and placed at the end of the menu bar.
In the Menu Editor, you can:
- Drag it to another location, as shown below.
- Update the page icon
- Add viewing restrictions for certain groups of participants
- Temporarily hide the page any time
What participants see
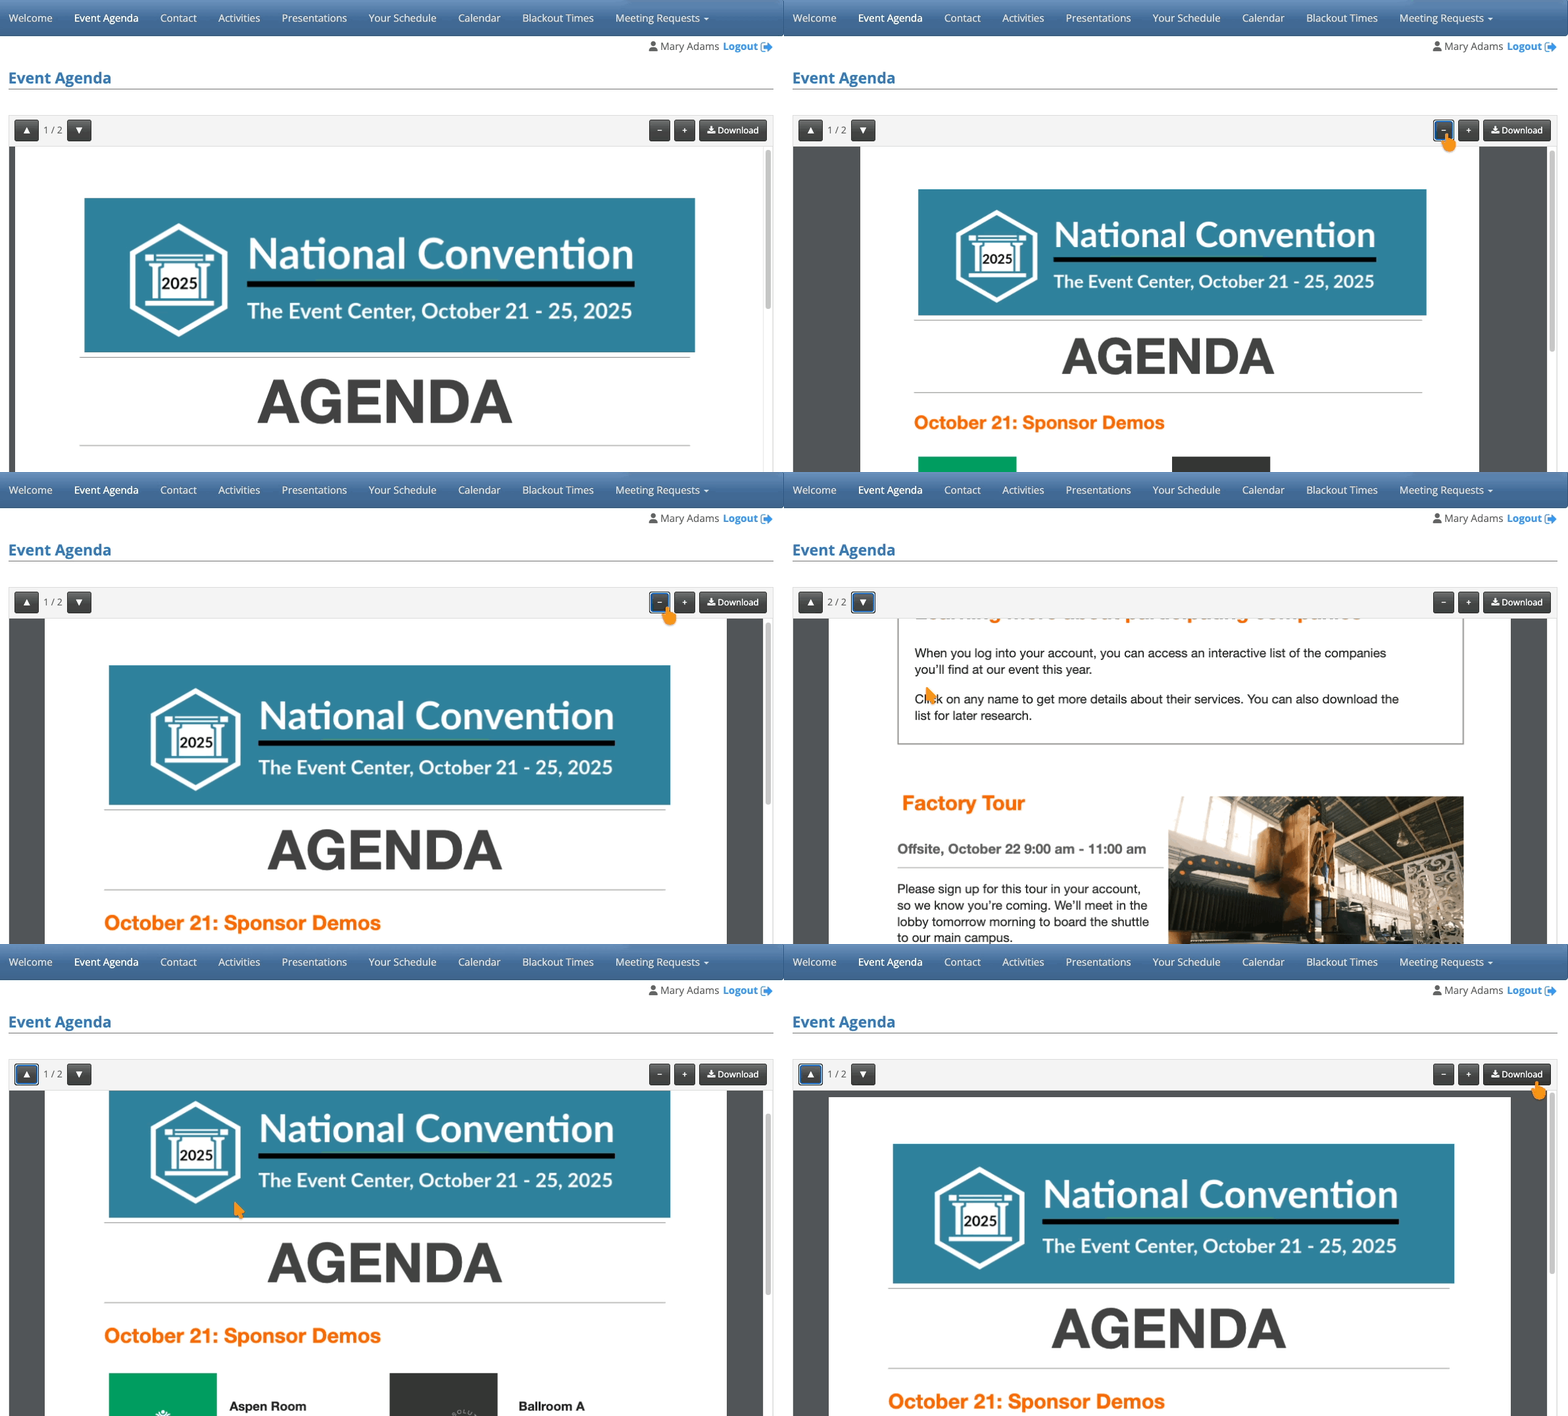
In this example, we created a Custom Page that’s visible to Attendees. When an Attendee logs into MeetMax, they’ll see the page title in their menu.
The PDF displays as the page’s content. The Attendee can zoom in or out, jump between pages, and download a copy of the PDF:
| If you want to view this page as an Admin, log into MeetMax as a test user. |
Replacing the PDF
If you need to update the PDF, you can upload a new version over the old one.
| When you save a new version of your PDF, give it a different file name. |
- Step 1. Head to your Custom Pages list:
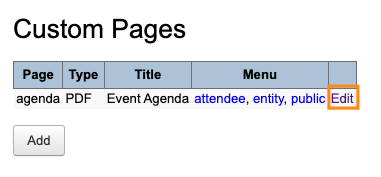
- Step 2. Locate the page you need to update. Click the Edit link:
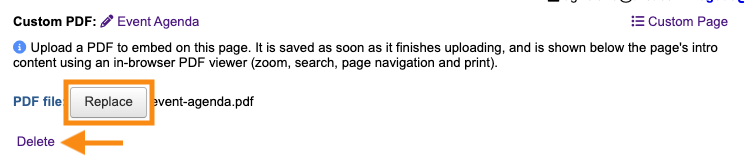
- Step 3. You’ll see your original file on this page. Click the Replace button.
- Then choose the new PDF from your computer:
-
To remove this PDF from the page, click the Delete link, as shown above. - Step 4. After upload, you’ll see the new file name. The upload saves automatically:
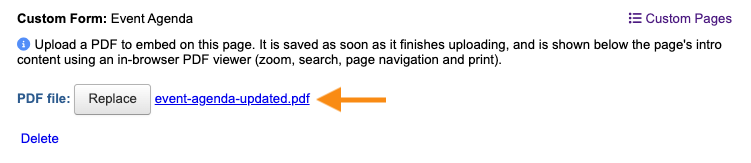
- All participants who had access to the original Custom Page will now see the updated PDF.

