In this article:
- Where is it?
- Details available in the list
- Editing a location
- Adding blackout times for a location
- Reserving a location
- Deleting a location
- Filtering the Locations List
- Exporting the Locations List
Where is it?
In the Meetings tab, choose Meeting Location, and then Locations:

Meeting locations appear in this list once you’ve added or imported them to MeetMax.
Details available in the list
While you can add and remove columns in other lists in MeetMax, the columns of the Locations List are always the same. See below for what they do:

- Reserved: Indicates whether this room has been reserved for a single Company’s use.
- Blackouts: If this location has any blackout times (when it’s not available for meetings) you’ll see a Yes here.
- # Available Slots: Learn more about how MeetMax calculates theses numbers here.
- Capacity: Indicates how many concurrent meetings can take place in this location.
- Priority: If you’re using any of our automated location assignment tools, this column dictates which locations get assigned first.
- Assignment: Indicates whether a room is open for all meeting assignments, reserved for one Company’s use, or private for the event host.
- Category: You can optionally categorize your meeting locations. If you do, those categories appear here.
Editing a location
To make changes to any meeting location, head to the Action column. Choose Edit from the drop down menu:

That takes you to the Add Meeting Location form. You can make any changes here, and click Save:

Need to edit a different location next? Use the Switch Location menu to quickly jump there:

Editing your locations in bulk
If you need to make the same change (or set of changes) to all of your meeting locations, use the Bulk Edit button:

In the pop-up, you can choose one or more fields to change. Add your updated data to each one, and click Submit:

Adding blackout times for a location
Sometimes, you’ll have a location that isn’t available for meetings at certain times. To set these “blackout times,” use the Action menu to choose Blackouts:

You’ll then see the available time slots for this meeting location. Click the checkboxes for any times you need to make this location unavailable:

Be sure to click Save!

Reserving a location
If you’ve set a location as Reservable, you can then set it aside for a specific participant. You can reserve it for all days of your event, or specific time slots.
Find the location you want to reserve. Use the Action menu and choose Reserve:

From there, start typing the name of the Company or Attendee.
Once you’ve chosen that, you can select either All days or Time slots, and choose the assigned times. Click Submit to save:

Deleting a location
Find the location you want to delete. Use the Action menu and choose Delete:

You’ll be prompted to confirm the deletion.
| If there were any scheduled meetings assigned to this location, when you delete the location the meetings will stay booked. You’ll need to edit each meeting to assign a new location. |
Filtering the Locations List
The Filter tab helps you narrow your Locations List in several ways.
Filter by available time slot
Let’s say you need to schedule a meeting at a specific time. You need to know which locations are available then. Filter your list by Available time slot, and choose a day/time:

Filter by reservation
If you have participants who have specific meeting locations reserved for their use, you can filter the Locations List to find those easily:

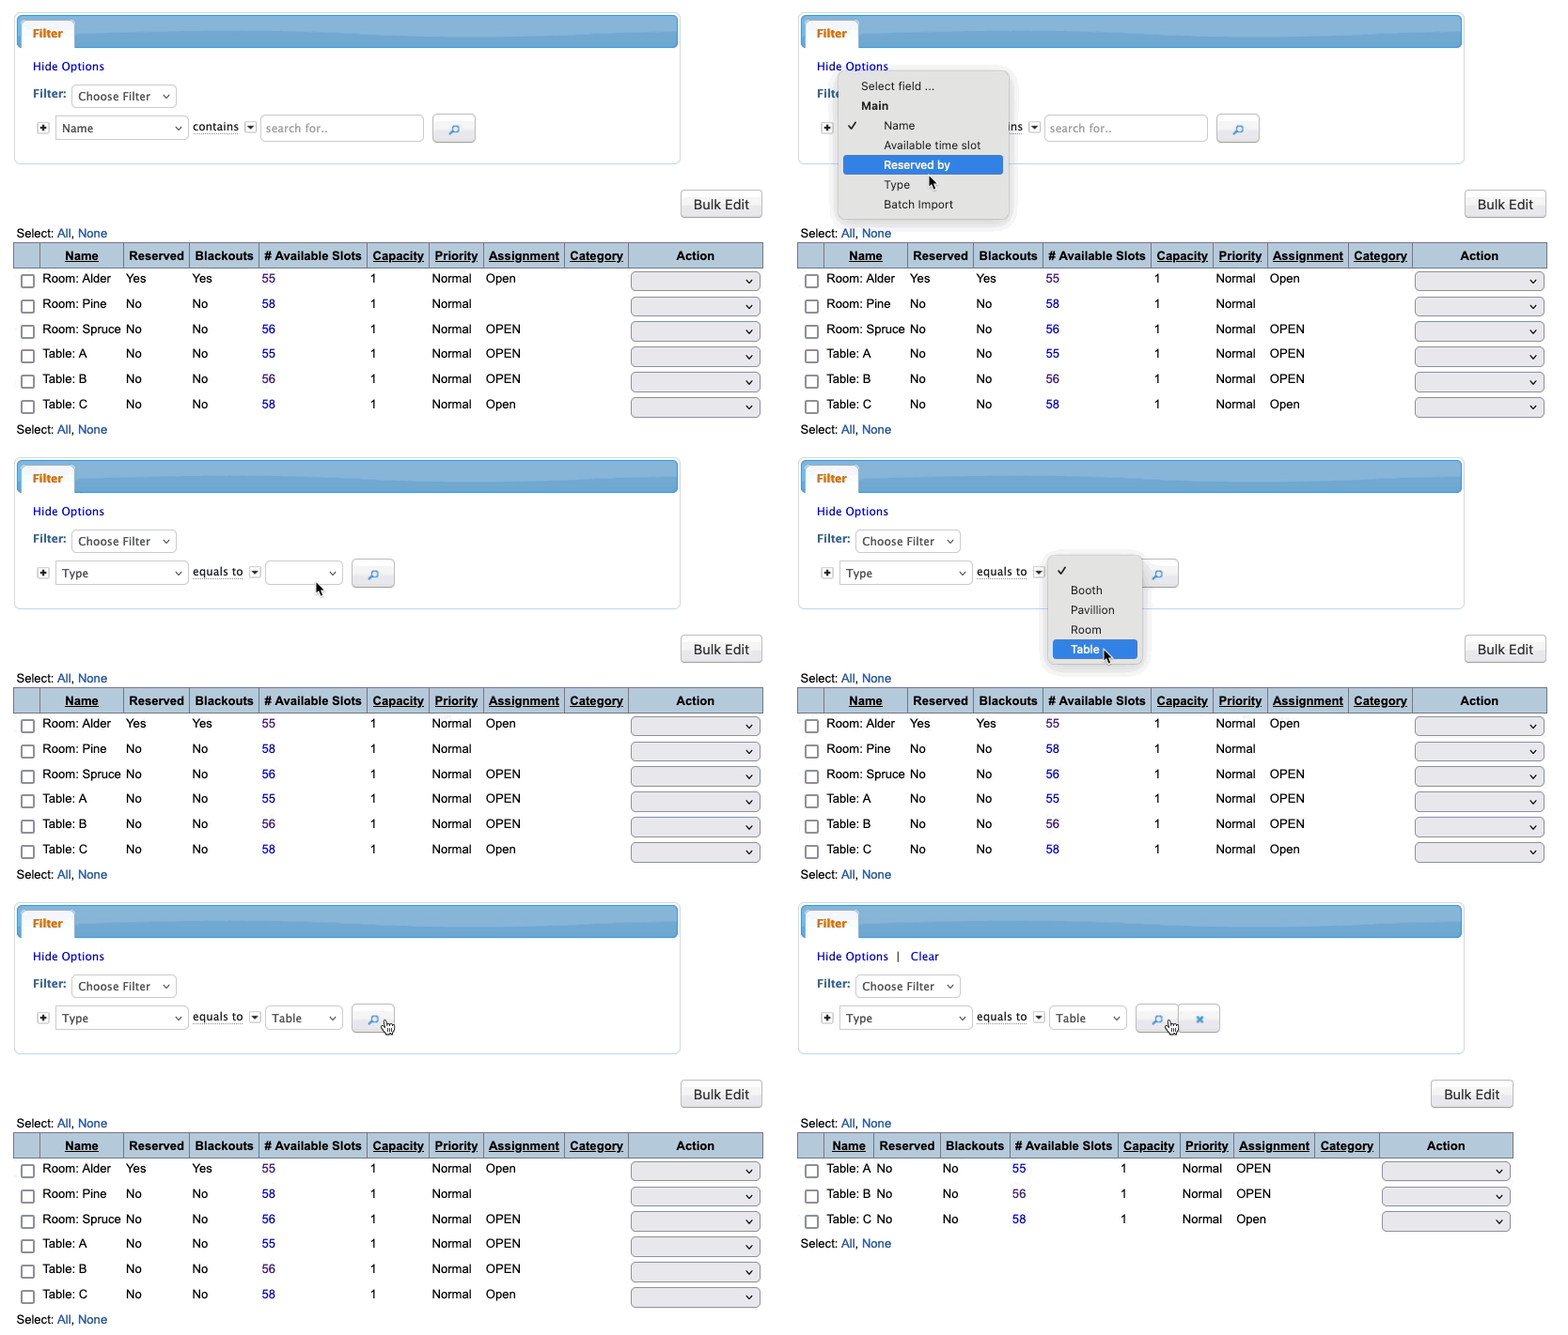
Filter by location type
If your event is using different kinds of meeting locations, like tables, rooms, and booths, you can filter your list to one specific type:

Combining filters
You can add a second filter to narrow your list even more:

Deleting a filter
- Click the X button to remove one filter.
- Click Clear to remove all filters at once:

Exporting the Locations List
You can export your Locations List in spreadsheet format any time. The export will include only the locations in your current filter.
Head to the top right corner of the page, then click Excel:

You can open the exported file in any spreadsheet software.


